
Installing CostaCover traditional wallpaper is easier when you have the right tools, a properly prepared wall, and a clear installation plan.
This step-by-step guide covers Pre-Pasted, Unpasted Vinyl, and Unpasted Non-Woven wallpaper. Follow the preparation steps first, then choose the adhesive application method that matches your wallpaper material.
For the best results, we recommend installing wallpaper with two people.
Before You Start

Step 1. Gather Your Tools
Before beginning installation, prepare the following tools and supplies:
- Measuring tape
- Standard or laser level
- Wallpaper smoother
- Painter's tape
- Sharp utility knife with spare blades
- Clean, soft sponge or cloth
- Wallpaper primer
- Roller, brush, and paint tray (for unpasted wallpaper)
- Recommended wallpaper adhesive (for unpasted wallpaper)
- Clean water and a container (for pre-pasted wallpaper)
Important: Make sure you have the correct adhesive for your wallpaper type. Different traditional wallpaper materials require different installation methods.
Step 2. Prepare Your Wallpaper Panels
Remove the wallpaper panels from their packaging and lay them flat on a clean, dry surface for at least 1 hour at room temperature.
This allows the panels to relax, straighten out, and adjust to the room temperature before installation.
Carefully inspect each panel for printing defects, color consistency, and damage before applying any adhesive.
Step 3. Check and Clean the Wall
Your wall must be smooth, clean, dry, and free of dust or debris before installation.
Wipe the surface with a damp cloth to remove dust and allow it to dry completely.
Remove any loose paint, old wallpaper, or other materials that may interfere with adhesion.
Do not install wallpaper over stains, ink markings, wax, or other substances that may bleed through the material.
Wall imperfections, bumps, or heavy texture can affect adhesion and create visible air bubbles.
Step 4. Repair Uneven Walls
For the best results, prepare the wall according to its condition.
Minor Surface Imperfections Lightly sand rough spots, remove all sanding dust, and apply a suitable wallpaper primer.
Major Surface Imperfections For heavily textured or uneven walls, apply a skim coat to create a smooth surface. Once dry, sand the entire area, remove dust, and apply wallpaper primer.
Important: If your wall has been freshly painted, wait at least 4 weeks before installing wallpaper. The paint must be fully cured, not just dry to the touch..

Step 5. Prime the Wall
We recommend priming the wall before installing traditional wallpaper.
For Pre-Pasted and Unpasted wallpaper, recommended primers include:
- ROMAN PRO-999 Rx-35
- ROMAN PRO-935 R-35
Choose a primer appropriate for your wall surface and allow it to dry completely according to the manufacturer's instructions.
Proper priming helps prepare the surface for wallpaper installation and promotes consistent adhesion.

Step 6. Check the Pattern and Panel Order
Before installation, lay the wallpaper panels on the floor in the correct order. Refer to the Matching Chart provided with your wallpaper and check how the design connects between panels.
CostaCover wallpaper panels are installed from left to right, starting with Panel 1 (for Wall Murals).
When aligning the printed design, neighboring panels should overlap by approximately 1 inch. Check the pattern alignment before applying adhesive or water.
Step 7. Mark the First Panel Position
Measure the width of the first wallpaper panel and mark its position on the wall.
Using a standard or laser level, draw a perfectly vertical guideline.
This line will help you position the first panel correctly and maintain alignment across the entire wall.
Important: Do not use the wall corner or ceiling as your alignment guide. Corners and ceilings are not always perfectly straight.
The first panel determines the alignment of all remaining panels.

Choose Your Wallpaper Installation Method
Before installing the first panel, follow the adhesive preparation instructions for your specific material.
PRE-PASTED WALLPAPER
Activate with water. No additional wallpaper paste required.
1. Wet the Back of the Panel Pre-Pasted wallpaper has a pre-applied adhesive that must be activated with water.Thoroughly and evenly wet the entire back of the wallpaper panel using clean water.
Pay special attention to the edges and corners. Make sure there are no dry spots. 2. Allow the Adhesive to Activate Gently fold the adhesive-coated ends inward toward each other, without creasing the wallpaper.
Allow the folded panel to rest for approximately 5 minutes so the adhesive can activate.
Once activated, carefully unfold the panel and proceed with installation.

Unpasted Vinyl Wallpaper
Apply Paste to the Wallpaper.
1. Apply Wallpaper Adhesive
For traditional vinyl wallpaper, we recommend:
ROMAN PRO-838 Wallpaper Adhesive
Using a roller or brush, apply an even coat of adhesive to the entire back of the wallpaper panel.Cover the entire surface, paying special attention to the edges and corners. Do not leave dry areas.
2. Book the Wallpaper
Gently fold the pasted ends inward, adhesive side to adhesive side, without creating sharp creases. Allow the panel to rest for approximately 10 minutes so the adhesive can penetrate the material. After the resting period, unfold the panel and begin installation.

Unpasted Non-Woven Wallpaper
Apply Paste to the Wall.
1. Apply Adhesive Directly to the Wall
For traditional non-woven wallpaper, we recommend:
ROMAN PRO-880 Wallpaper Adhesive.
Using a roller or brush, apply an even layer of adhesive directly to the wall.
Cover an area approximately equal to the width of one wallpaper panel.
Make sure the adhesive is distributed evenly without leaving dry spots.
2. Install the Panel Immediately
Non-woven wallpaper does not require pre-soaking or booking.
Position the dry wallpaper panel directly onto the pasted wall while the adhesive is still wet.
Do not apply adhesive to the entire wall in advance. Work one panel at a time to prevent the adhesive from drying before installation.

Installing Your Wallpaper Panels
Follow these steps after preparing the adhesive according to your wallpaper type.
Step 1. Install the First Panel
Start at the top of the wall. Align the edge of your first wallpaper panel with the vertical guideline marked earlier. Carefully position the panel and begin applying it from top to bottom. Check that the panel remains straight as you work your way down the wall. Leave the necessary excess material at the top and bottom for final trimming.
Step 2. Smooth the Wallpaper Gently
Use a wallpaper smoother to gently press the panel onto the wall. Start from the center and work outward toward the edges to remove trapped air and ensure even adhesion. Continue smoothing as you move down the wall.
Important: Do not scrub, rub, or apply excessive pressure to the wallpaper surface. When traditional wallpaper is wet, its printed surface may be more delicate. Excessive pressure or friction can damage the print.
Step 3. Remove Excess Adhesive or Water
If adhesive or water gets onto the front of the wallpaper, gently blot it with a clean, soft, damp sponge. Do not rub or scrub the printed surface. Remove any excess adhesive promptly and carefully, following the cleaning recommendations for your wallpaper material.
Step 4. Trim the Top and Bottom Edges
Once the first panel has been positioned and smoothed, carefully trim the excess material using a sharp utility knife. Remove the technical strip at the top and any extra wallpaper along the bottom edge. Use a straightedge where needed to achieve clean, precise cuts. Always use a sharp blade to prevent tearing or damaging the wallpaper.

Step 5. Install the Second Panel
Prepare the second wallpaper panel using the same adhesive application method as the first. Position the second panel next to the first, creating a 1-inch overlap. Carefully align the printed pattern across both panels before smoothing the new panel onto the wall. Work slowly from top to bottom, checking the pattern alignment as you go.

Step 6. Install the Remaining Panels
Repeat the same process for all remaining panels. Prepare the adhesive according to your wallpaper material, position each panel with a 1-inch overlap, and smooth from the center outward. Continue working from left to right, checking the vertical alignment and pattern match throughout the installation. Take your time. Correct alignment is especially important for large wall murals and designs with continuous patterns.
Step 7. remove the overlap
For traditional wallpaper, the overlapping sections can be removed using the double-cut method to create a clean, seamless finish.
Using a sharp utility knife, carefully cut through both wallpaper layers along the center of the 1-inch overlap. Remove the excess strip from the top layer, then gently lift the edge and remove the excess strip from underneath.
Bring the two edges together to create a perfectly aligned, continuous seam. Gently smooth the seam with a wallpaper seam roller or smoother for a professional finish.
Important: This method applies to suitable traditional wallpaper installations. Do not use it for CostaCover Peel & Stick wallpaper, where the overlap must remain in place.
step 8. Allow the Wallpaper to Dry Naturally
After installation, let the wallpaper dry naturally at a stable room temperature. Avoid extreme heating, cooling, or direct airflow intended to speed up drying. Do not rub or repeatedly press the wallpaper while the material is still wet. Allow the wallpaper to dry completely before evaluating the finished surface.
You may also like
View all


Let customers speak for us
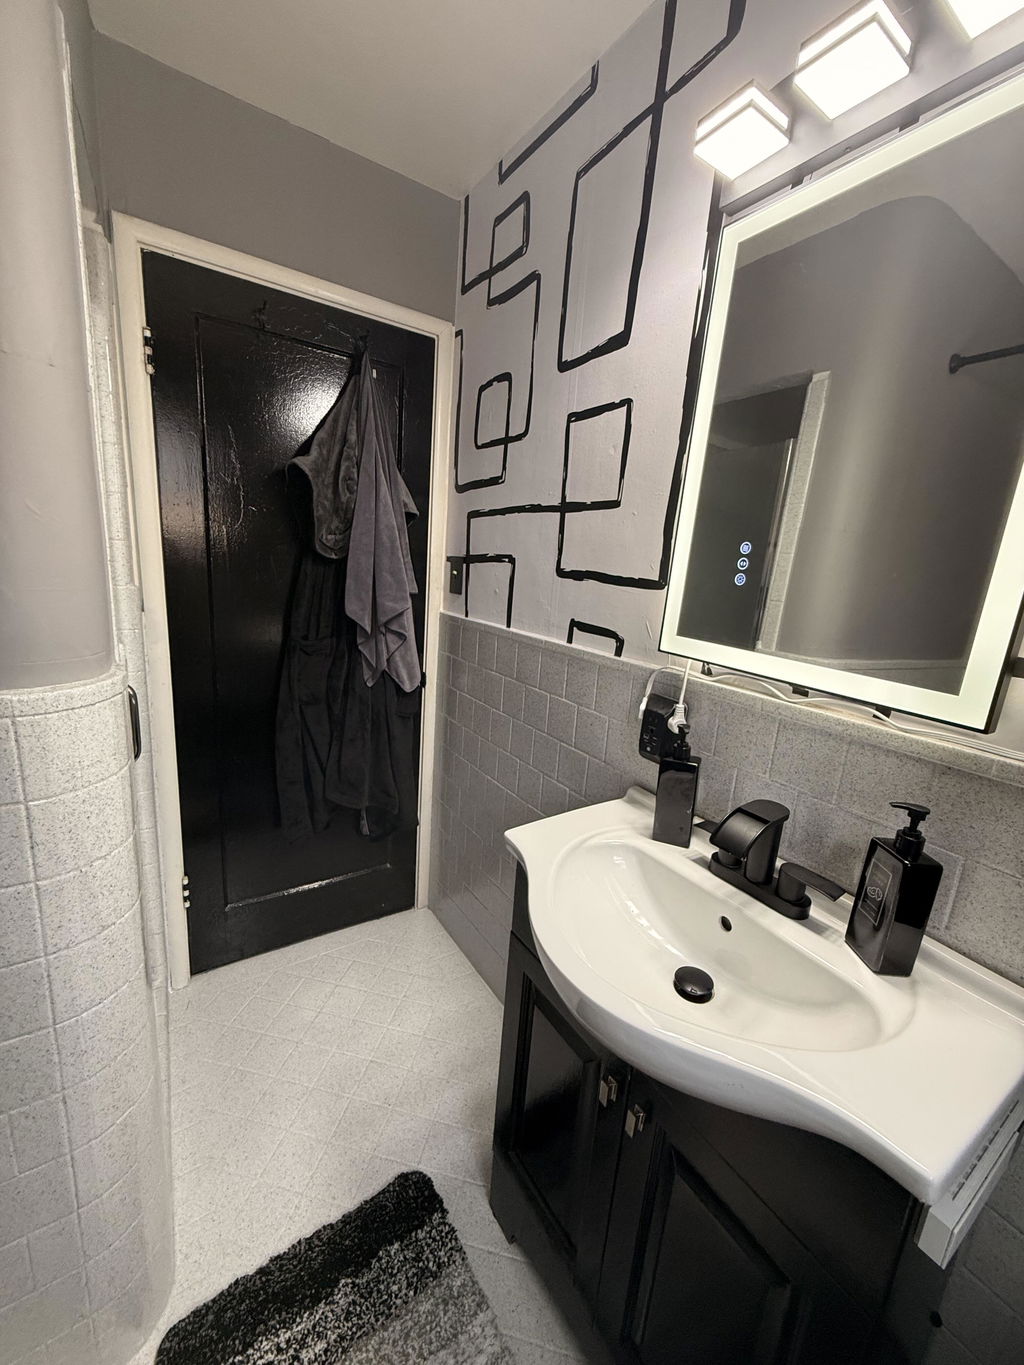
You made it easy to hang, My bathroom has the facelift that if needed
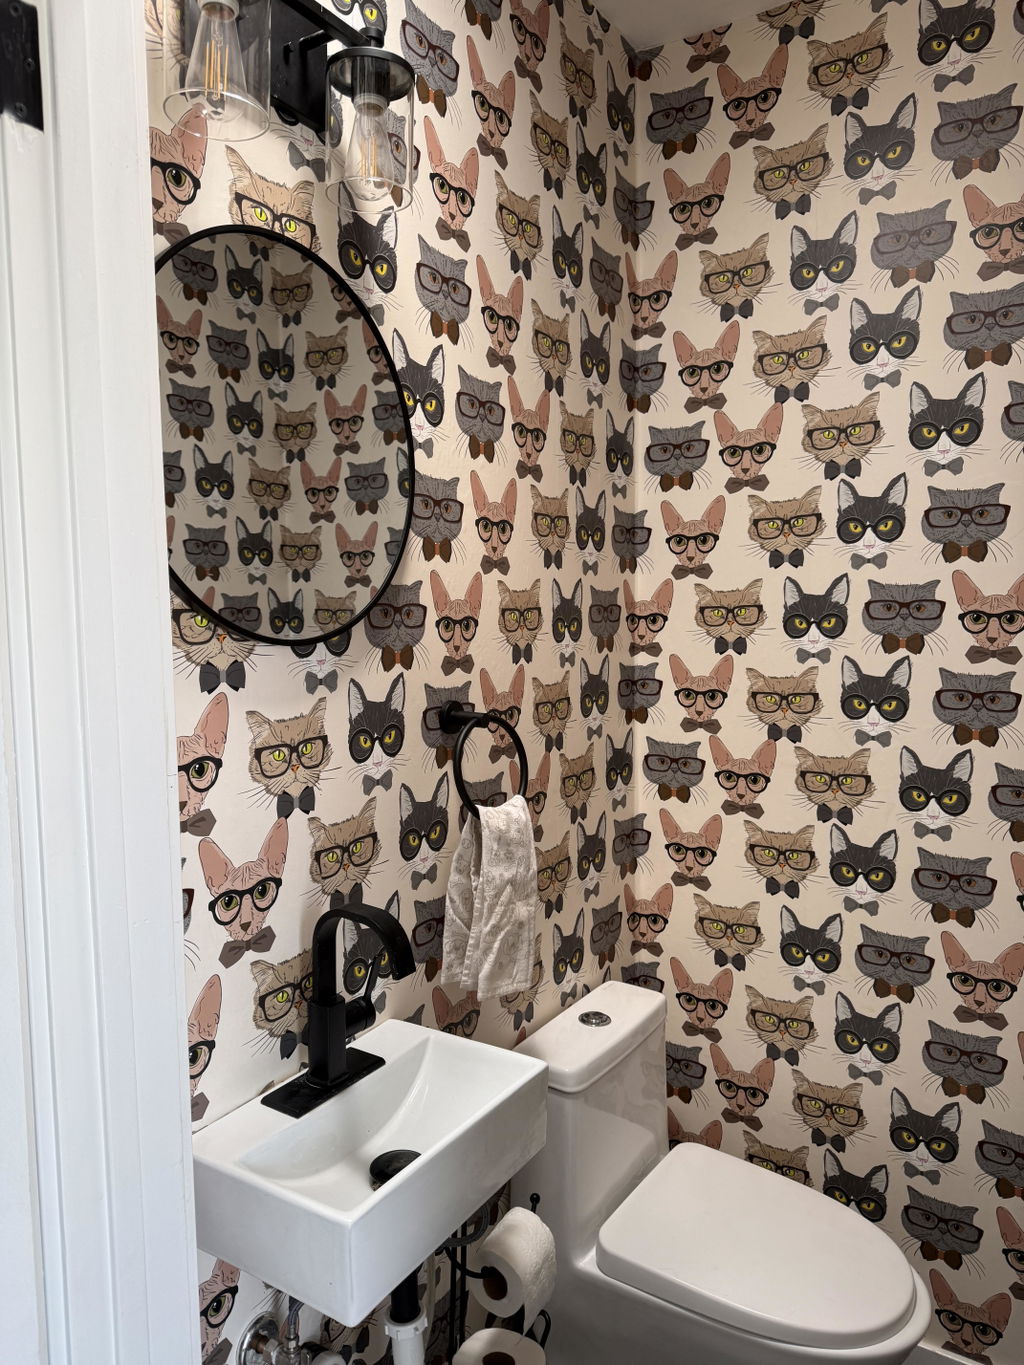
My cats wearing glasses wallpaper turned out perfectly. I’m in love!
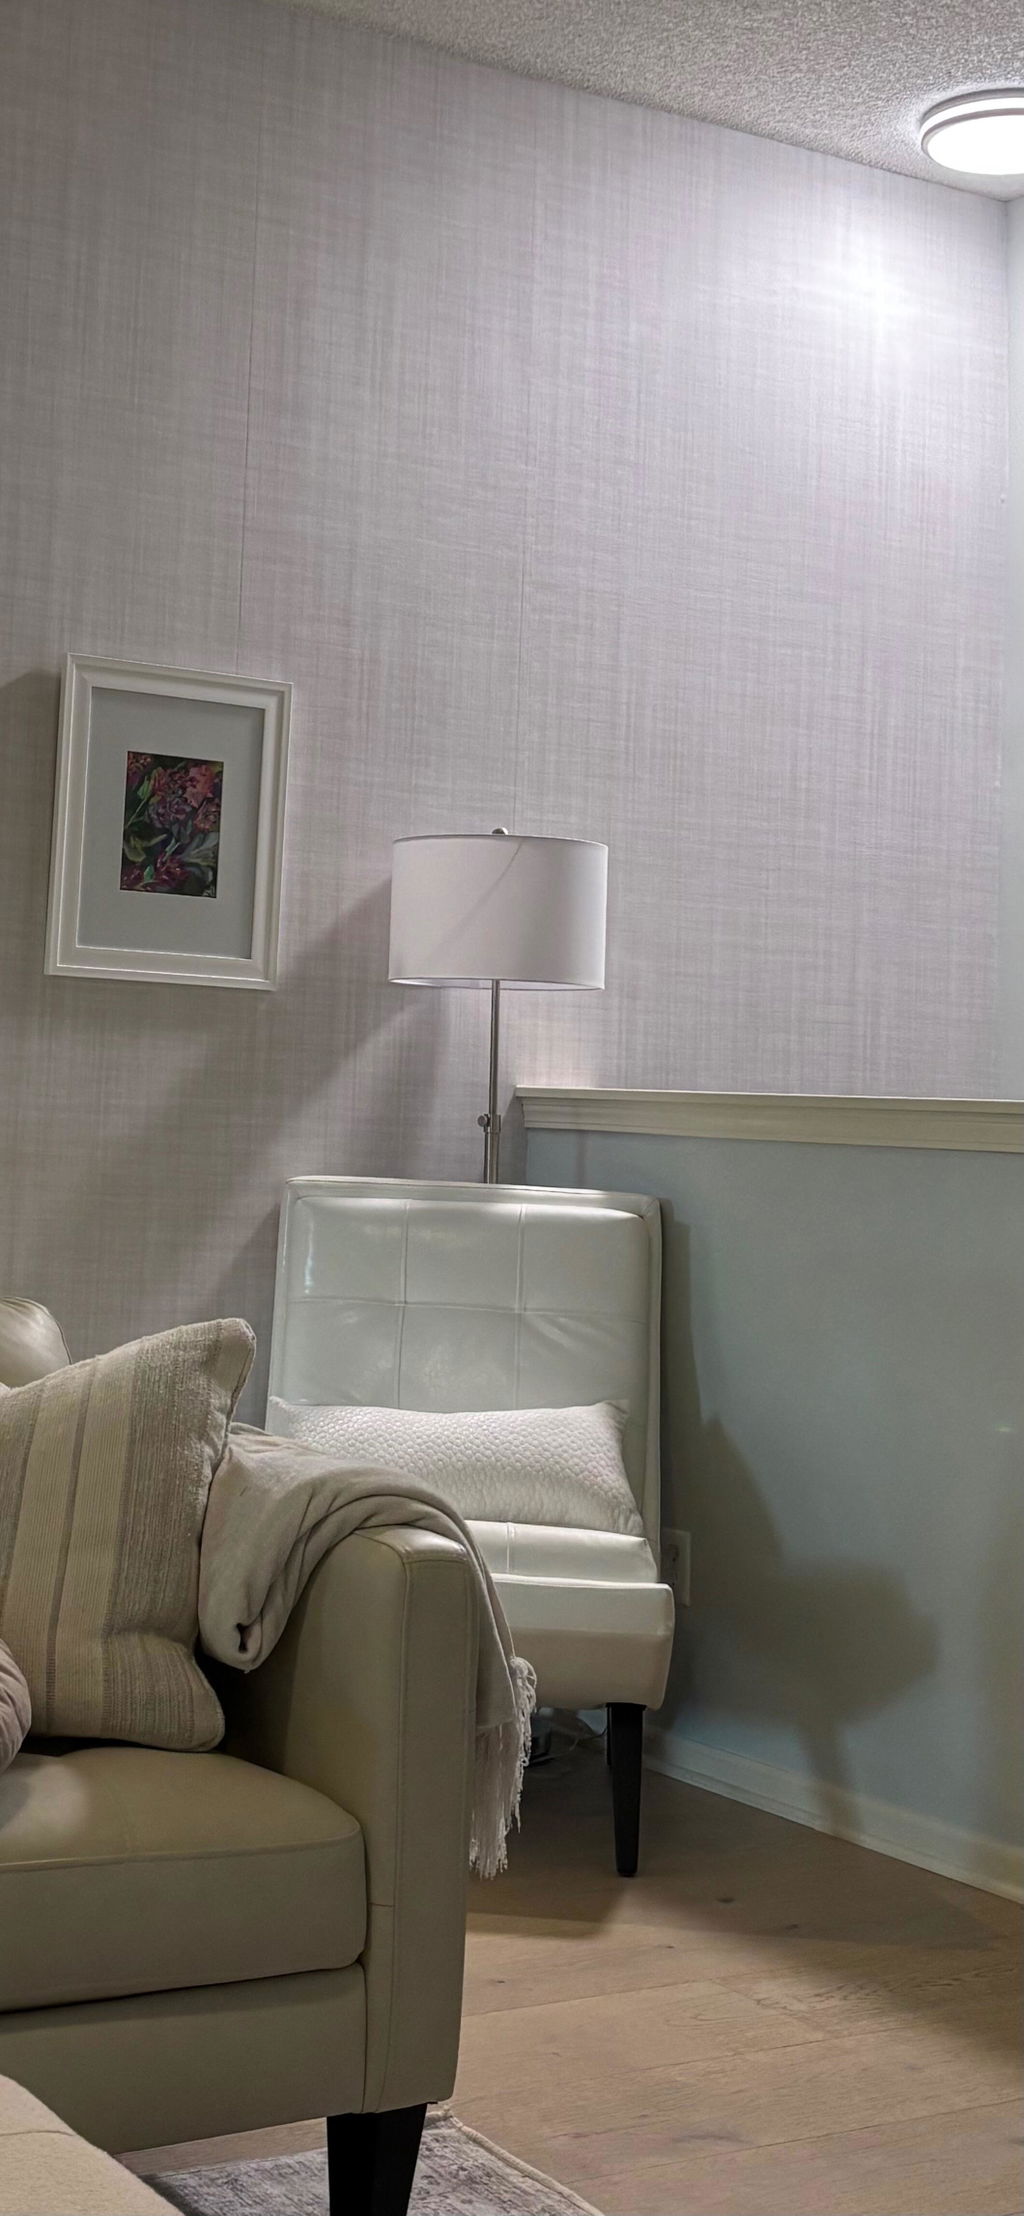
I purchased this without reviews to read, so thought I’d leave the first! The peel and stick wallpaper with texture is very high quality. I had it professionally installed and it was very easy for my installer to work with. It’s absolutely beautiful, elegant, and exactly what I was looking for to put on an otherwise difficult wall in my home that traveled from upstairs to downstairs and into the basement. I love the look and am so glad I went with this option.
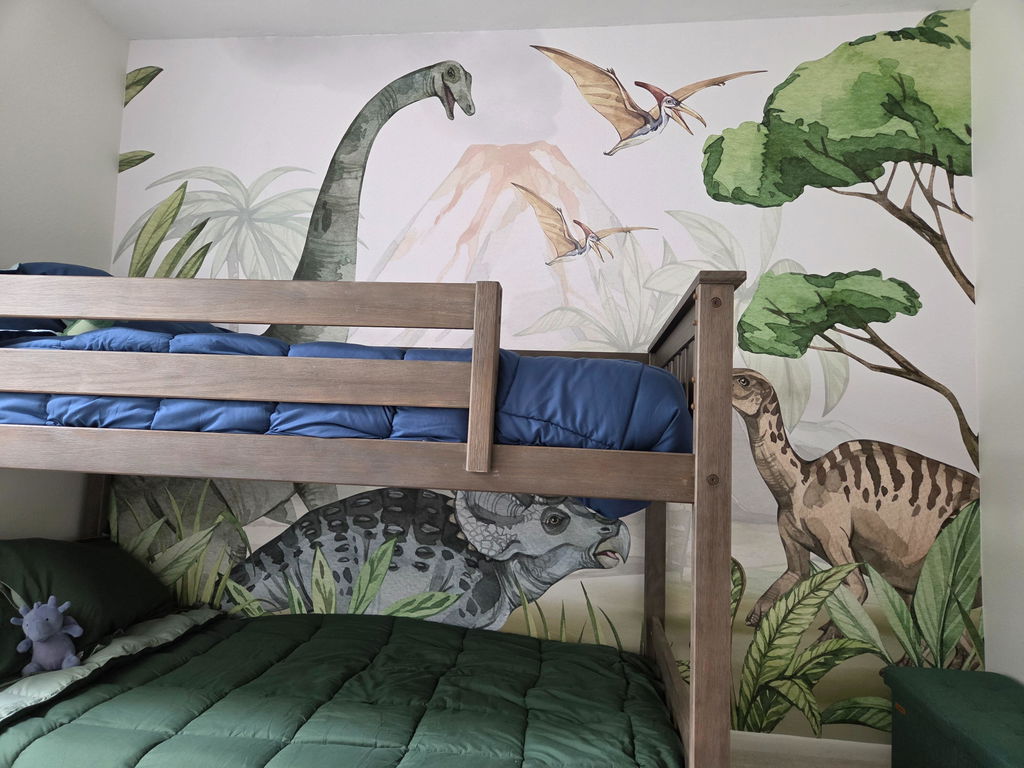
The Costacover team was very responsive and helpful throught the whole ordering process. After ordering a sample, we went with the canvas peel and stick. Alexa and the design team were able to customize this wallpaper fit my sons' room perfectly by adjusting a few of the elements to be better visible around their bedframe. Installation required some patience as we have never hung any kind of wallpaper before, but my husband and I were able to manage it in a couple hours. It looks great; hoping it stands up to two rambunctious boys!
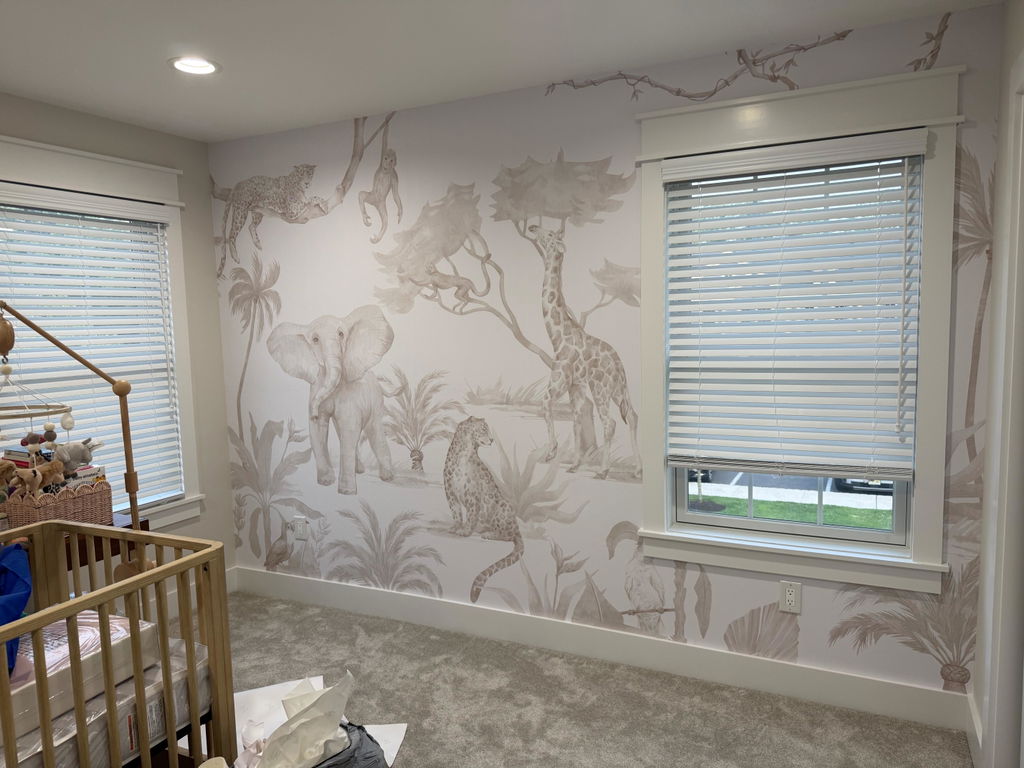
WOW! Knew I loved this mural when I saw it online, but seeing it in our nursery, I love it even more. Customer service was amazing - they answered my questions quickly. I hired someone to install and it was definitely worth it. Great quality, design, and product overall! Highly recommend!
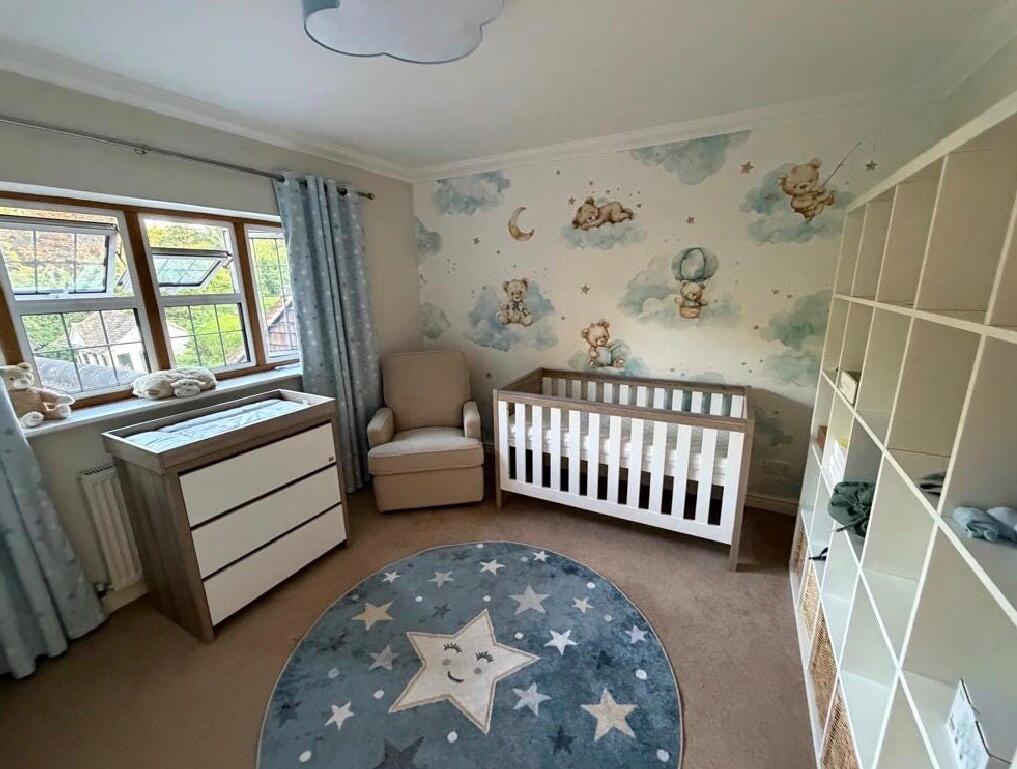
Hi Alexa and Mike, just a quick but heartfelt note to say thank you for the beautiful wallpaper.
We absolutely love it and it really is the feature in our soon to arrive baby boy’s room.
Thank you !
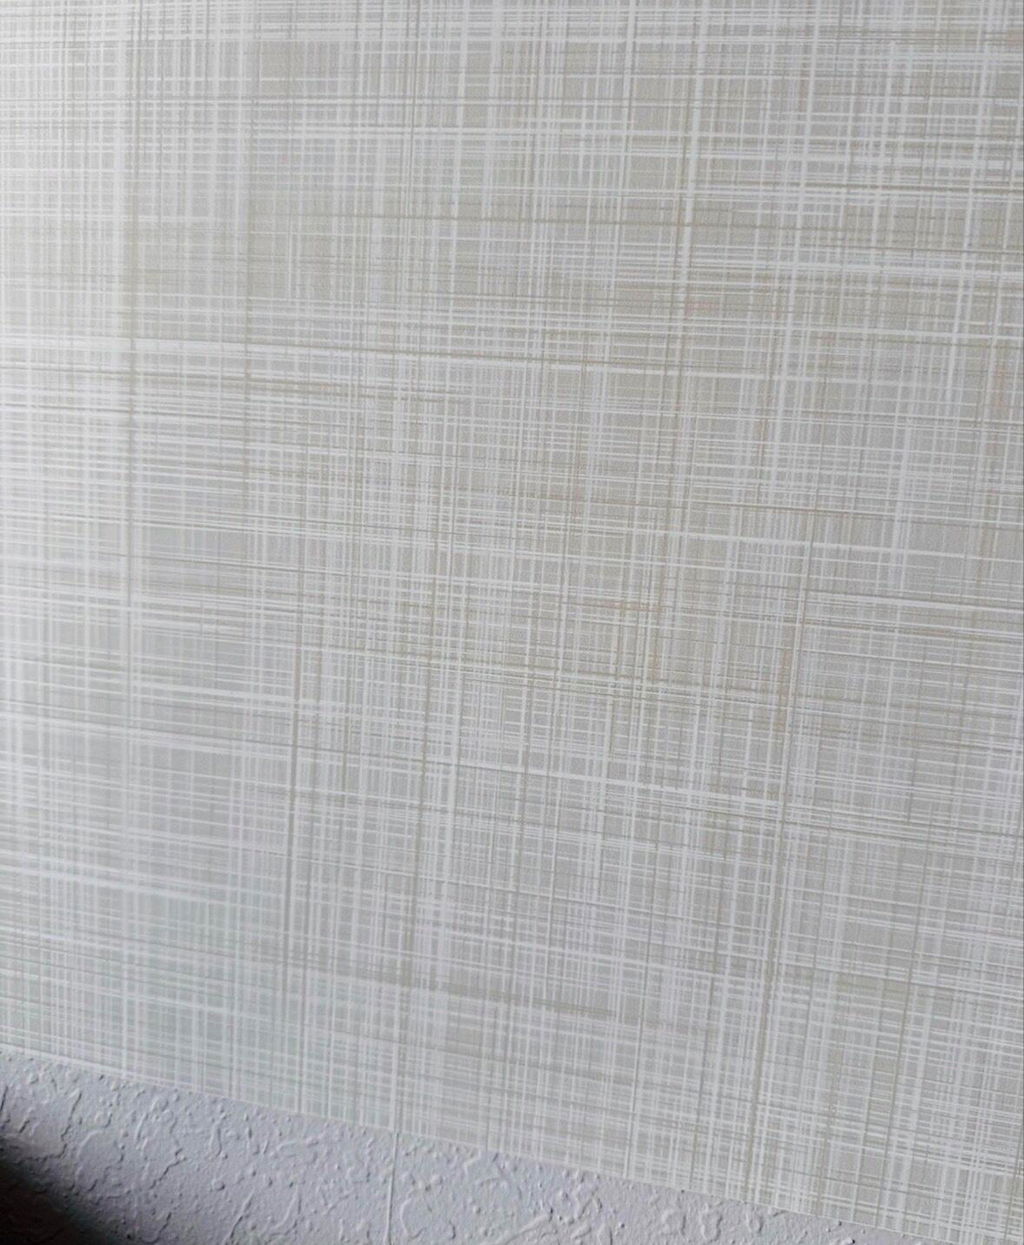
I love this linen imitation! It’ll be perfect for my room!
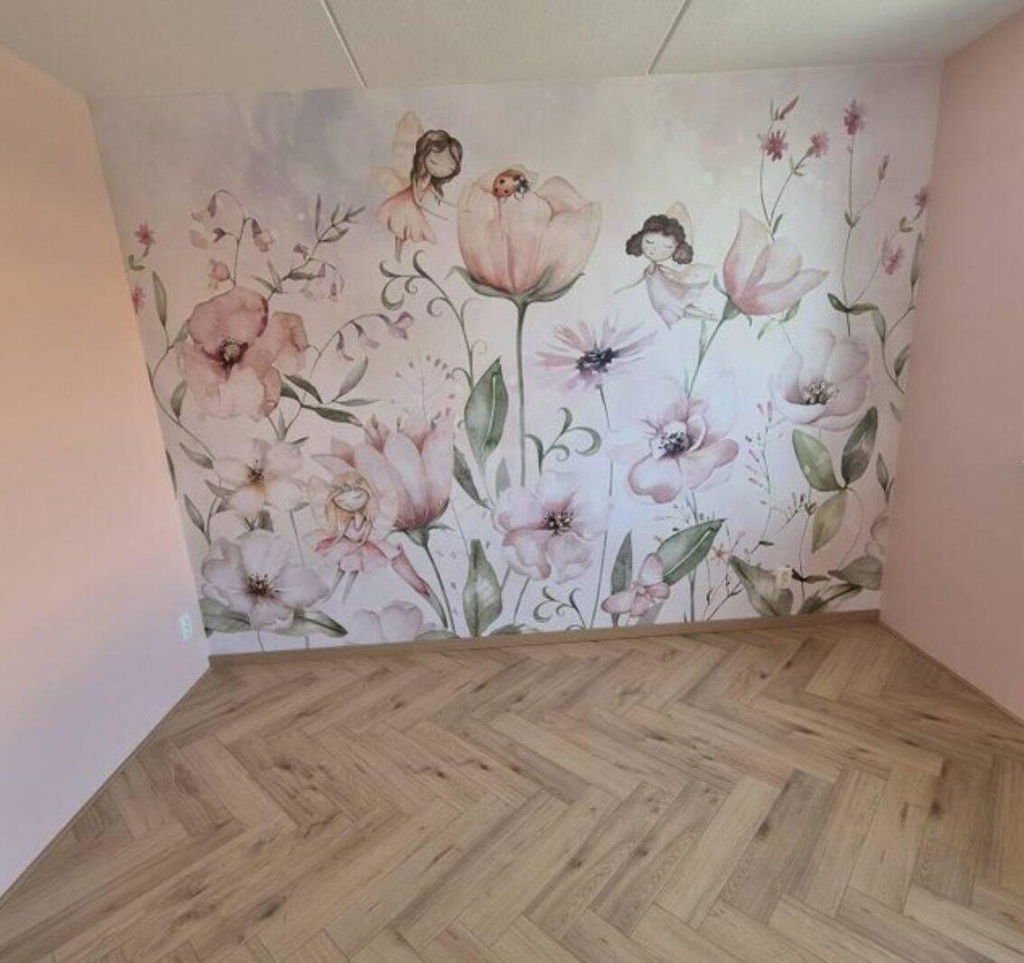
We absolutely love it. And not just us; everyone we show this wallpaper does. Easy to apply. The company was very available to think in solutions when it came to custom size, quick response and sent very quickly (Europe).
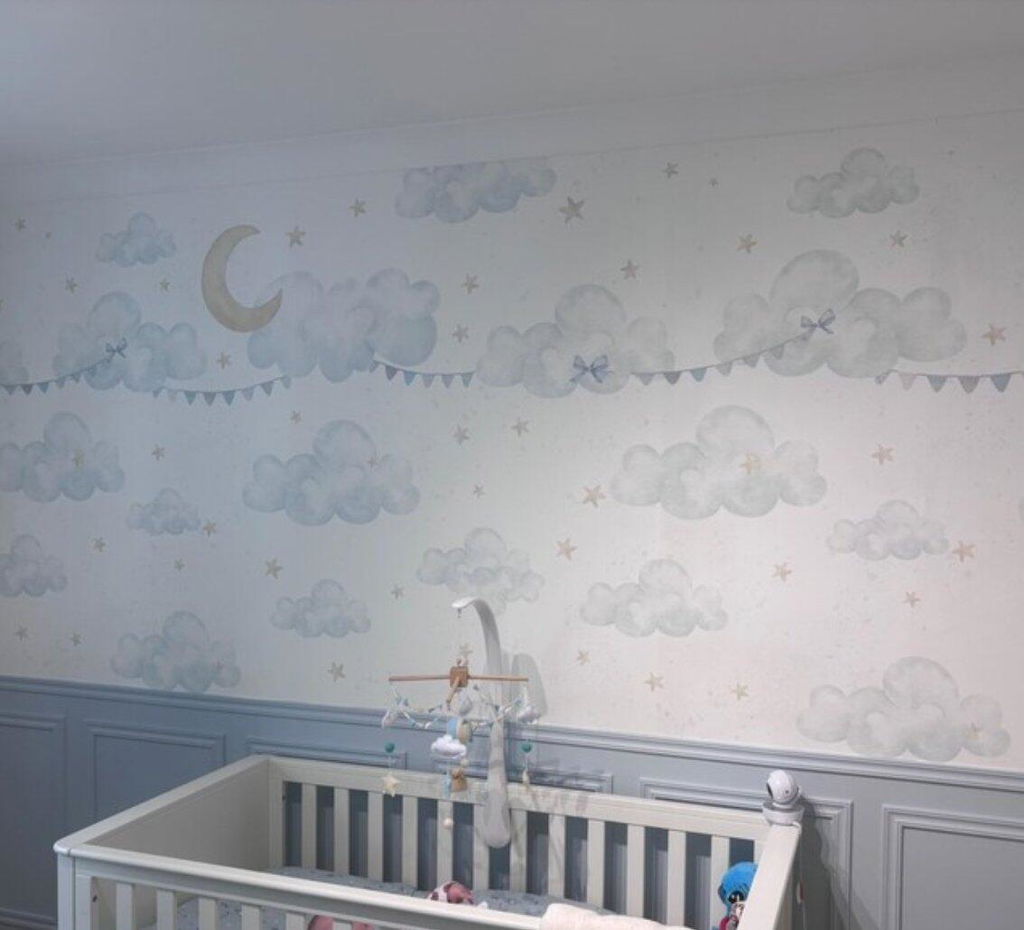
This mural is absolutely beautiful and I’m so glad I ordered. The sellers were lovely, I needed to message to check it could be done in time and they made sure it was, with time to spare. Speedy replies and 10/10 customer service. The instructions were helpful, they recommend the double cut method on the wallpaper I had. Using the “paper” you can tell its quality, there were times I needed to cut a tiny bit more off and it was very easy to peel off and slide up/across on the wall, or readjust angles without any fear of ripping. I’m fairly amateur and managed this with relative ease. I am just over the moon with the finish of my son’s nursery, paired with F&B Kakelugn painted panelling (the pictures done even do it justice and we have had so many people comment how beautiful it is!!!) Thank you thank you! Helen
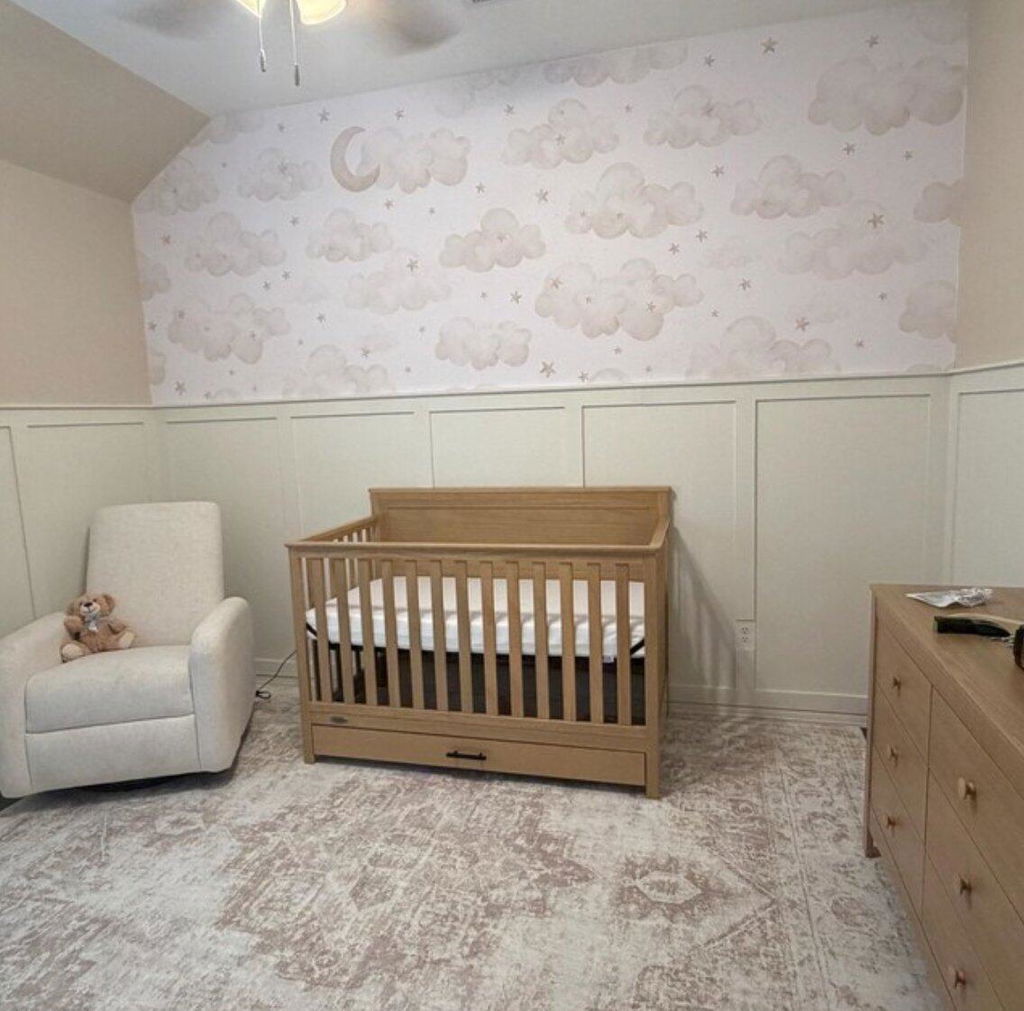
Love the way this wall paper turned out in our nursery! Seller was very helpful and made getting custom sizing for our wall a breeze. Slightly tricky getting panels to lineup perfectly but we are also amateurs when it comes to wallpaper and overall was not to difficult to put up.
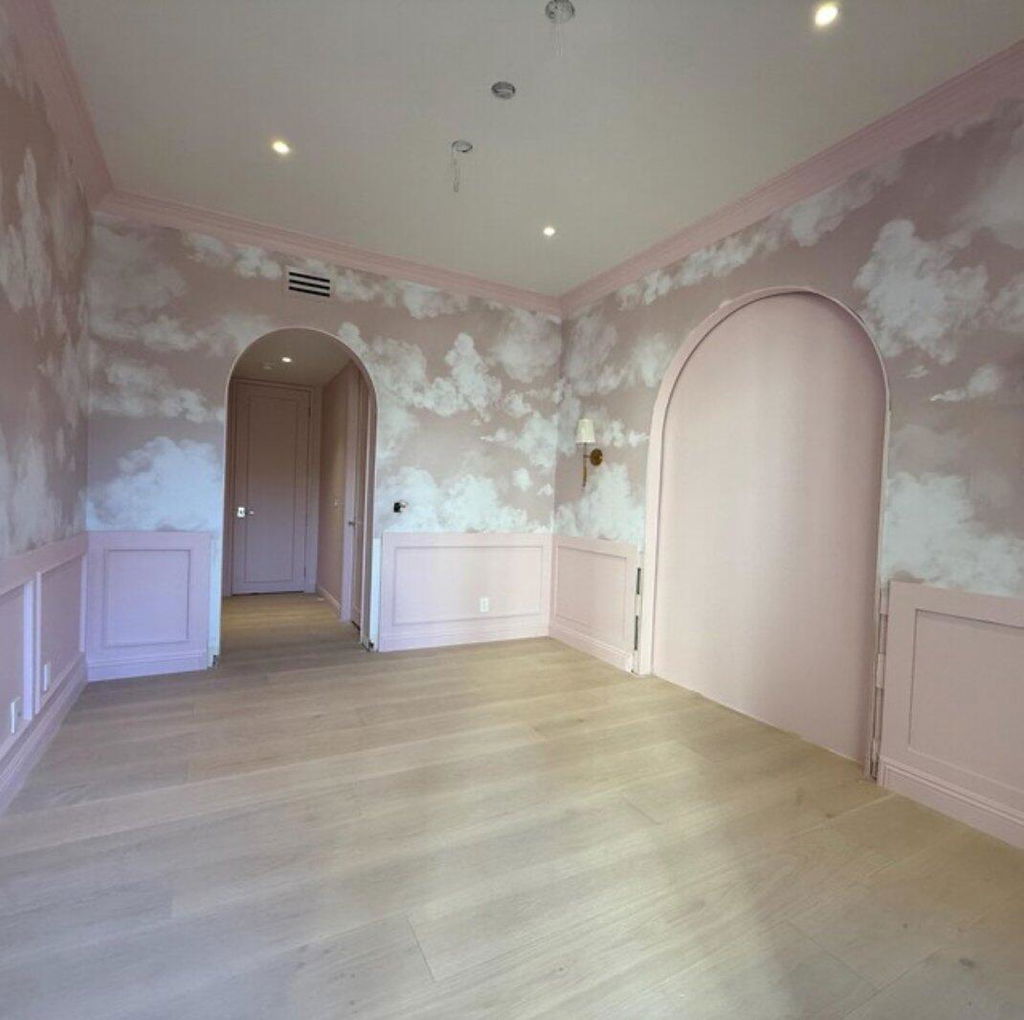
This transaction was the easiest ever. Customer service is top tier and the quality of the wallpaper is beautiful 😍
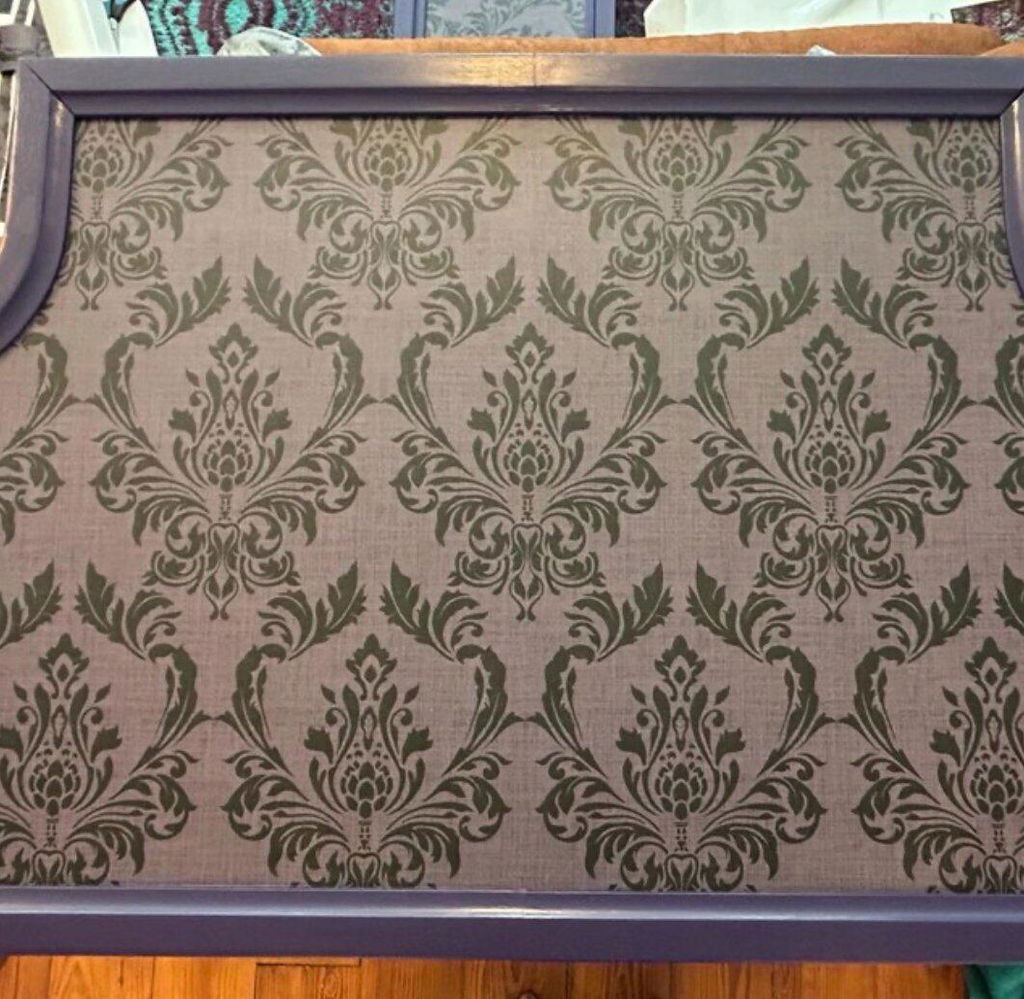
I ordered a sample piece. The color wasn’t quite right for my project. I worked with the seller to adjust the tone a bit. The final product was perfect for my project! I highly recommend their product and their customer service.
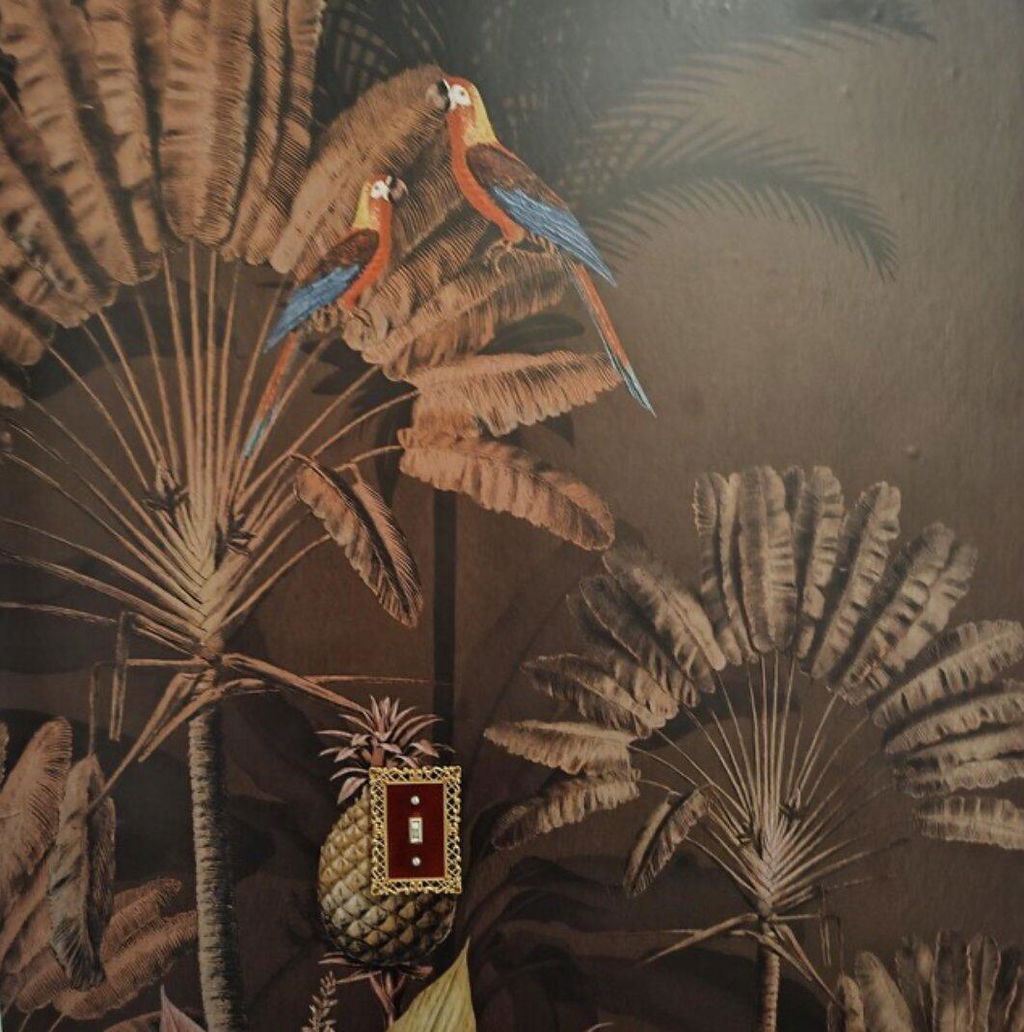
I knew I wanted something different and unique for my entry. The entry was bland and felt very underwhelmed. Being in an apt means choosing wisely and making sure it can be easily removed. I came across what I thought would be perfect for my entry. It needed something that would stand out. No more cold gray lifeless entry that looked like a jail cell. I found this remarkable tropical mural that was custom made to size for the 2 walls I wanted covered. I knew this was the one and I love it and what it has done to make my entry shine.It is warm, vibrant, unique and definitely a statement! I had the privilege of working with Alexa. She quickly responded to any questions I had. She helped me when I misjudged one of the walls & we worked through it and the end result made me smile. Thank you Alexa!
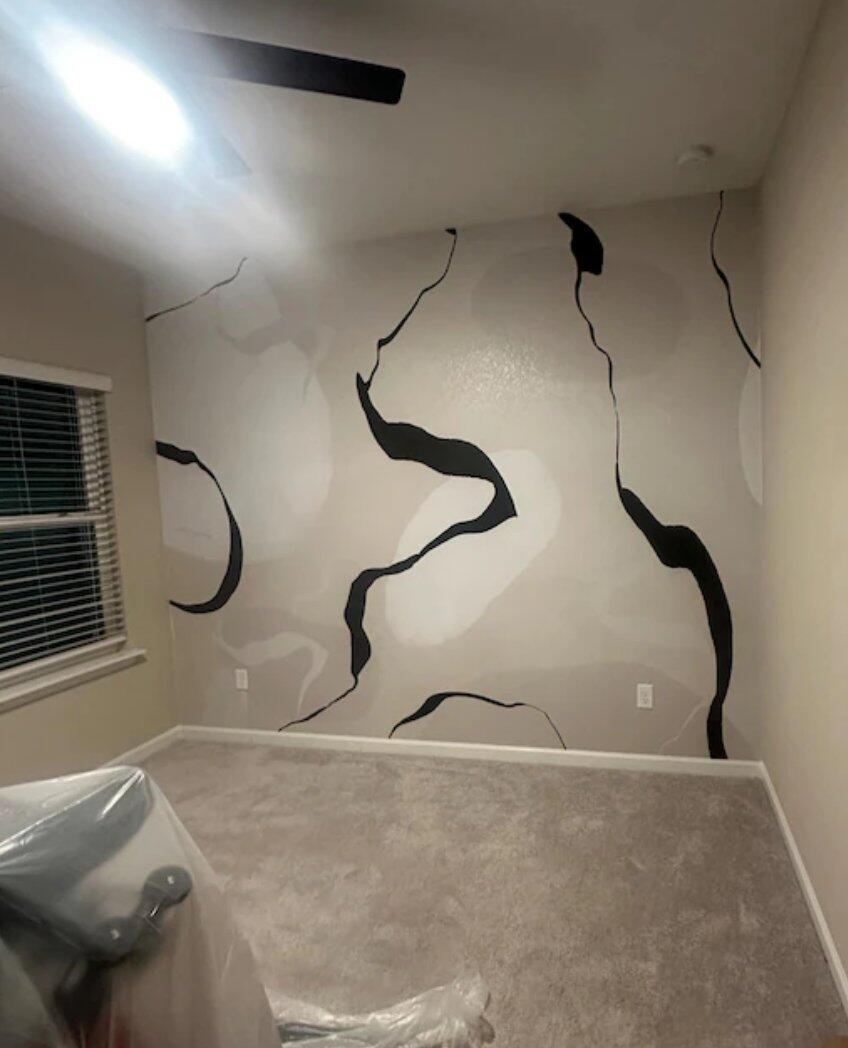
This paper is like art. It is textured, so walls do not need to be perfectly smooth
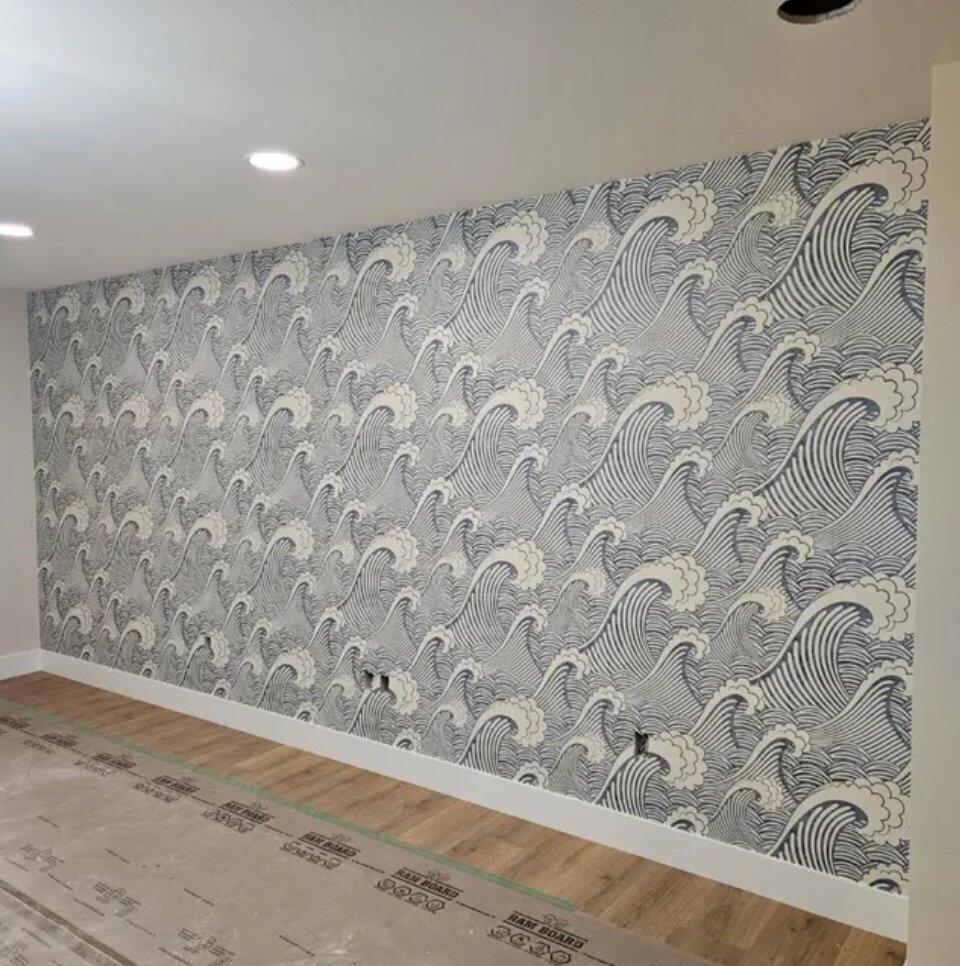
Great paper - the color is fabulous and love the design, the samples helped a ton 10/10