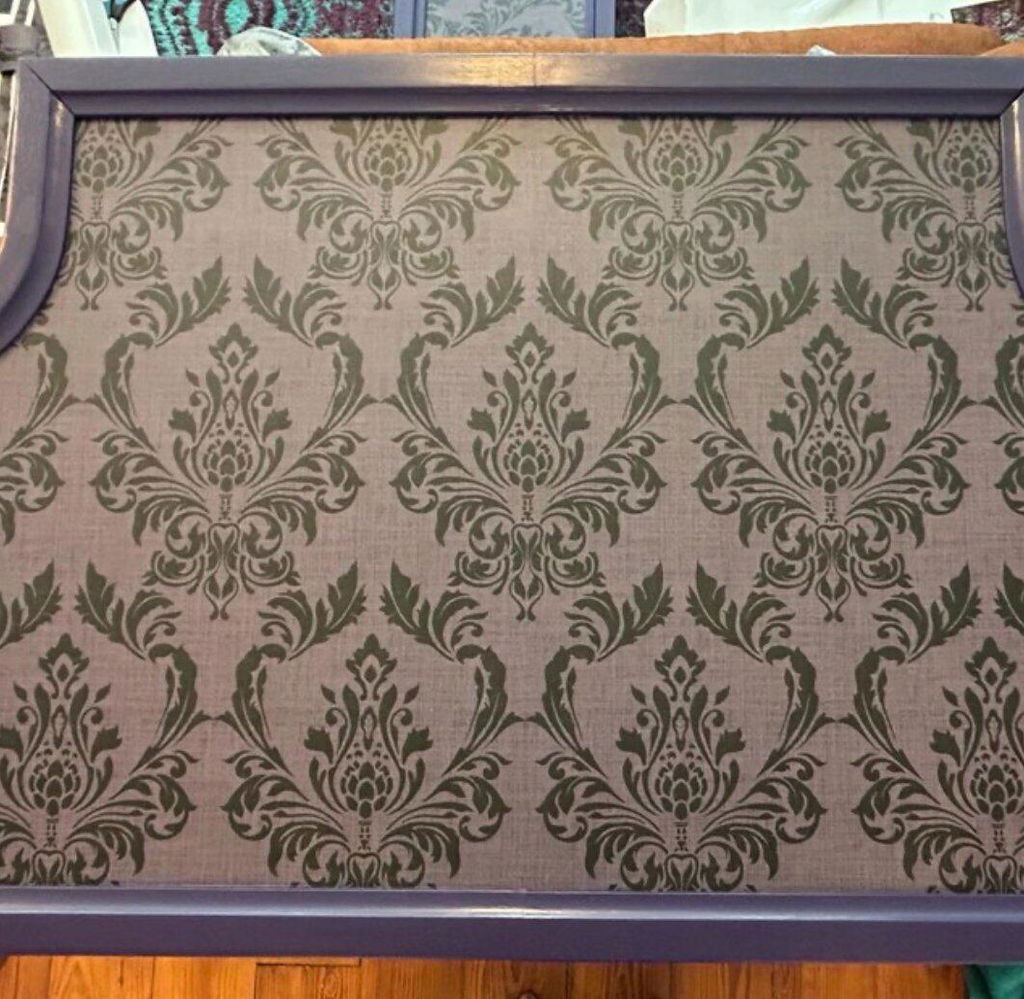
You're ready to take your interior design to the next level. You've settled on peel-and-stick wallpaper and you know it's the right decision. But now what? How do you install it perfectly, without any wrinkles or bubbles?
Don't worry, we're here to help. Below is our ultimate guide to installing peel-and-stick wallpaper like a pro.
Peel and Stick Wallpaper vs Regular Wallpaper
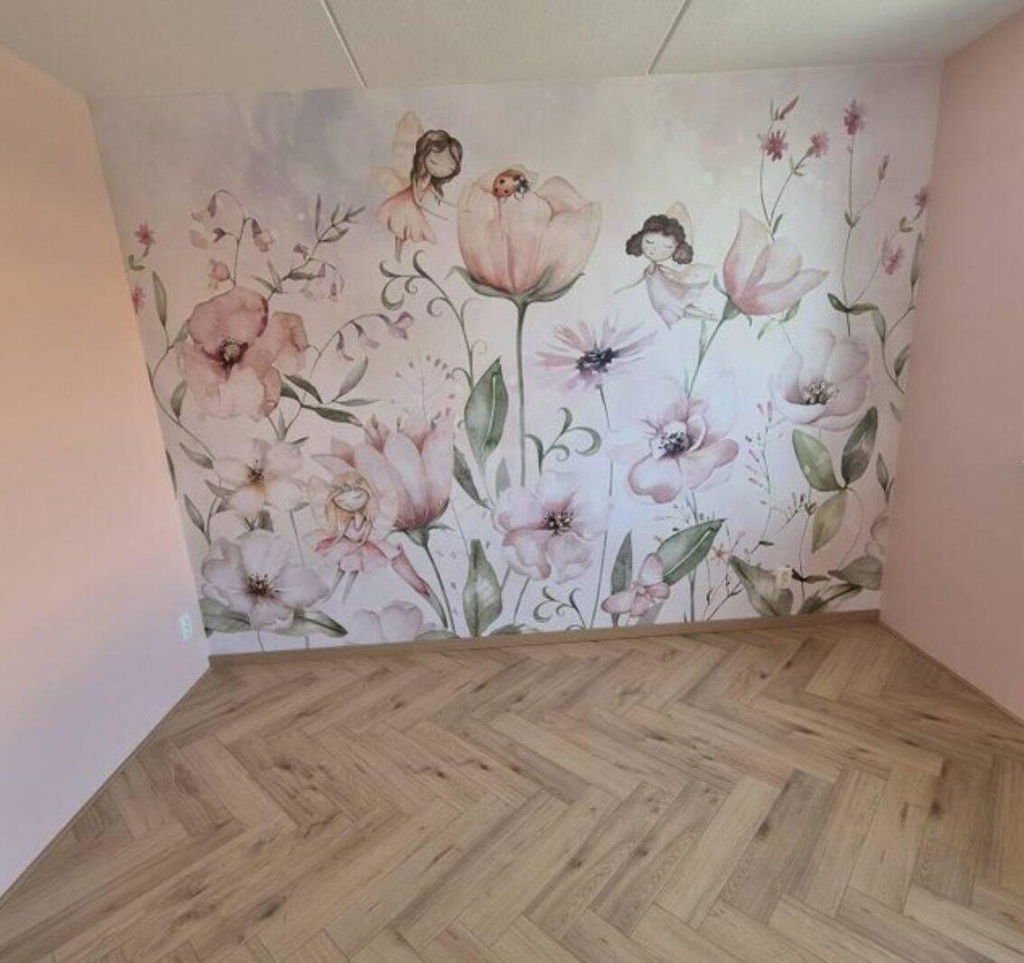
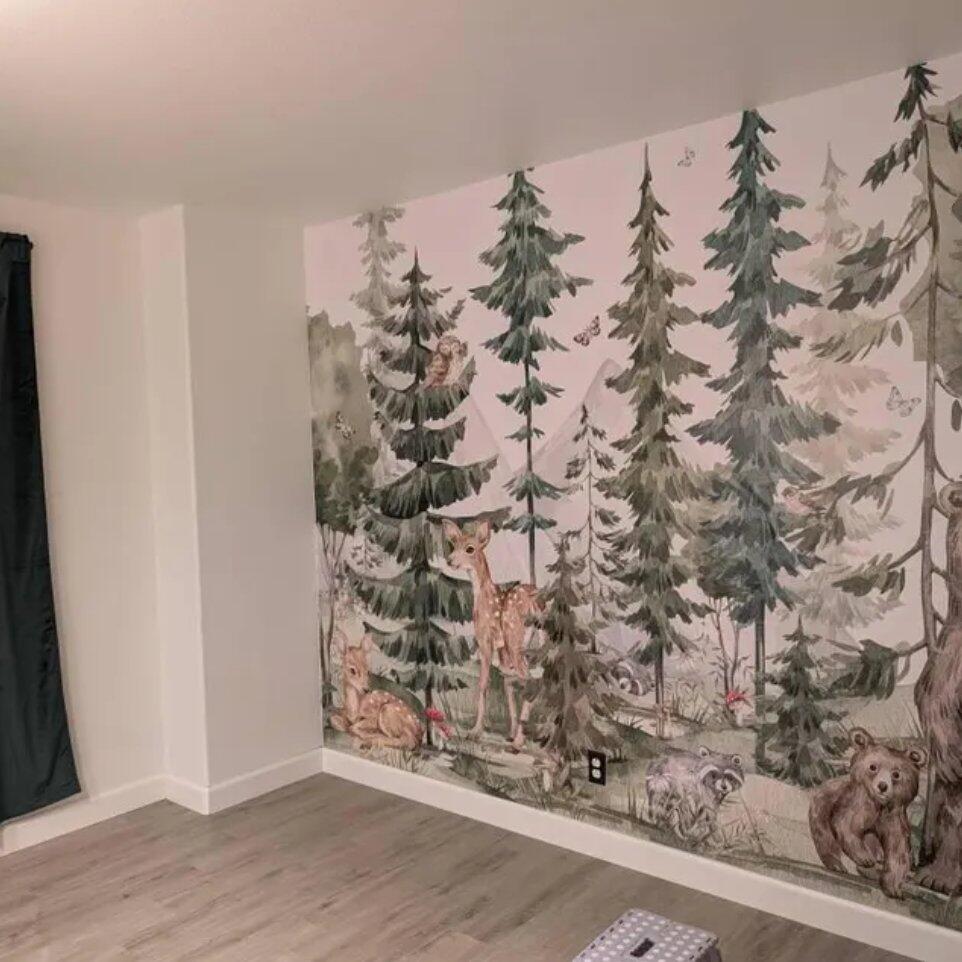
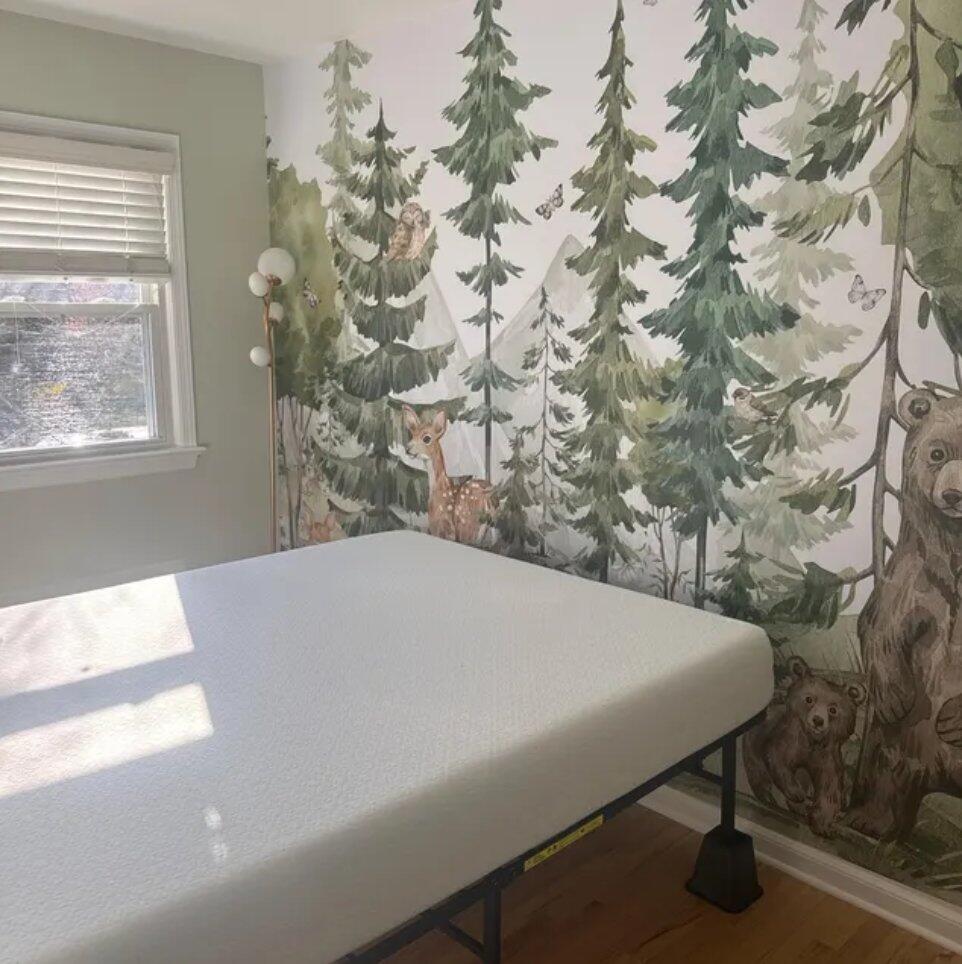
When it comes to wall coverings, there are two main types: peel-and-stick wallpaper and regular wallpaper. Peel-and-stick wallpaper is a fairly new product that has been gaining popularity in recent years. It's easy to apply- you just peel off the backing and stick it to the wall- which is why it's become so popular.
Regular wallpaper, on the other hand, requires more work to install. It needs to be pasted to the wall, and then you have to wait for it to dry before you can paint over it or hang anything else on the wall. That's why peel-and-stick wallpaper has become so popular- because it's so much easier to install than regular wallpaper.
What You Need to Get Started
Before you start, you'll need a few supplies:
- A level
- Cloth/towel
- Measuring tape
- A squeegee
- An utility knife

Preparations for Peel and Stick Wallpaper
Remove the self-adhesive wallpaper roll from the box, unfold it on a flat surface (floor or table), pattern side down, and leave it resting for about an hour so the wallpaper is not warped and could achieve room temperature. Check the colors and pattern match before installation.
Do not hang the wallpaper damp or cold surfaces or close to heat sources such as panel heaters, central heating, re and cooking stoves.
If you're planning to install peel-and-stick wallpaper, the first thing you need to do is prepare the wall. This means cleaning it and removing any dirt, dust, or debris. If the surface is wet, it needs to be completely dry before you start.
You may also need to patch any holes or cracks in the wall, and then sand and prime the surface so the wallpaper will stick properly. Once you've done all of this, it's time to start installing your wallpaper! Please keep in mind the information on the textured and freshly painted walls. Wall requirements post
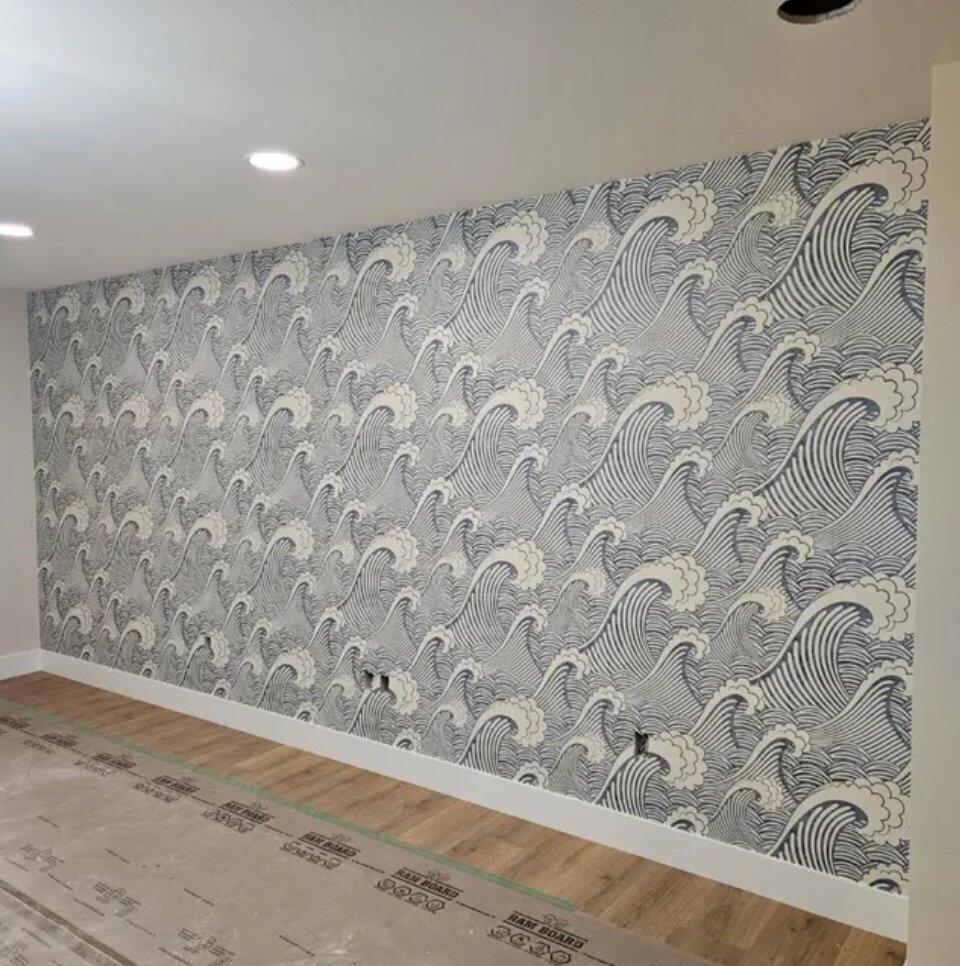
Applying the Peel and Stick Wallpaper
Now that you've prepared your walls, it's time to apply the peel-and-stick wallpaper. The key here is to go slowly and ensure that all the edges are properly aligned. To make sure that you don’t get any air bubbles, firmly press the wallpaper onto the wall as you go.
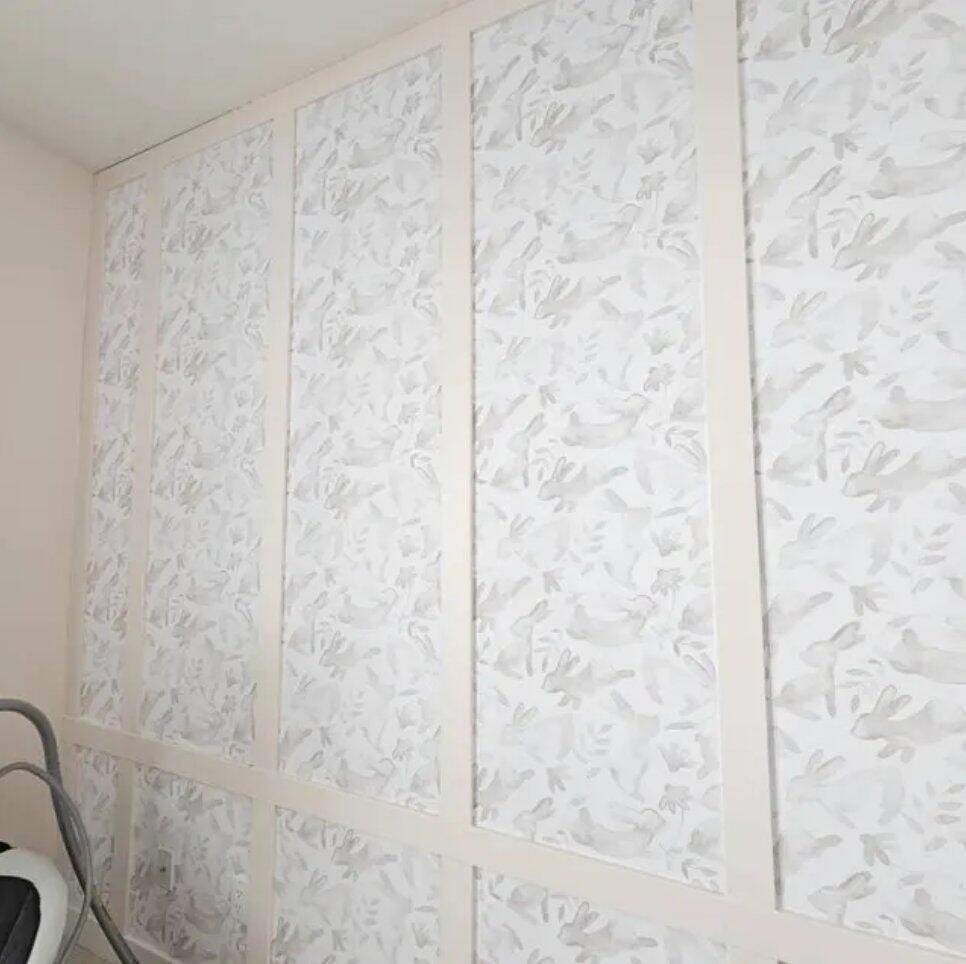
Start from left to right. The murals installation starts with the number 1 panel from left to right.
Step 1

To get started, measure the wallpaper panel width and then on the wall measure out the width of the panel from the left and draw a mark.
Step 2

Draw a vertical line using a level. This is a line for your first panel. Do NOT align a wallpaper to a corner or ceiling since they are not perfectly straight.
Step 3

Peel off and fold the backing paper of about 10 inches. Hold the self-adhesive wallpaper to prevent it from sticking spontaneously to the wall.
Step 4

Stick the panel to the top of the wall with 1in overlapping to the ceiling. Align the right side to the vertical line. Slowly peel off the backing paper down and, at the same time, smooth the newly unstuck part from the center to the sides with a towel or squeegee working your way down so the wallpaper could adhere properly and no bubbles would not form.
Always pull the backing paper straight - never in an angled direction.
Step 5

Start smoothing with a squeegee from the center and work your way outwards for the best results and better adhesion.
If any air bubbles remain on the self-adhesive wallpaper, pierce them with a needle and smooth with a towel or squeegee.
Also remember that if you make a mistake and peel off a piece of wallpaper, you can always reapply it without any issue—just make sure the adhesive side is not exposed for too long, or else it will become damaged.
Step 6

Select your next panel and apply it in the same way but you’ll need to overlap the right edge of the previous panel by the next panel’s left side, matching the pattern.
Smooth each panel with a squeegee during installation and you can repeat smoothing in a couple days for better adhesion.
Step 7
Use a cutter to trim any excess material and to cut around or other wall openings.
Finishing Touches for Perfectly Installed Peel and Stick Wallpaper
Now that you've finished putting up the wallpaper, it's time to take care of the finishing touches. This could include going over the seams with an applicator to ensure they stick down properly and that there are no air bubbles.
It's also a good idea to use a brush or roller to smooth out any remaining bumps or wrinkles in the wallpaper.
Troubleshooting Common Issues With Peel and Stick Wallpaper
If you’re having some trouble with your DIY wallpaper project, there are a few common issues you should be aware of. The first is dealing with air bubbles, which can happen if the wall isn’t properly prepared. To prevent this issue, make sure the surface is dust-free and dry, as well as smooth and even before you start. Wall paint issues post
Additionally, you should test out a small sample piece on your wall before you start the full application. Not only will this give you an idea of how the pattern will look on the wall but it can also help identify any potential sticking issues that might arise later on. Try a sample!
Finally, make sure to use a sharp knife to trim any excess pieces of wallpaper. A sharp knife will give you an accurate and clean cut that will help create a neat finish for your newly installed peel-and-stick wallpaper.
Conclusion
There you have it—our ultimate guide to installing peel-and-stick wallpaper! If you follow these steps, you'll be sure to have perfect results. And don't forget, if you need any help along the way, our customer service team is always happy to lend a hand.