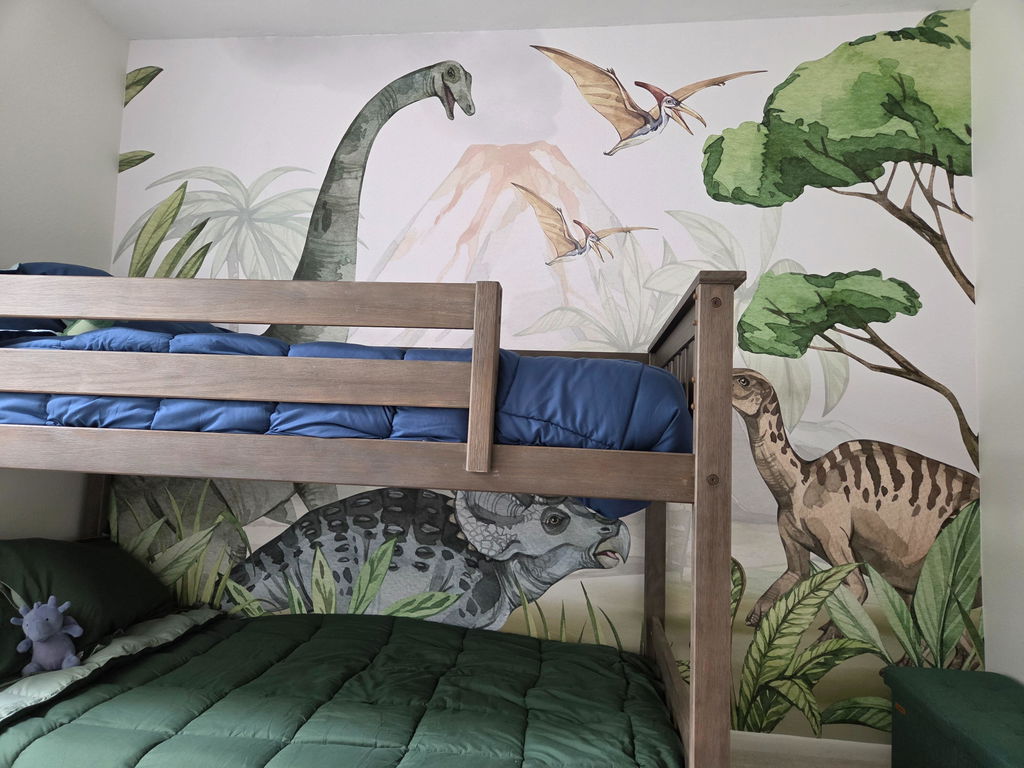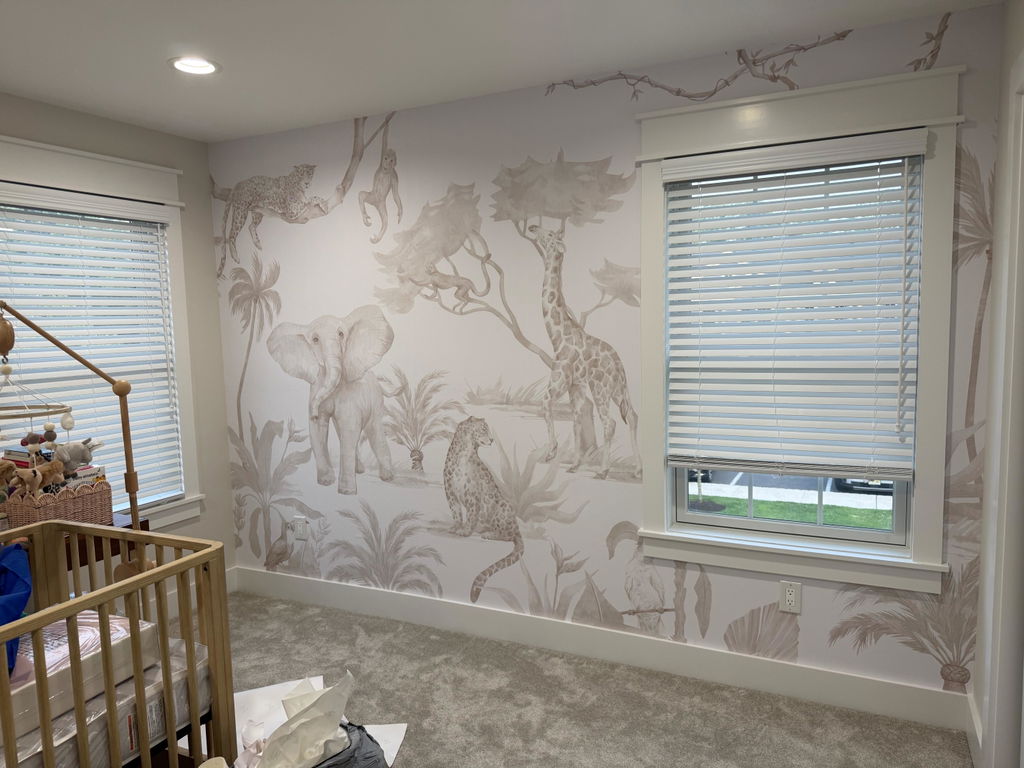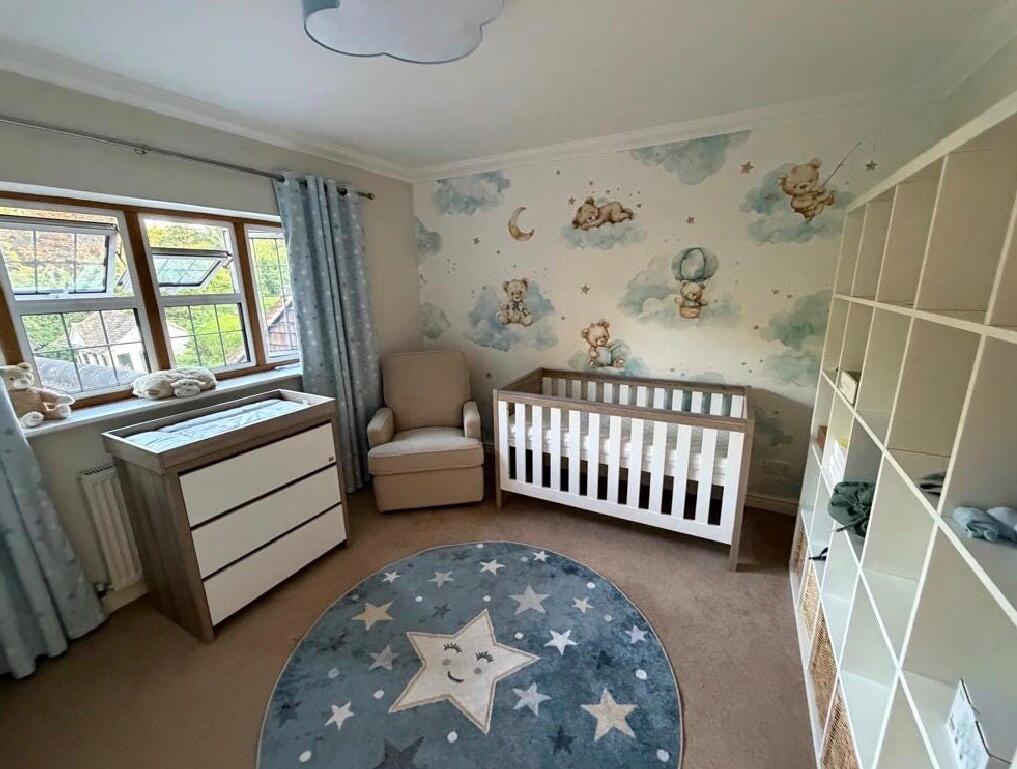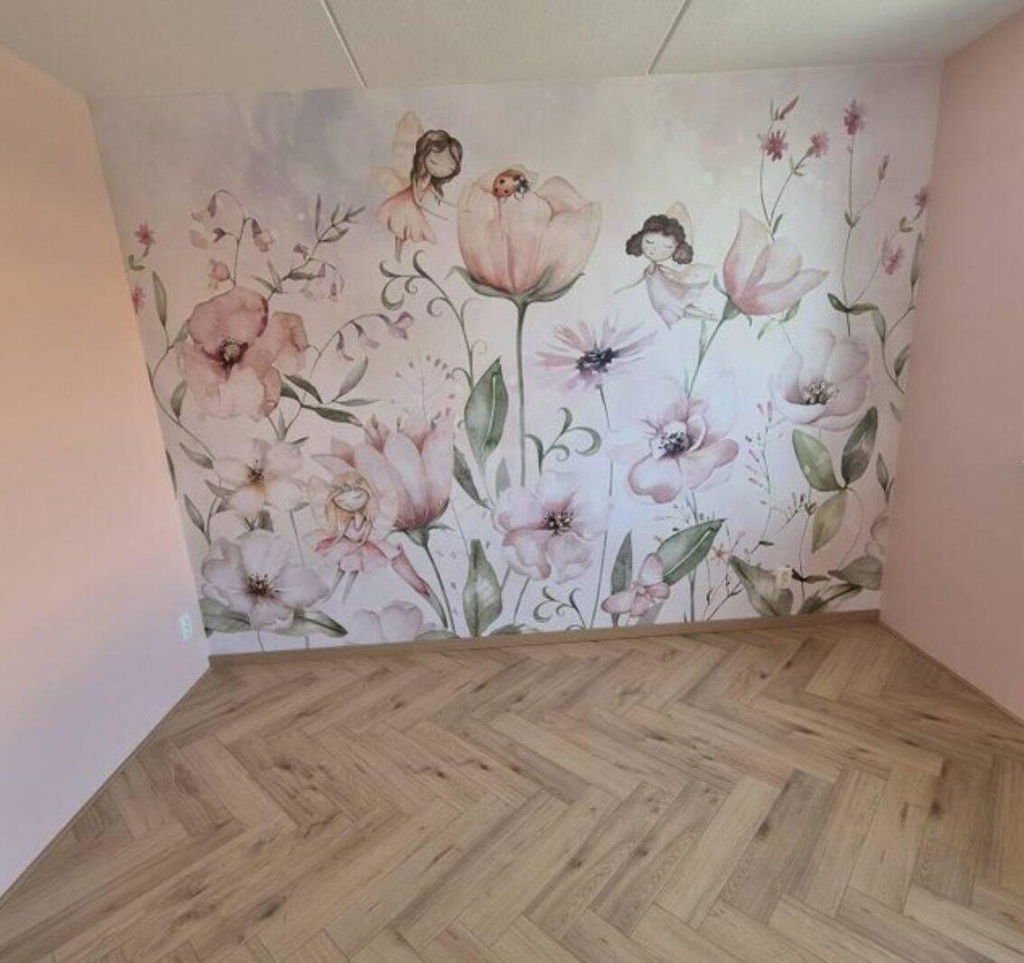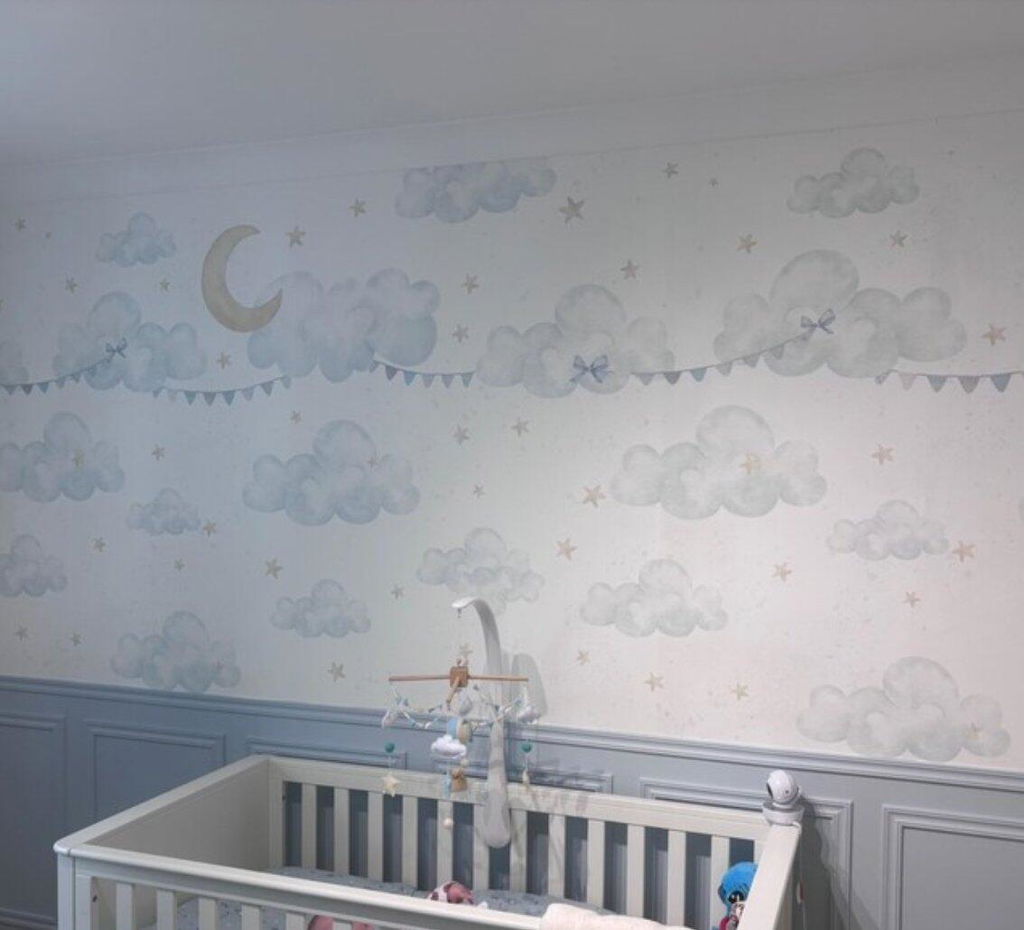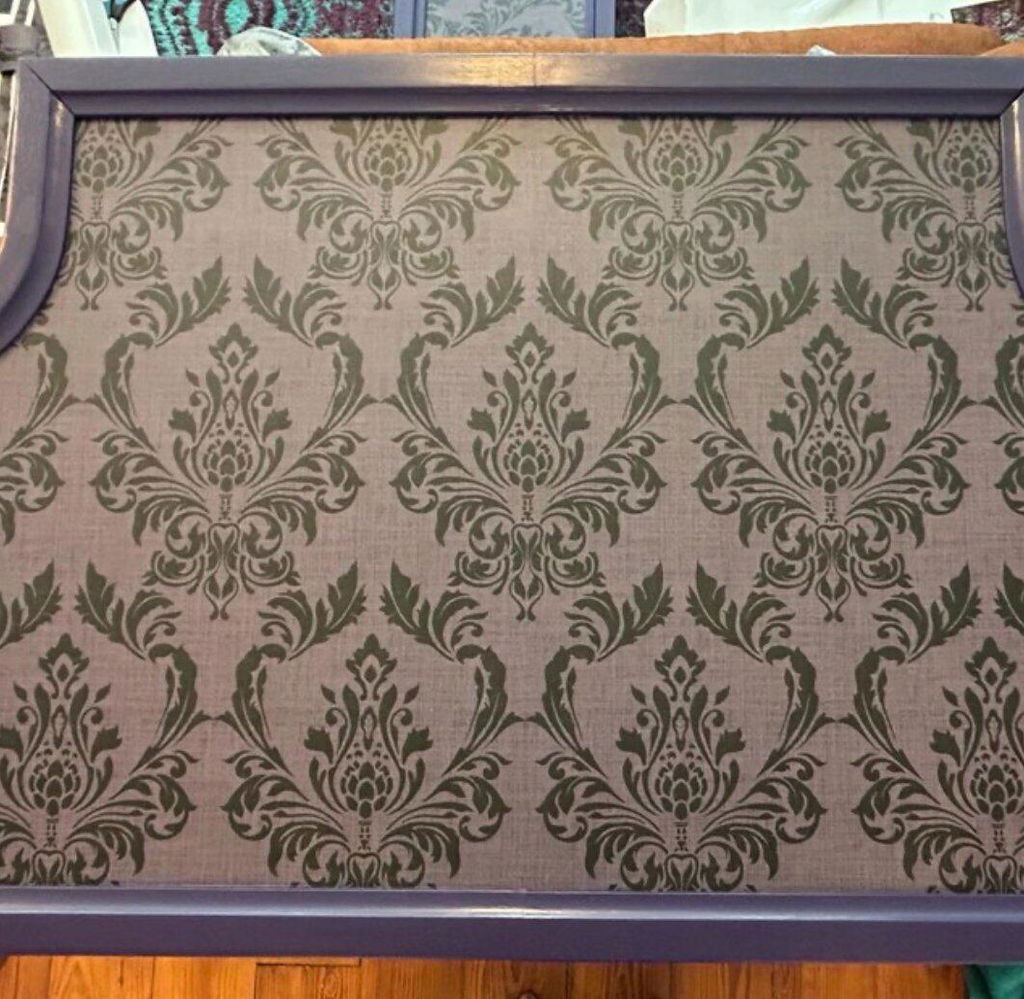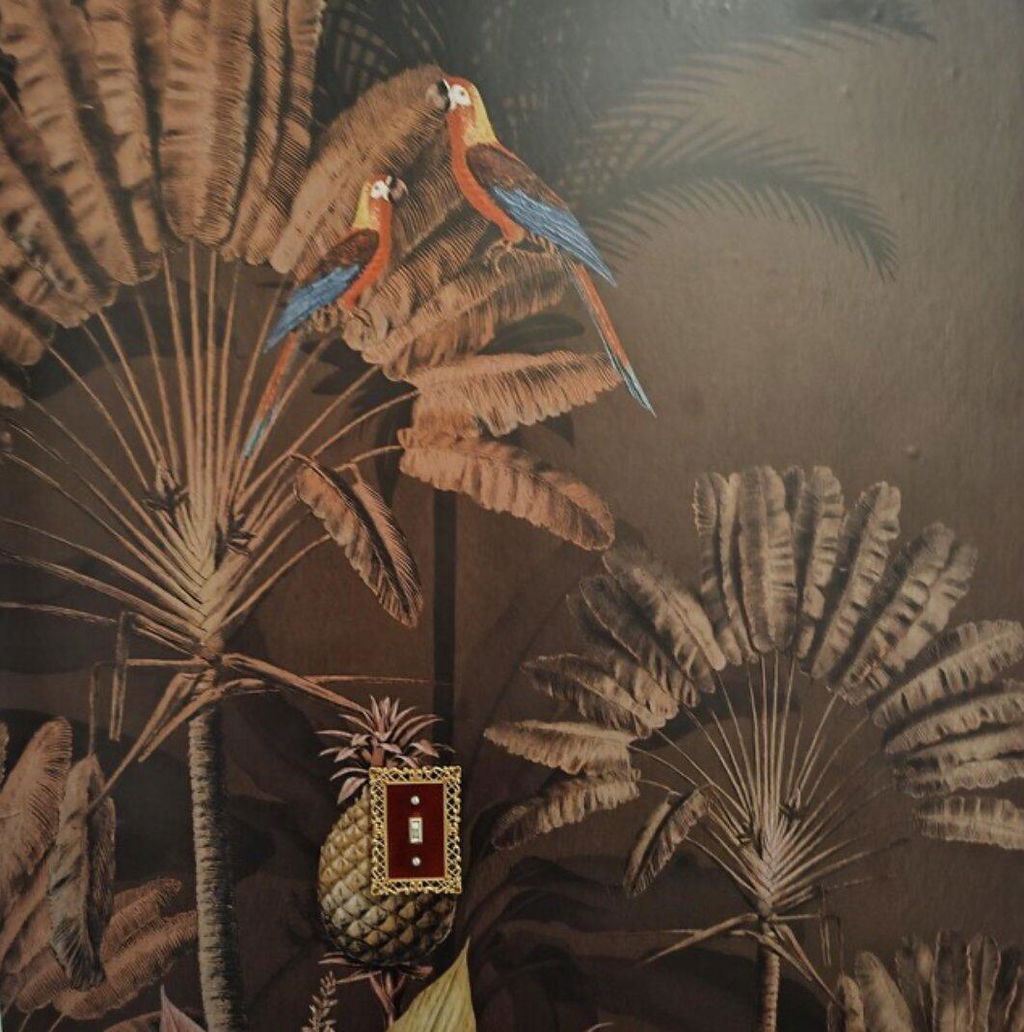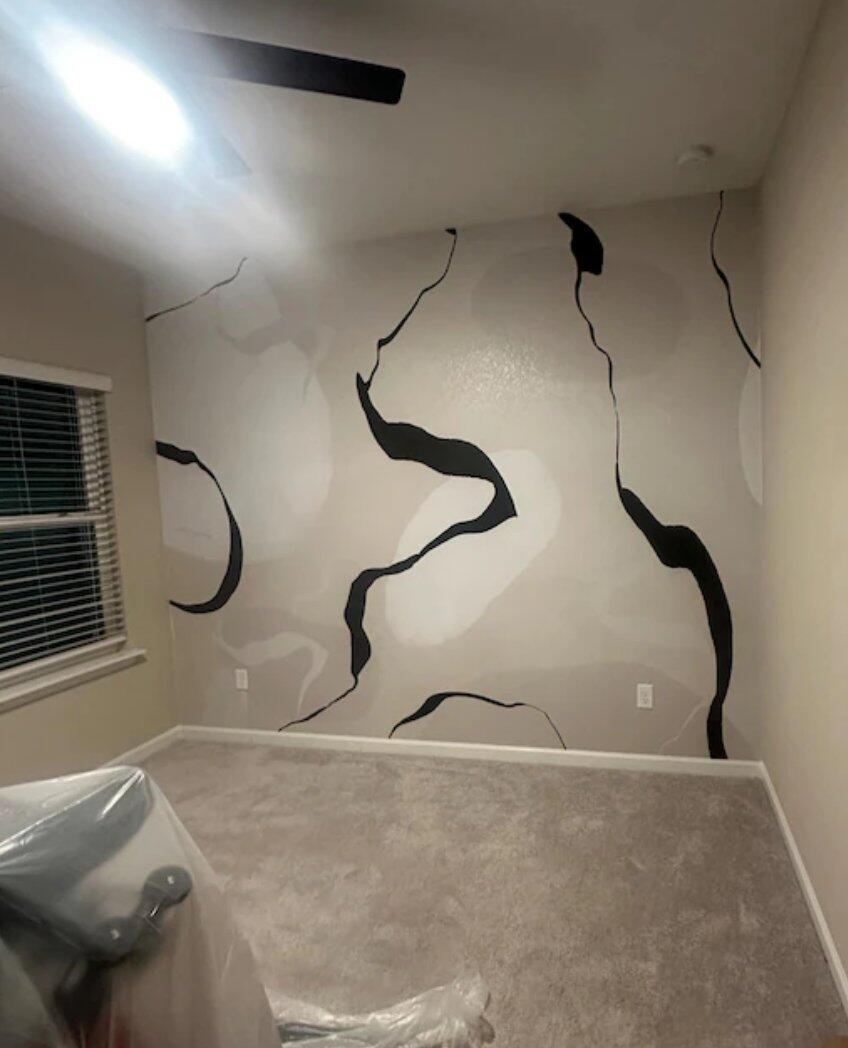
You have decided that you would like to install traditional wallpaper in your home. This is a great decision! Traditional wallpaper is beautiful, and it is a very easy material to work with. Below, we will walk you through the installation process step-by-step.
Before you start, make sure that the surface you are wallpapering is clean and dry. You may also want to apply a coat of primer to help the wallpaper adhere better.
Now let's get started!
Before you start installing your wallpaper, you will need the following tools:
- Measuring tape
- Paint roller and tray
- Paintbrush
- Wallpaper paste
- Scissors and a sharp knife
- Squeegee
- Level
- Sponge
Make sure you have everything you need before starting the installation process. This will help ensure a smooth and successful installation.
Before You Start: Preparation Tips
Before you start wallpapering, it's important to do a little preparation work. Here are a few tips to help make the process go smoothly:
- Measure the space you plan to wallpaper and make sure you have enough wallpaper to cover it. It's always better to have too much than not enough.
- Remove the wallpaper roll from the box, unfold it on a flat surface (floor or table), pattern side down, and leave it resting for about an hour so the wallpaper is not warped and could achieve room temperature. Check the colors and pattern match before installation.
- Trim your wallpaper to the correct size before beginning. This will help avoid mistakes and make the installation process go more quickly.
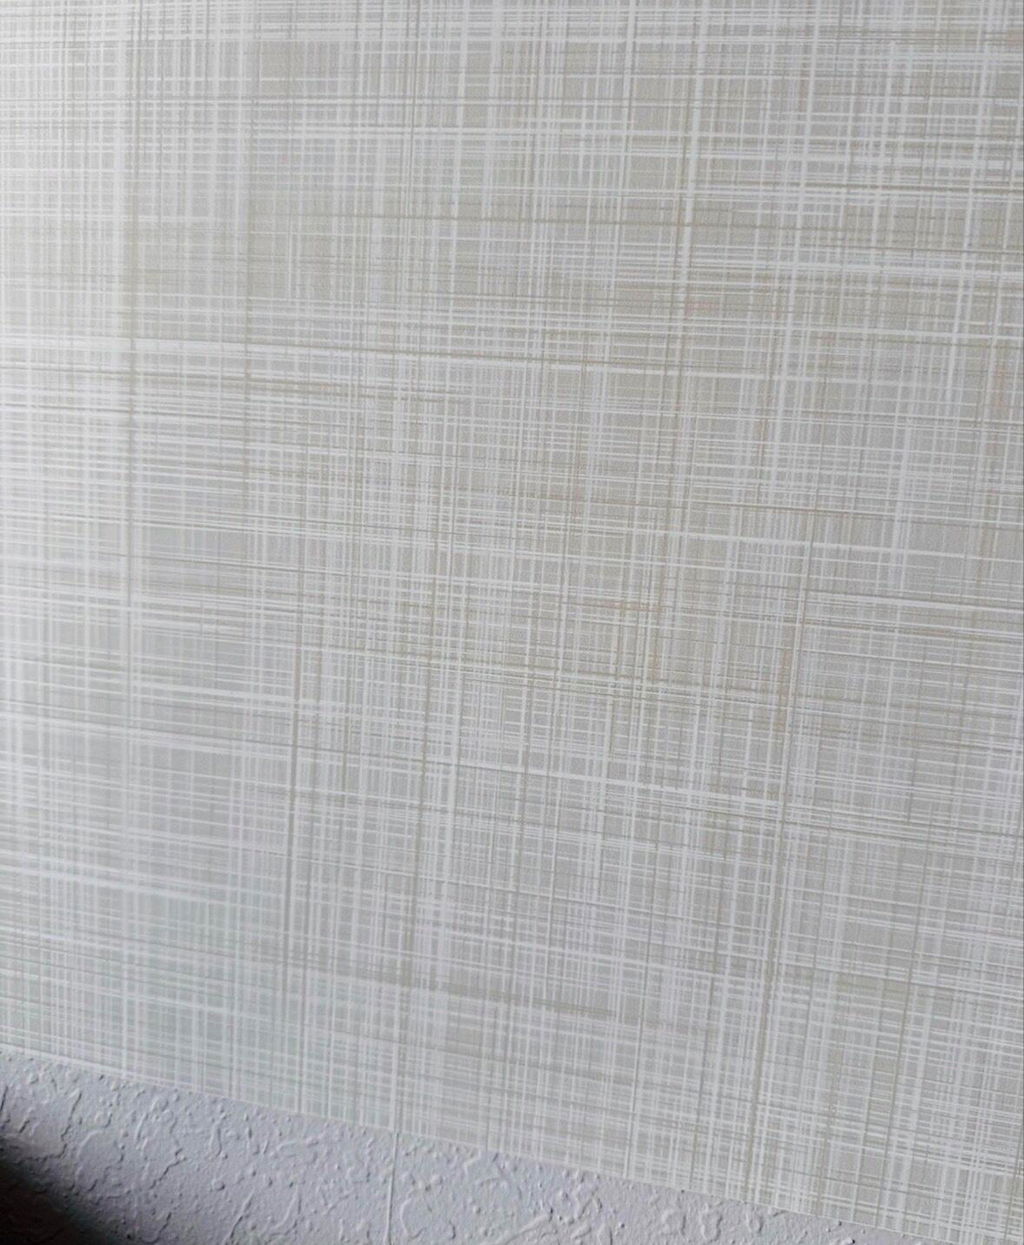
- Make sure the surface you're papering is clean and smooth, with no bumps or ridges. Any imperfections will show through the wallpaper.
- Remove any loose paint and old wallcoverings
- If your walls are newly plastered, you'll need to wait at least 3-4 weeks for them to completely dry before applying the wallpaper.
- All the nicks, nail heads, drywall joints should be filled or taped, and sanded.
- Do not hang wallpaper over ballpoint pen markings, wax crayon, ink marker, oil-based stains that may bleed through the wallpaper.
- Glossy surfaces should be sanded or Primed
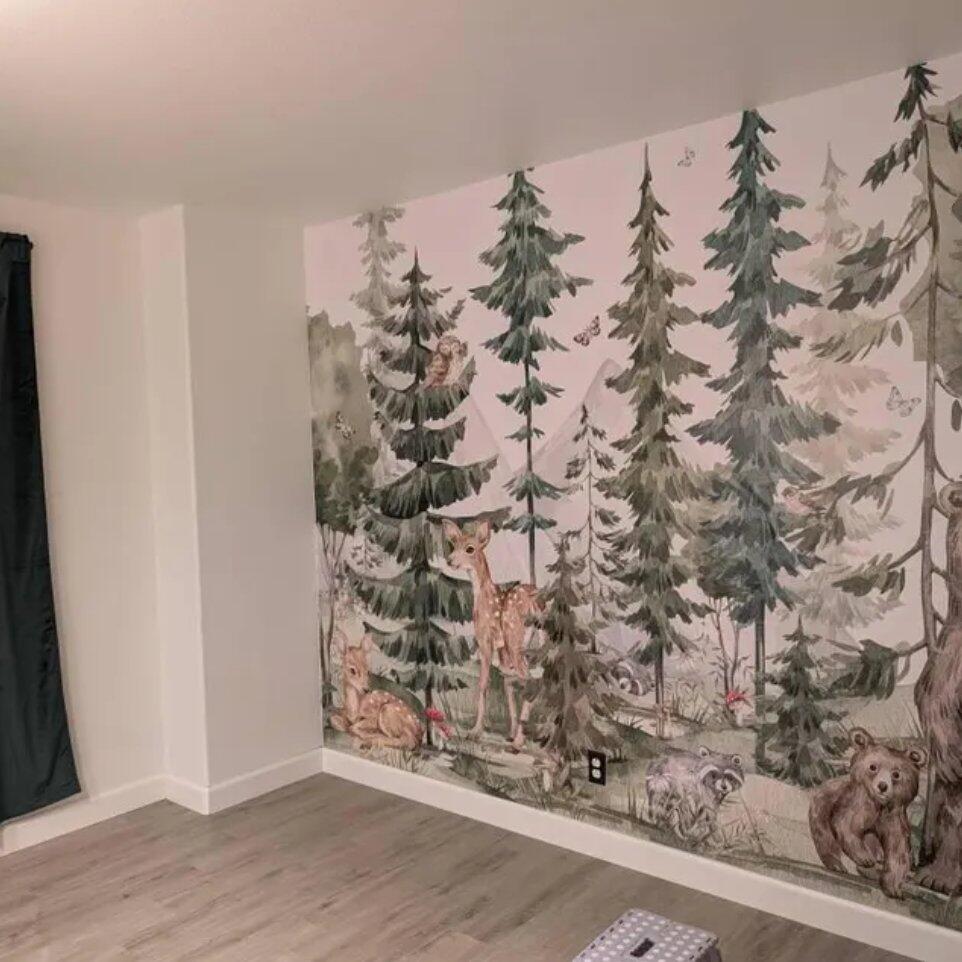
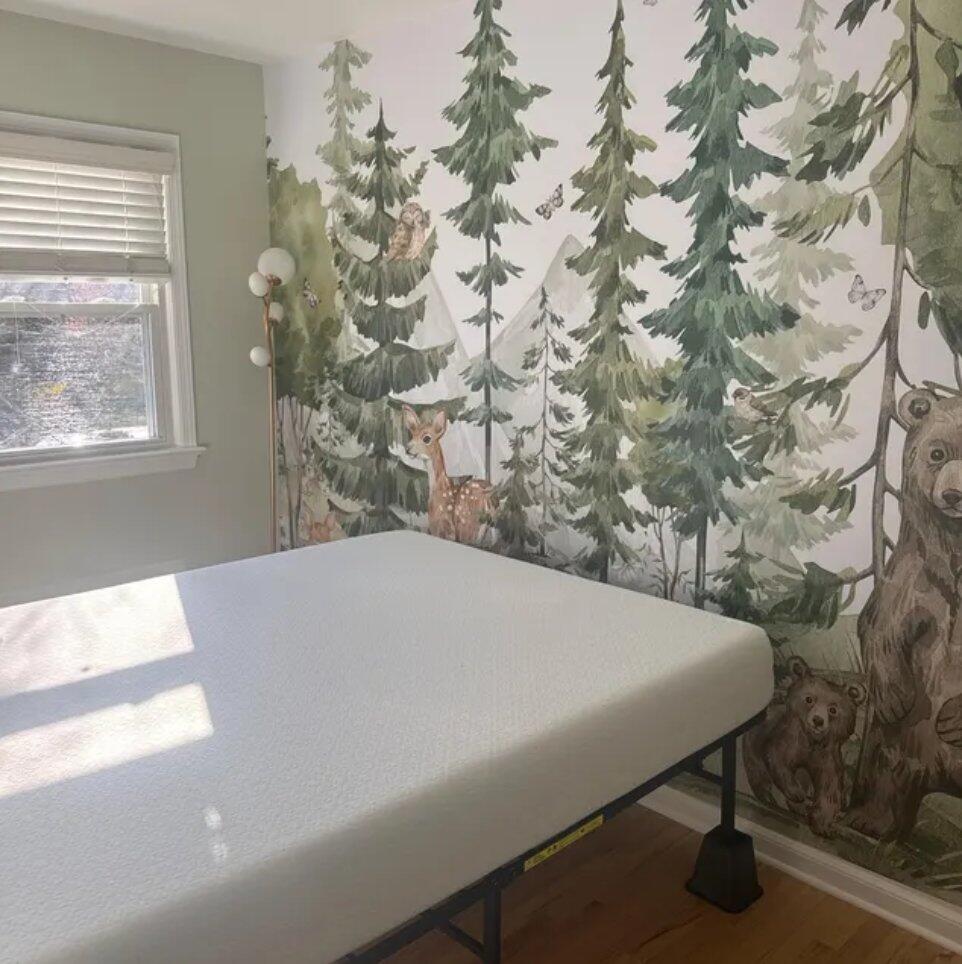
Step-by-Step Guide to Wallpapering
Now that you know what you need and have gathered your supplies, you’re ready to start installing your non-woven wallpaper. Here are some tips to make the process go as smoothly as possible.
- Decide where you want to start papering and measure the height and width of the wall. This will help you determine how much wallpaper you will need.
Step 1

Start from left to right. The murals installation starts with the number 1 panel from left to right. Measure the wallpaper panel width and then on the wall measure out the width of the panel from the left and draw a mark.
Step 2

Draw a vertical line using a level. This is a line for your first panel. Do NOT align a wallpaper to a corner or ceiling since they are not perfectly straight.
Step 3

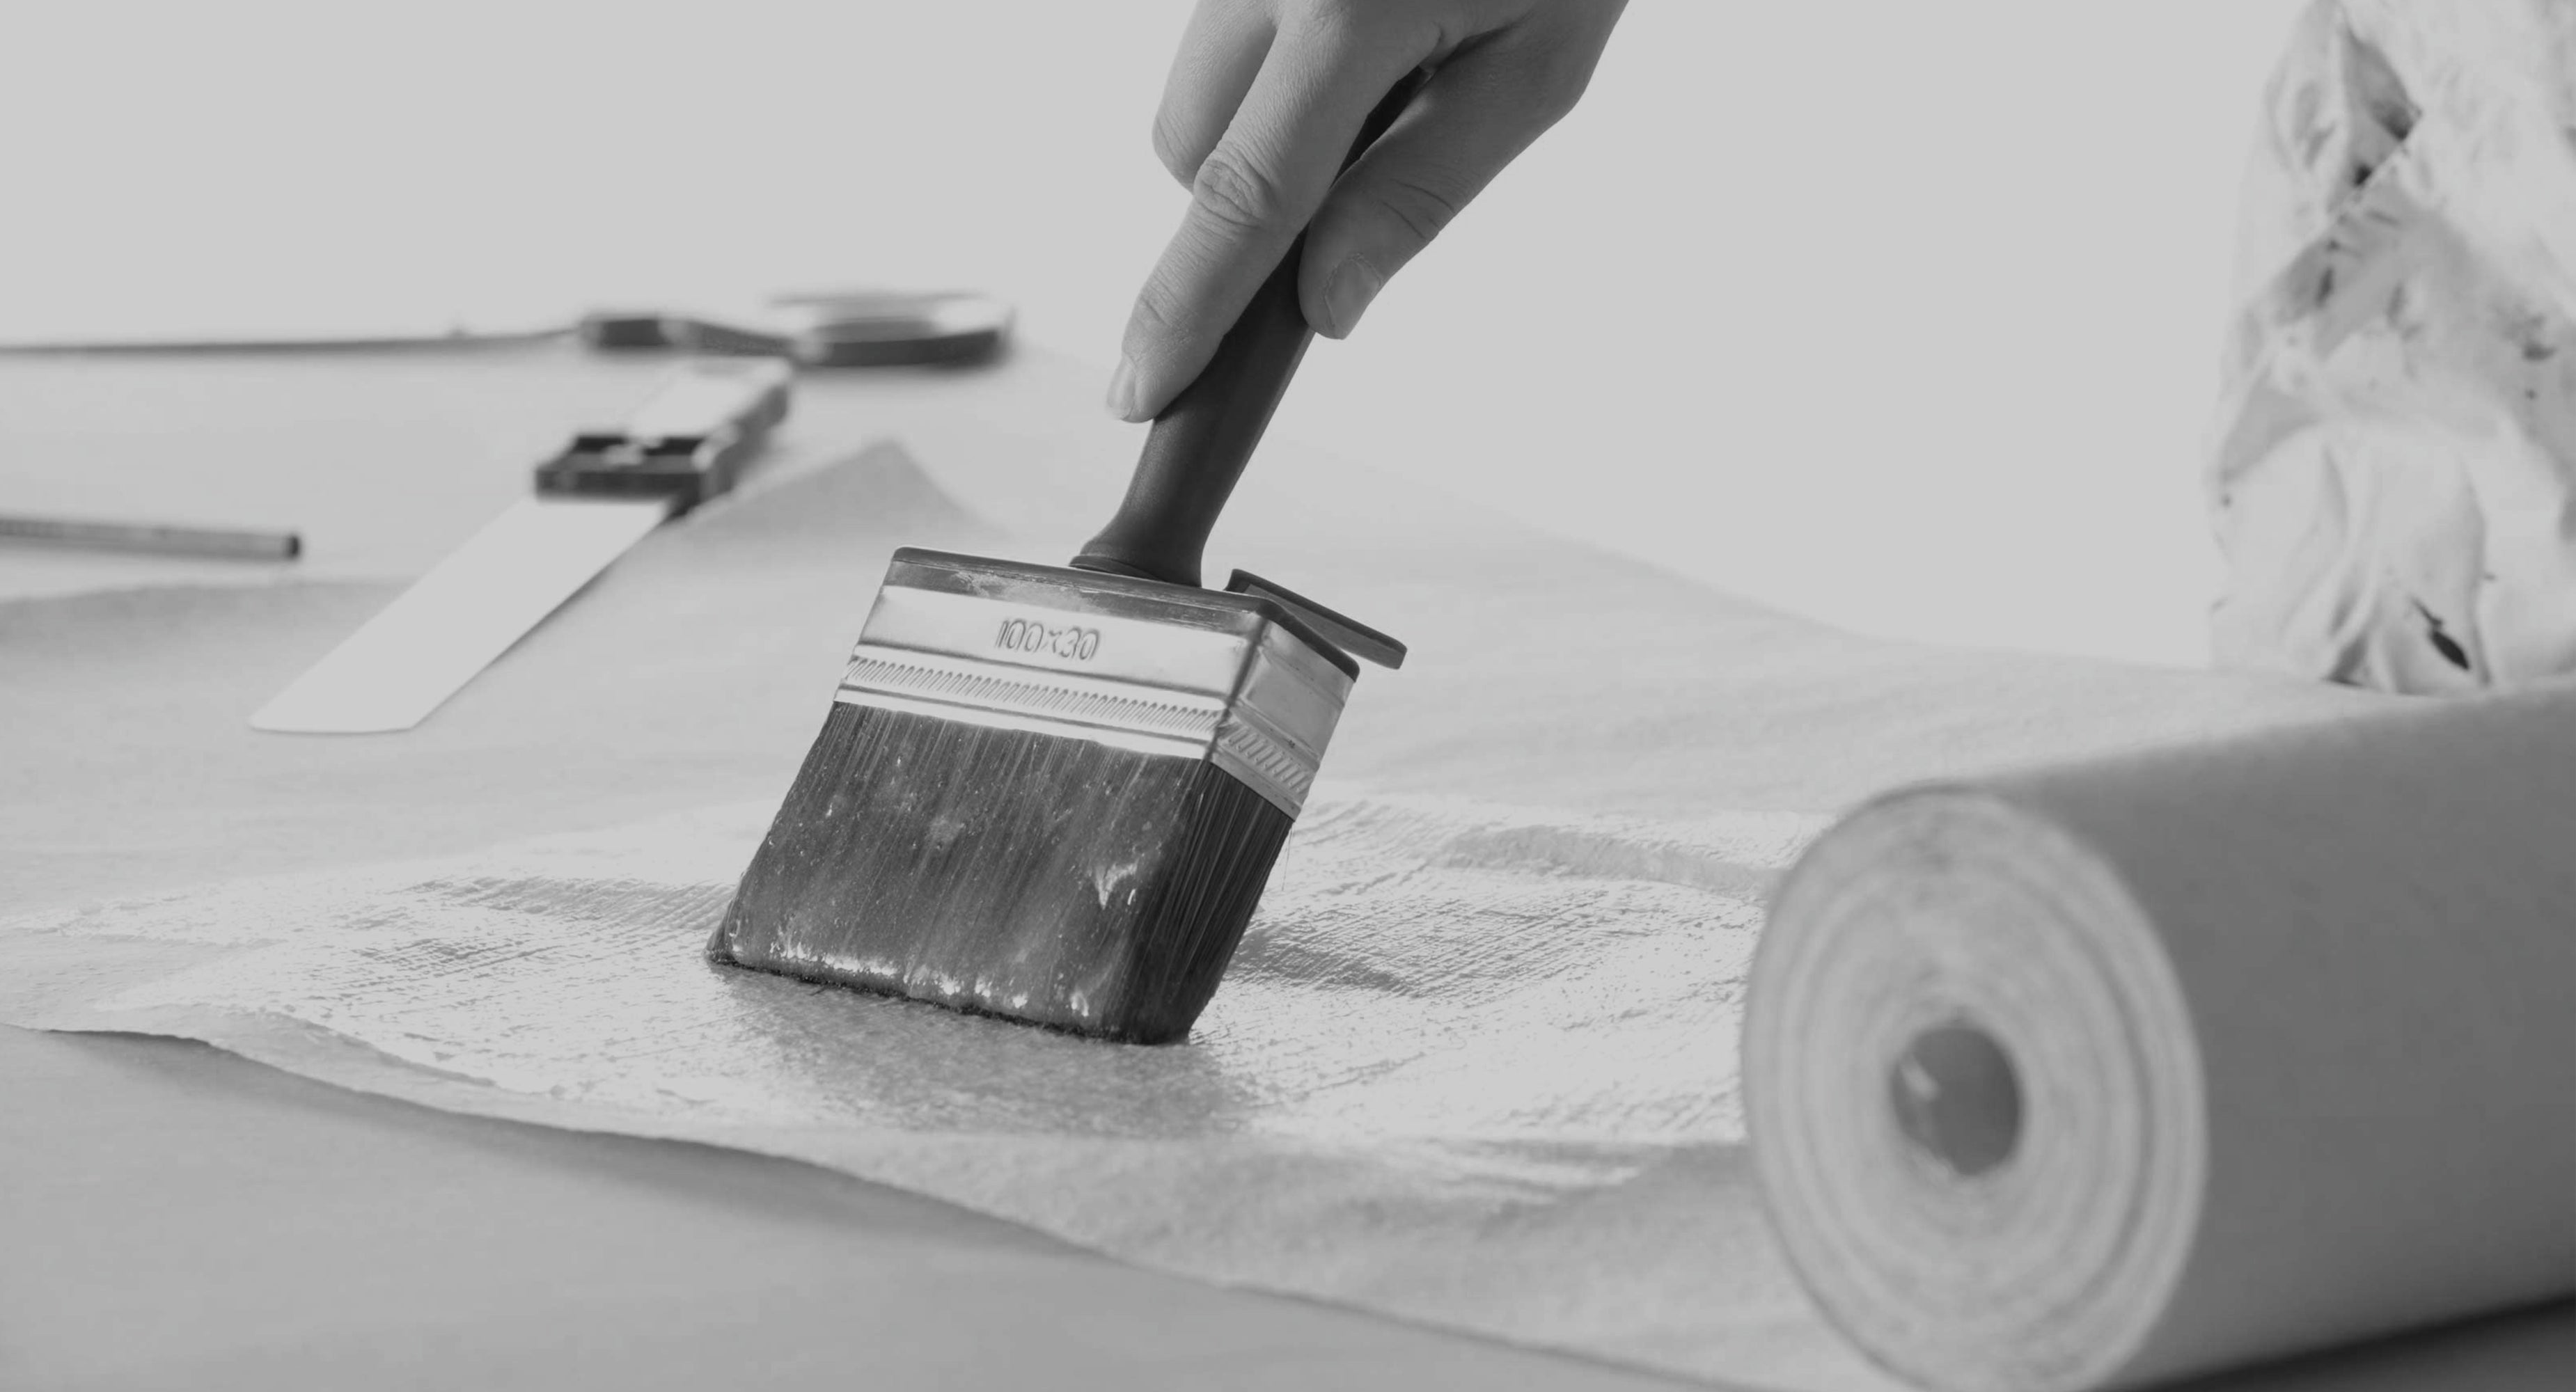
Apply adhesive to the wallpaper using a roller or brush.
Once the adhesive is applied, position the wallpaper on the wall, align the right side to the vertical line.
Smooth the panel from the center to the sides with a towel or roller working your way down so the wallpaper could adhere properly and no bubbles would not form.
Step 4

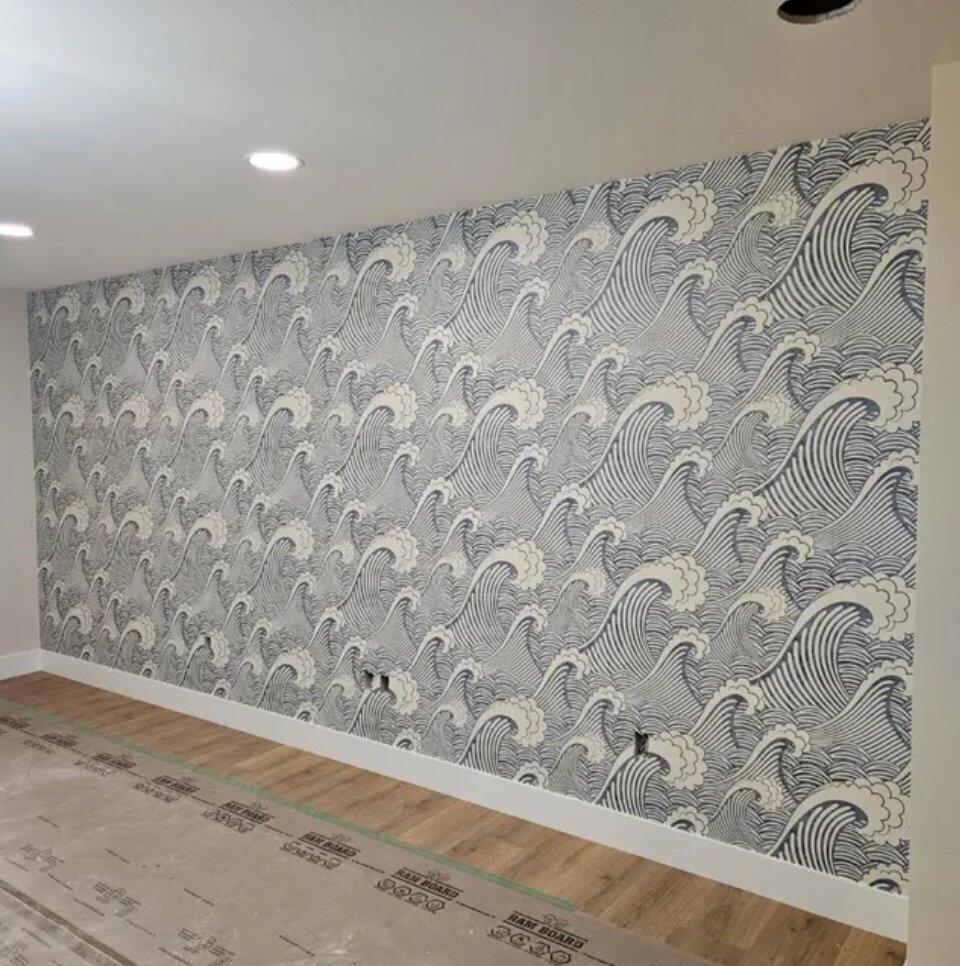
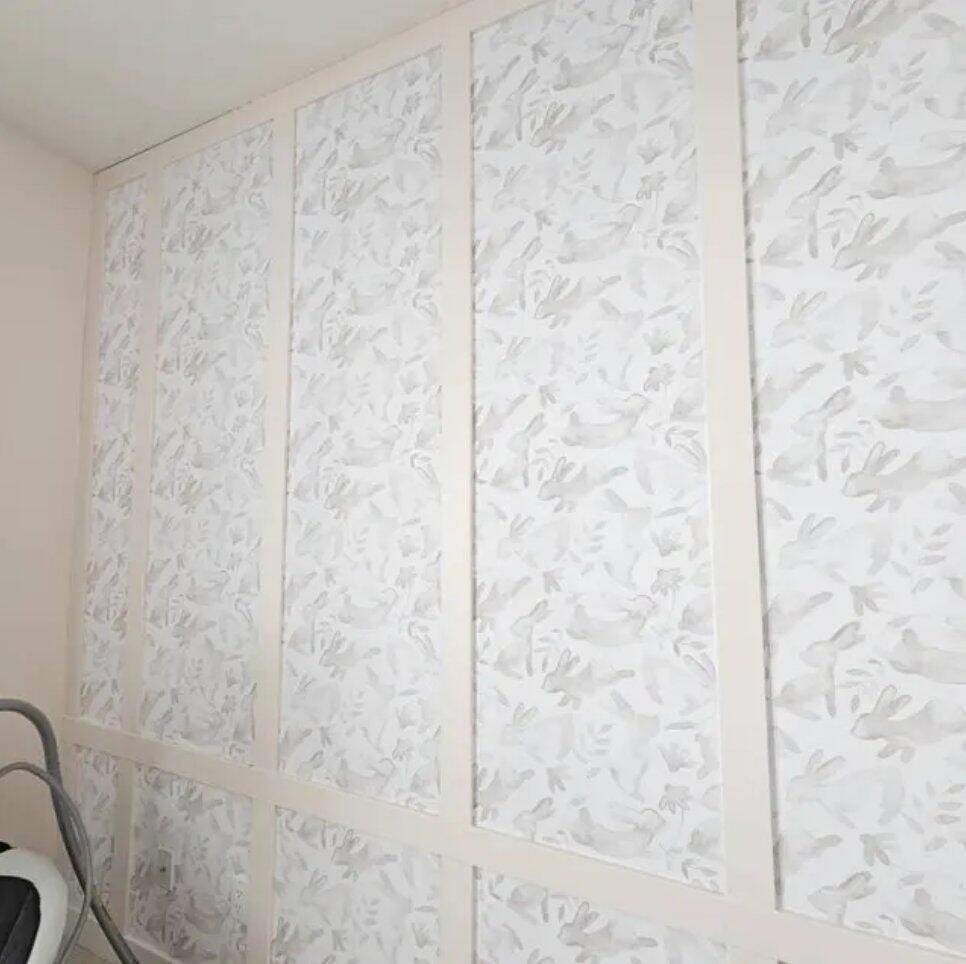
Select your next panel and apply it in the same way but you’ll need to overlap the right edge of the previous panel by the next panel’s left side, matching the pattern.
- Continue applying adhesive and hanging wallpaper until the entire wall is covered. Make sure the panels are lined up.
- As each strip is installed, immediately remove excess glue from the wallpaper surface and seam using a sponge.
- Roll the seams together with a seam roller
- When you're finished, trim away any excess wallpaper with a sharp knife or scissors.
- Stand back and admire your work!
That being said, traditional wallpaper can be a great choice if you're looking for something durable and long-lasting. Just make sure you take the necessary precautions before starting the installation process.
Troubleshooting Common Issues With Wallpaper Installations
If you find that you have any air bubbles or creases in your wallpaper after installation, simply use a pin to puncture the wallpaper and then smooth it out with your fingers. If there are any areas where the wallpaper isn't sticking, you can use a wallpaper brush or roller to apply more adhesive. Just be careful not to apply too much adhesive, as this can cause the wallpaper to wrinkle.
Another issue you might run into is that the seams of your wallpaper are showing. To fix this, simply apply seam adhesive to the back of the paper and then smooth it out with your fingers. Once the adhesive is dry, you can use a seam roller to make sure the edges are sealed properly.
If you find that your wallpaper is starting to peel away from the wall, don't panic! You can simply reapply the adhesive to the back of the paper and press it firmly against the wall. If that doesn't work, you can try using a brayer to roll over the entire surface of the paper. This will help embed the paper into the adhesive and make it less likely to peel away from the wall.
Conclusion
So there you have it—a comprehensive guide on how to install traditional non-woven wallpaper! We hope you found this guide helpful, and that you enjoy your newly wallpapered room.