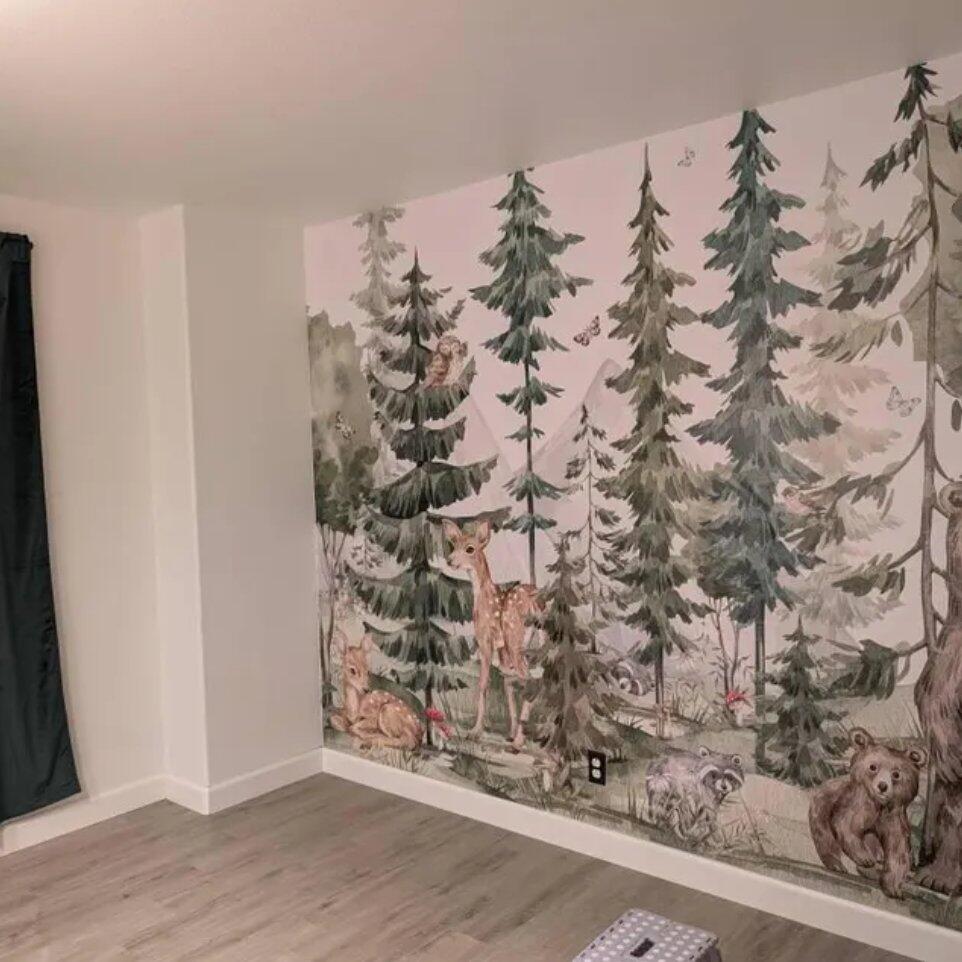
Pre-pasted wallpaper is a type of wallpaper with an adhesive already applied to the back, activated by water, making installation faster, cleaner, and easier than traditional wallpaper. It has long been a popular choice in home décor because it balances durability, flexibility, and DIY-friendly installation. In this guide, we explain the meaning of pre-pasted wallpaper, how it works, its advantages, how to install and remove it, and how it compares to peel-and-stick and unpasted wallpaper.
What Is Pre-Pasted Wallpaper?
If you’re asking, “What does pre-pasted wallpaper mean?”, the answer is straightforward. Pre-pasted wallpaper comes with a dry adhesive on its backing that becomes sticky when activated with water. Unlike unpasted wallpaper, it does not require manually applying glue, which simplifies the process and reduces mess.
Because the adhesive activates gradually, pre-pasted wallpaper allows for repositioning during installation, making it suitable for both beginners and professionals.
Advantages of Pre-Pasted Wallpaper
Pre-pasted wallpaper offers several practical benefits:
-
Easy Installation – No separate glue is required, which reduces preparation time and cleanup.
-
Strong Adhesion – Once properly activated, the adhesive forms a reliable, long-lasting bond.
-
Smoother Finish – Compared to peel-and-stick wallpaper, pre-pasted wallpaper allows adjustments before drying, helping achieve a seamless result.
-
Cost-Effective – Since no additional paste is needed, overall installation costs are lower than with unpasted wallpaper.
How to Install Pre-Pasted Wallpaper: Step-by-Step
A successful installation depends on preparation and proper technique.
1. Gather Materials and Tools
You will need pre-pasted wallpaper, a bucket of water or water tray, a sponge or spray bottle, a smoothing brush or roller, a utility knife, and a straight edge.
2. Prepare the Wall Surface
Clean the wall to remove dust or grease. Repair cracks or holes and ensure the surface is smooth and completely dry before starting.
3. Activate the Adhesive
Measure and cut each strip with a small allowance for trimming. Evenly apply water to the back of the wallpaper using a sponge, roller, or spray bottle. Follow the manufacturer’s recommended activation time—usually a few minutes. Wetting pre-pasted wallpaper is essential, as it activates the adhesive and ensures proper bonding.
4. Apply and Align the Wallpaper
Position the first strip at the top of the wall, making sure it is level. Smooth it downward to remove air bubbles. Apply additional strips, carefully aligning patterns or seams.
5. Trim Excess Edges
Once the wallpaper is in place, trim excess material using a sharp utility knife and straight edge.
6. Clean Up
Remove excess moisture and adhesive residue with a damp cloth.
Pre-Pasted vs. Peel-and-Stick Wallpaper
Choosing between pre-pasted vs. peel-and-stick wallpaper depends on your priorities:
-
Adhesion – Peel-and-stick wallpaper has pressure-sensitive adhesive, while pre-pasted wallpaper requires water activation.
-
Repositioning – Pre-pasted wallpaper allows easier adjustments before drying; peel-and-stick is less forgiving.
-
Durability – Pre-pasted wallpaper generally adheres better and lasts longer, especially on lightly textured walls.
-
Removal – Peel-and-stick can usually be removed dry, while pre-pasted wallpaper often requires moisture.
Pre-Pasted vs. Unpasted Wallpaper
When comparing pre-pasted vs. unpasted wallpaper, the main differences are:
-
Ease of Installation – Pre-pasted wallpaper is simpler and faster since adhesive is built in.
-
Adhesion Control – Unpasted wallpaper allows professionals to choose specific paste formulas for challenging surfaces.
-
User Preference – DIY users typically prefer pre-pasted wallpaper, while professionals may choose unpasted wallpaper for complex or high-end projects.
Can You Use Extra Adhesive on Pre-Pasted Wallpaper?
Yes—additional adhesive can be used on pre-pasted wallpaper if needed. In high-humidity environments or on difficult surfaces, applying a thin layer of wallpaper paste can improve adhesion and prevent lifting at seams.
How to Remove Pre-Pasted Wallpaper
Removing pre-pasted wallpaper is straightforward when done correctly:
-
Identify the Type – Some varieties are dry-strippable, while others require moisture.
-
Apply Water – Use warm water or a wallpaper removal solution to soften the adhesive.
-
Peel Carefully – Start at the edges and pull gently. Use a putty knife for stubborn areas.
-
Clean the Wall – Remove any remaining adhesive residue with a damp cloth.
Conclusion
Pre-pasted wallpaper remains a reliable and versatile wall covering, offering a balance of convenience, durability, and aesthetic flexibility. Its straightforward installation and manageable removal make it an excellent choice for both DIY projects and professional interiors. Brands like CostaCover demonstrate how traditional pre-pasted wallpaper continues to combine practicality with timeless design, proving its lasting value in modern home décor.