Choosing the perfect peel-and-stick wallpaper for your home is exciting, but it can also feel overwhelming. Colors may look different on screens than they do in real life, and textures and adhesive quality can vary between brands. That’s why testing peel-and-stick wallpaper before committing to a full roll is one of the smartest steps you can take.
Why Test Peel-and-Stick Wallpaper First?
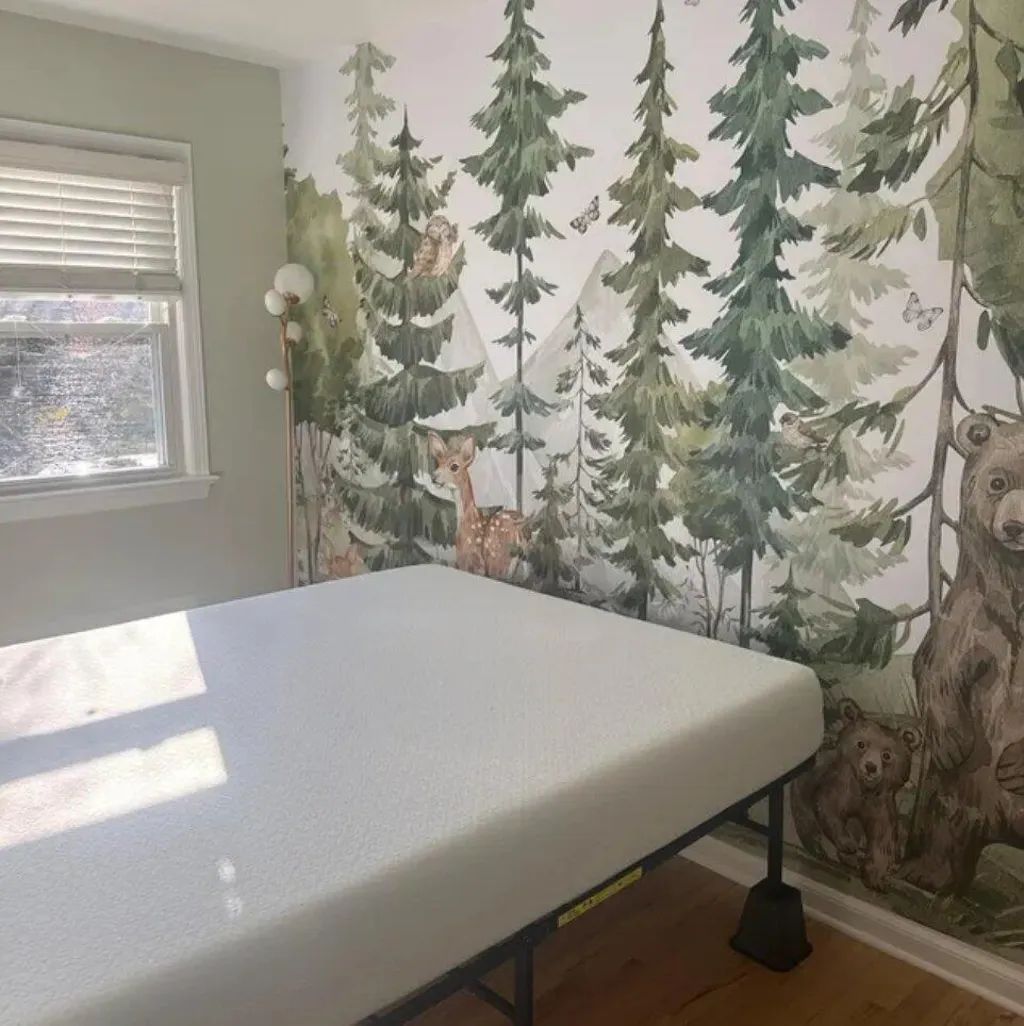
A wallpaper sample test gives you a hands-on way to see the pattern, color accuracy, texture, and adhesion of a product on your actual wall. Even high-quality product photos can’t fully represent how a wallpaper will appear in your lighting and space.
Here are just a few reasons to test:
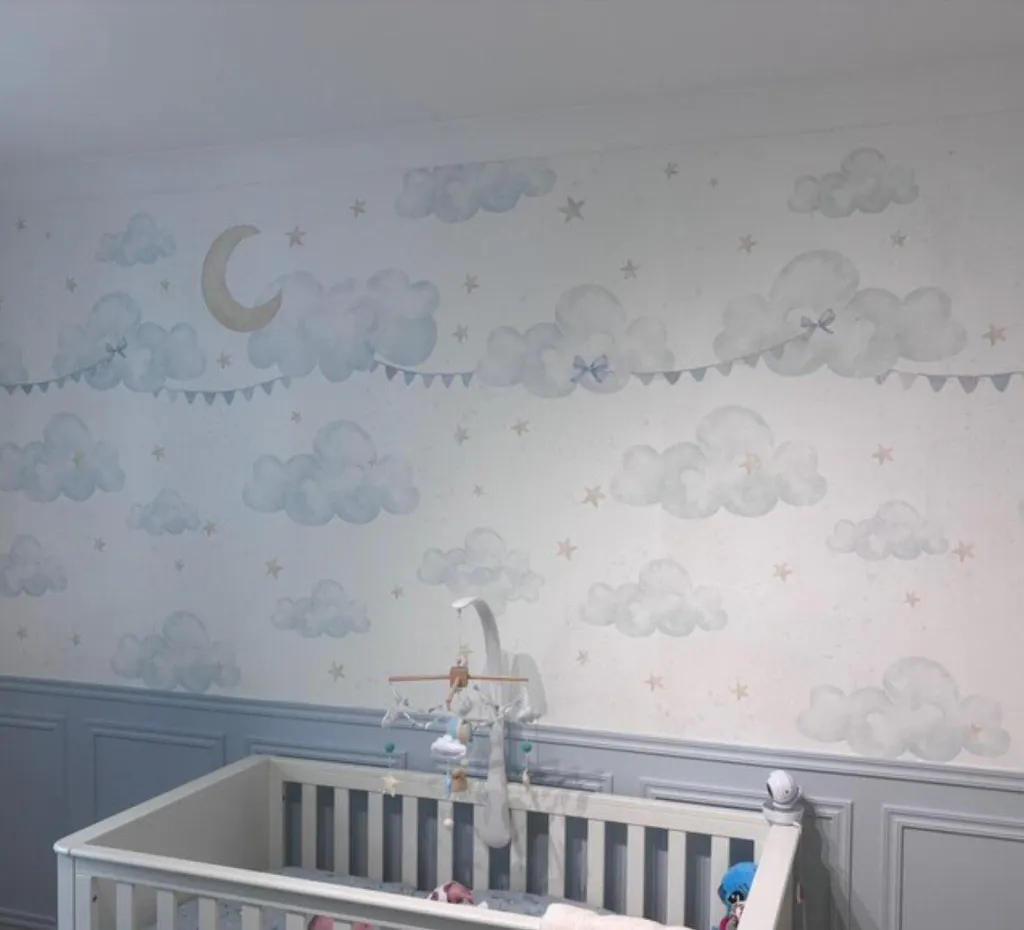
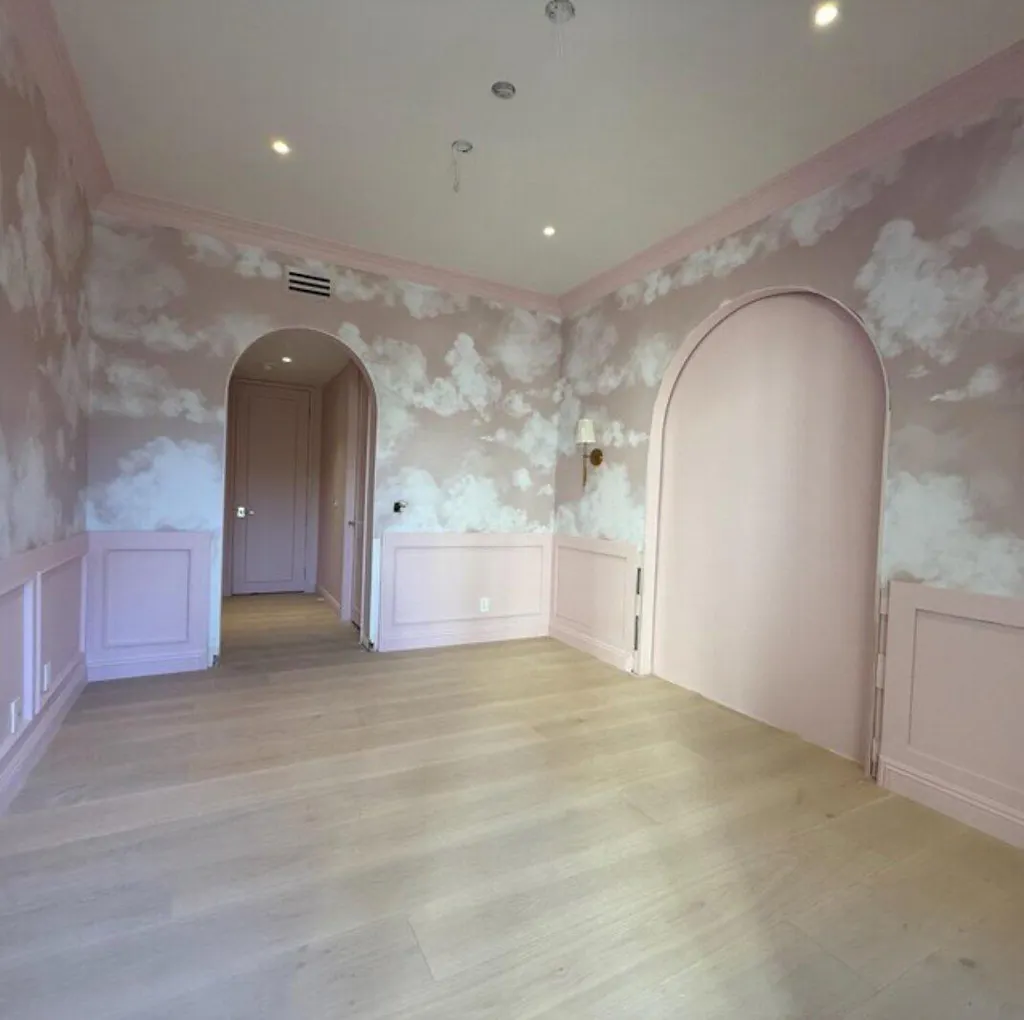
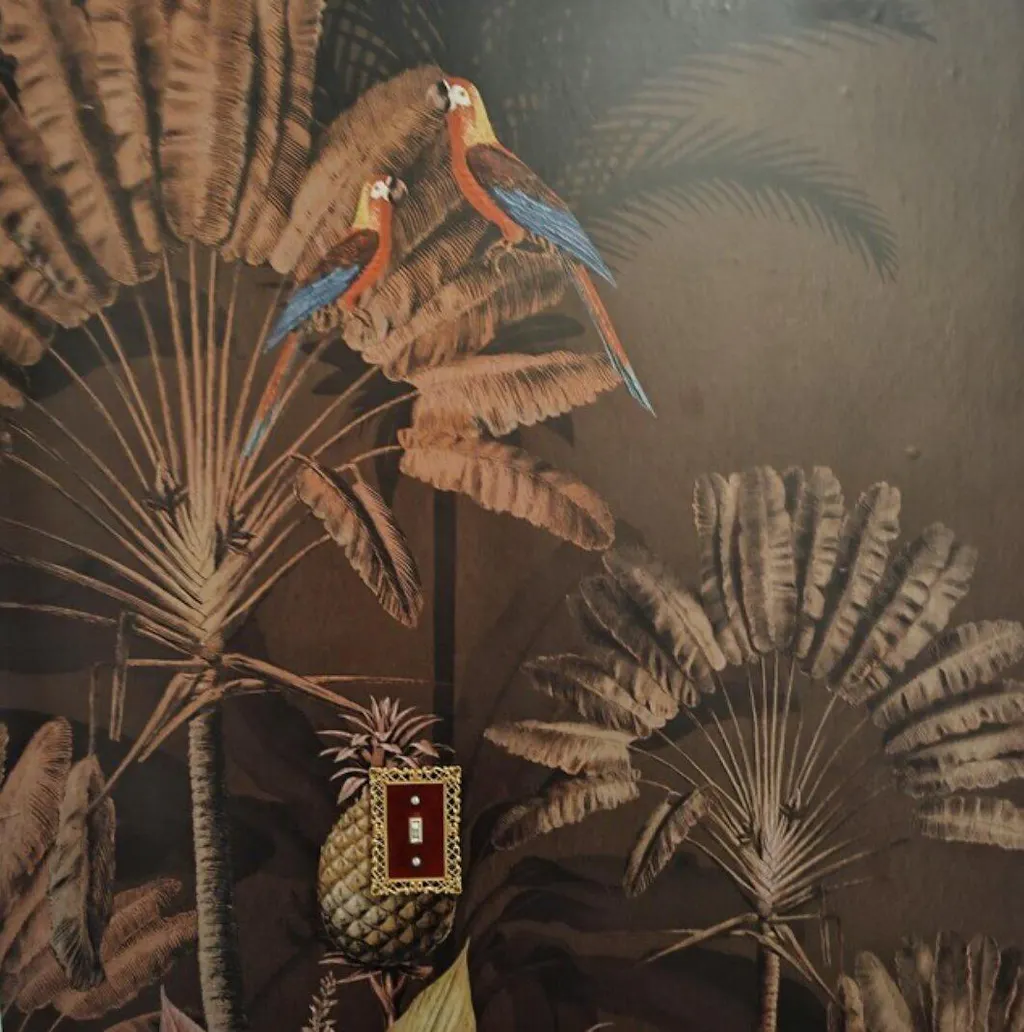
- Color and lighting: A beige on-screen may appear grayish under your home’s warm lighting.
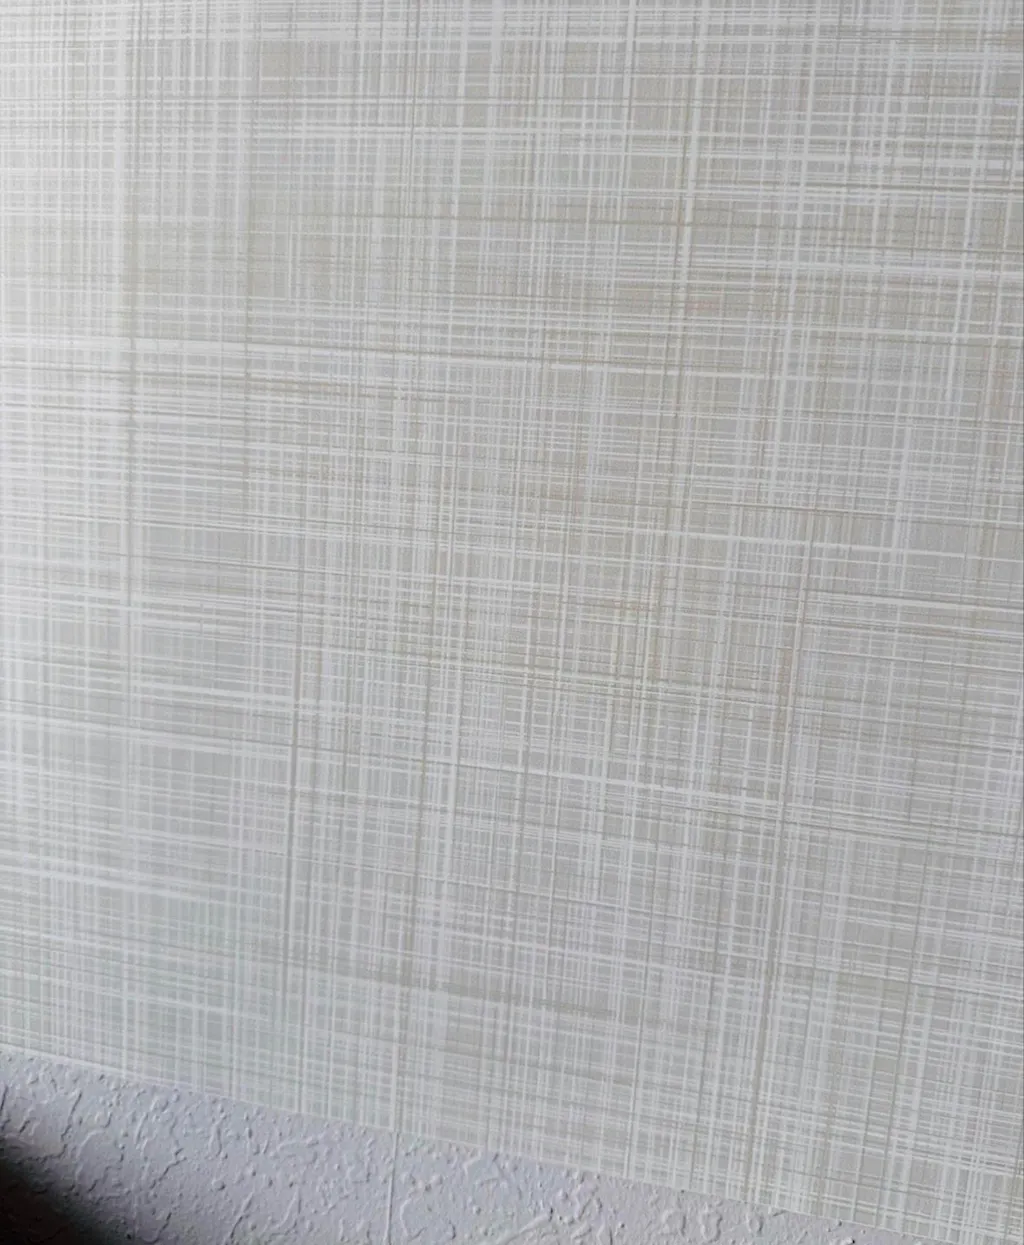
- Texture: Some wallpapers are flat, while others have subtle textures that add depth.
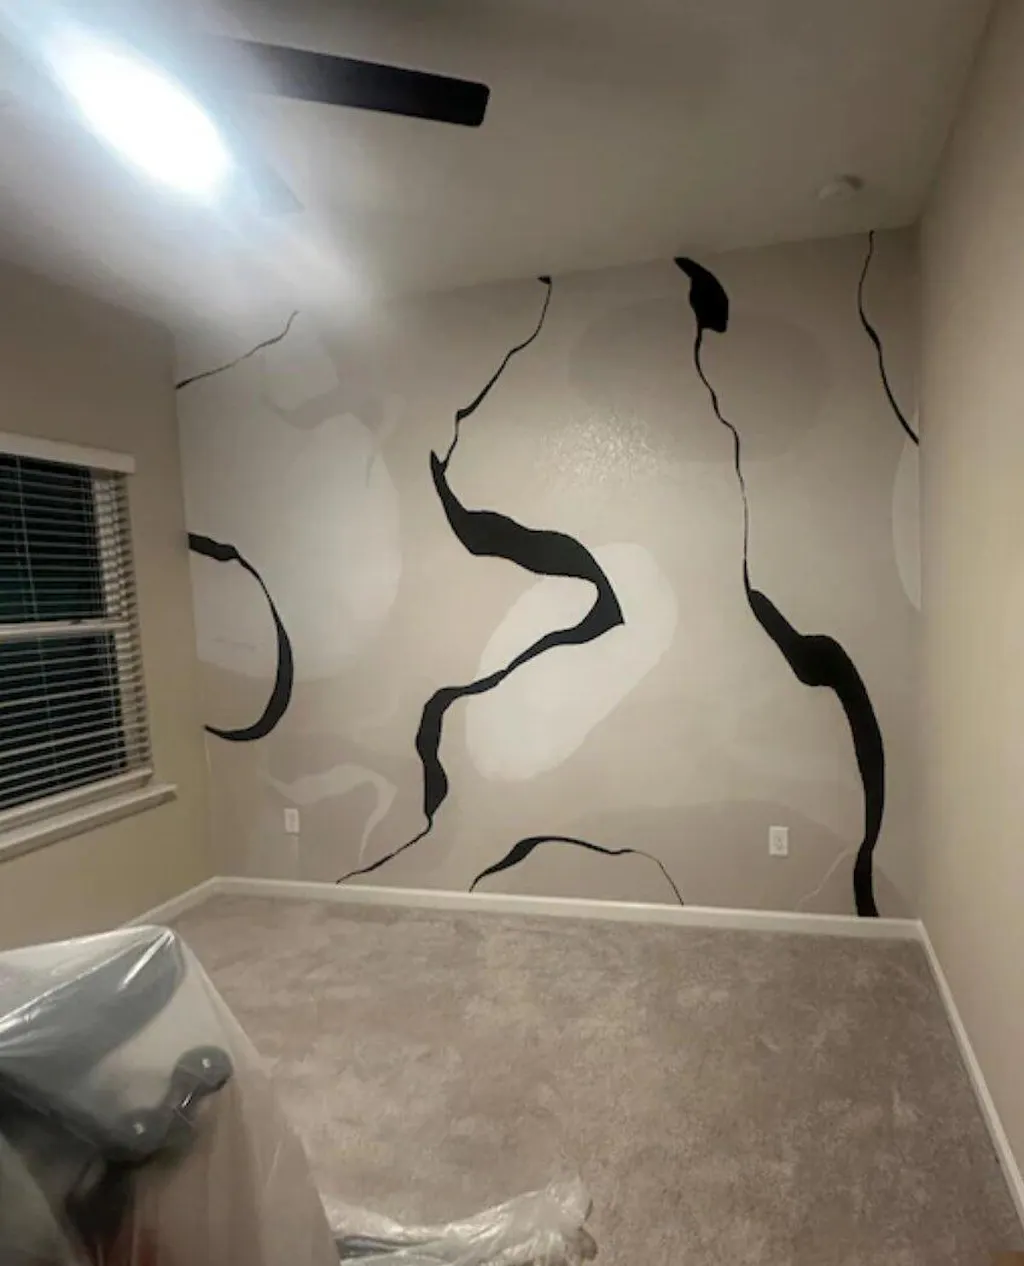
- Adhesion quality: Smooth walls may hold wallpaper well, but textured or matte-painted walls might need extra preparation.
How to Choose Wallpaper Samples Wisely
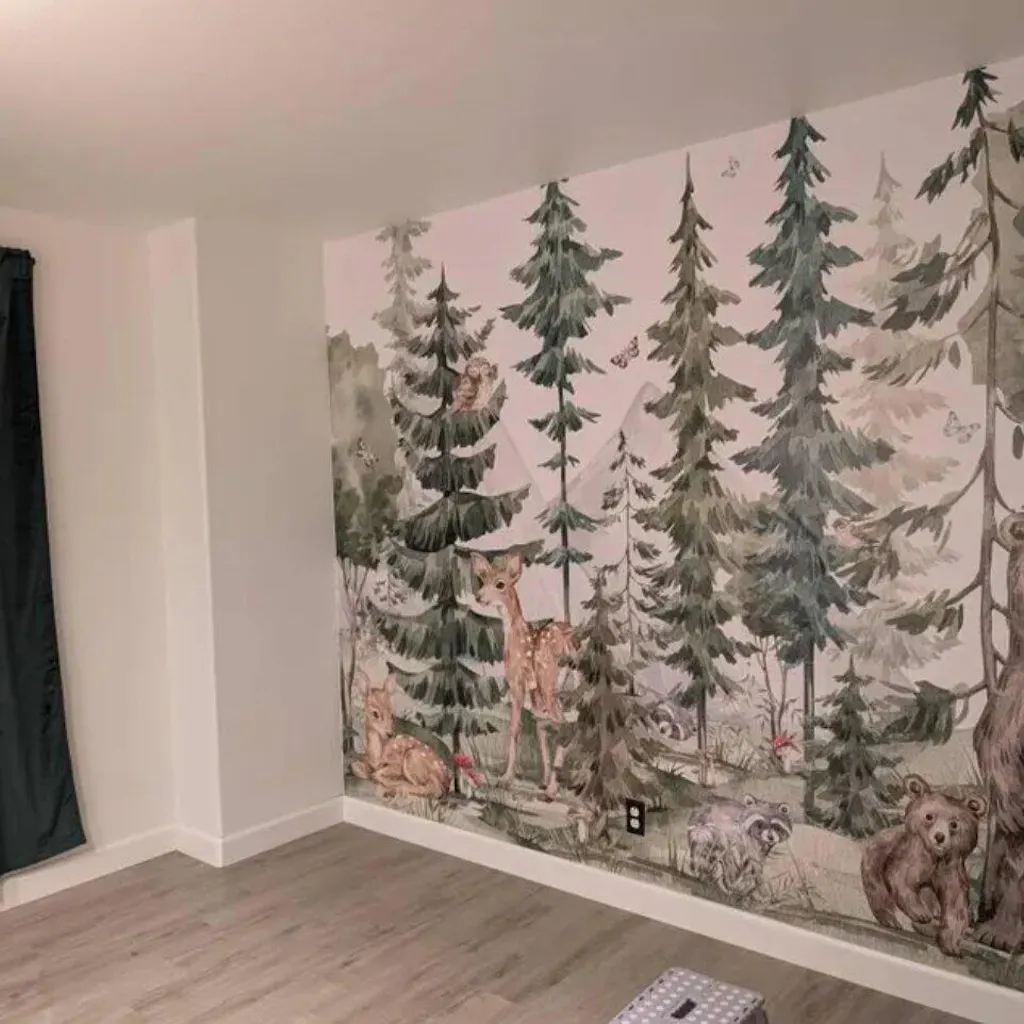
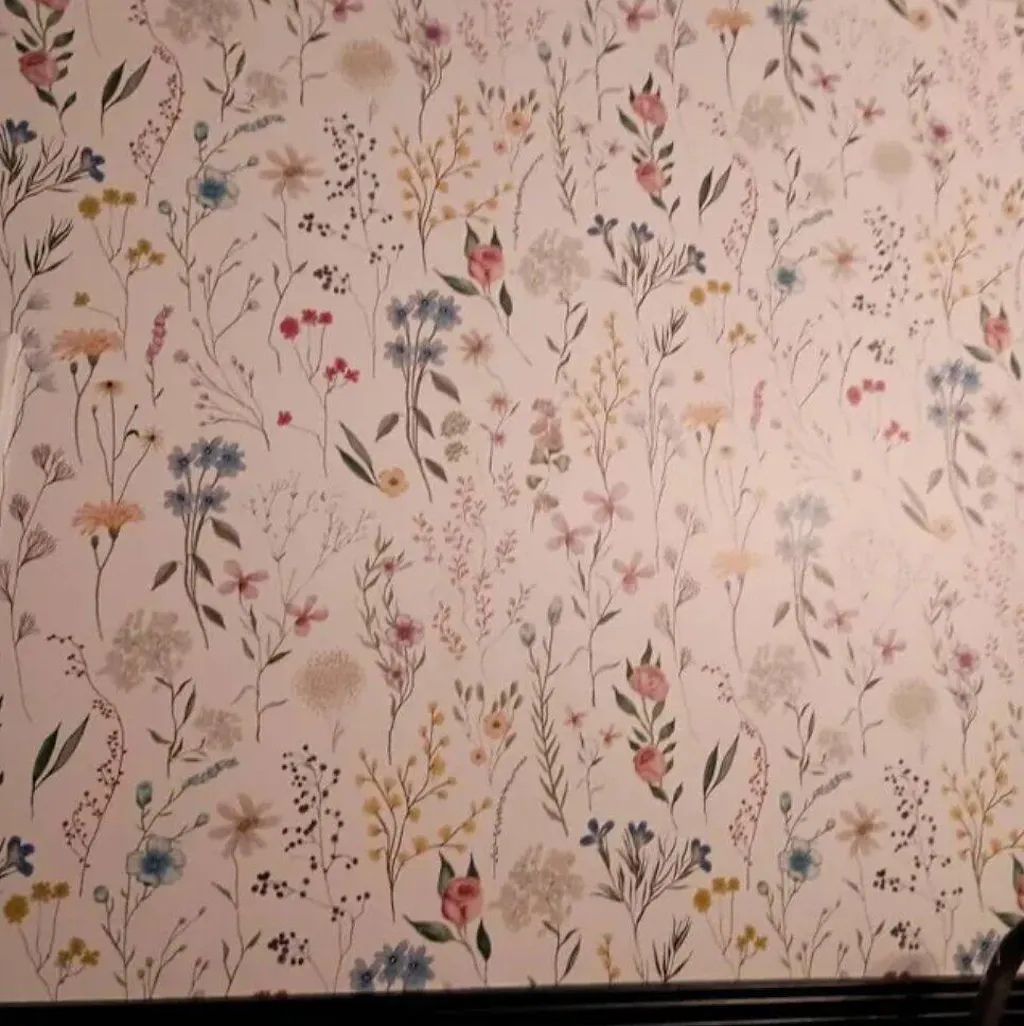
- Choose at least 2–3 designs for comparison.
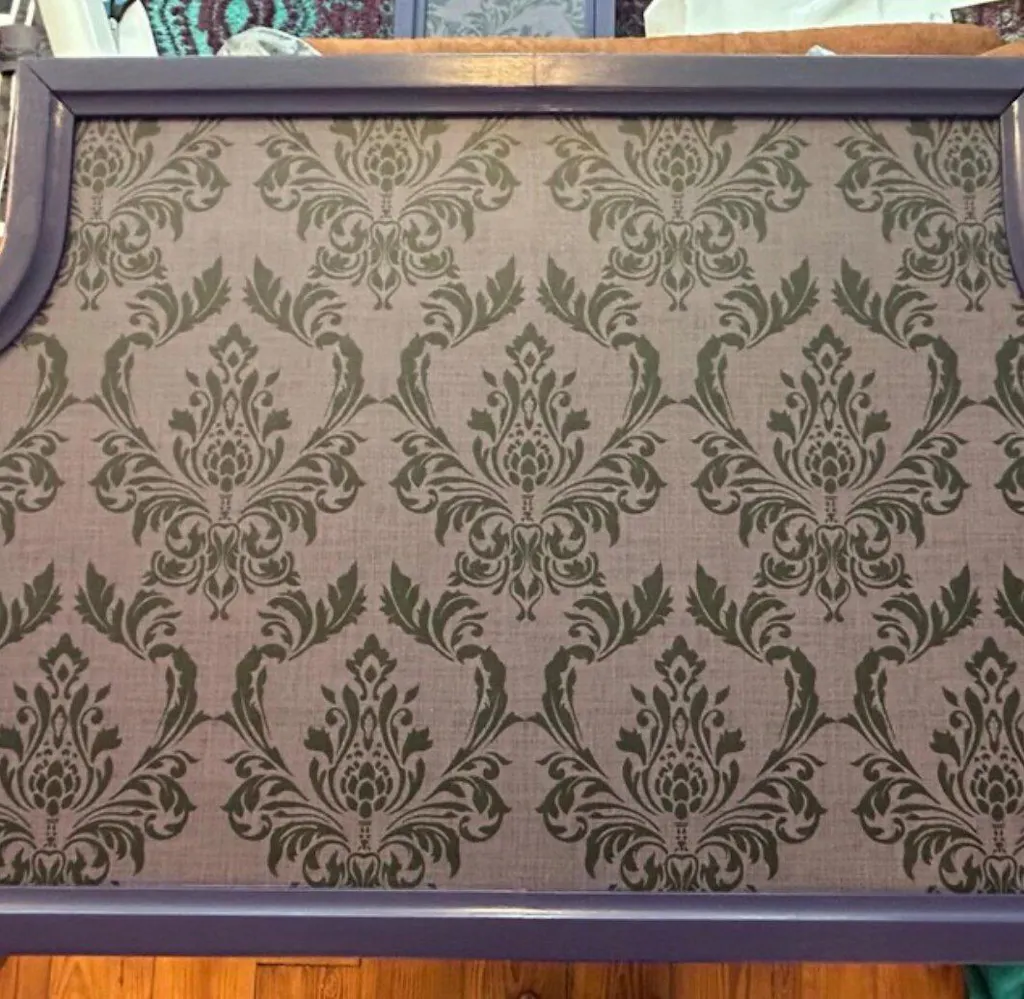
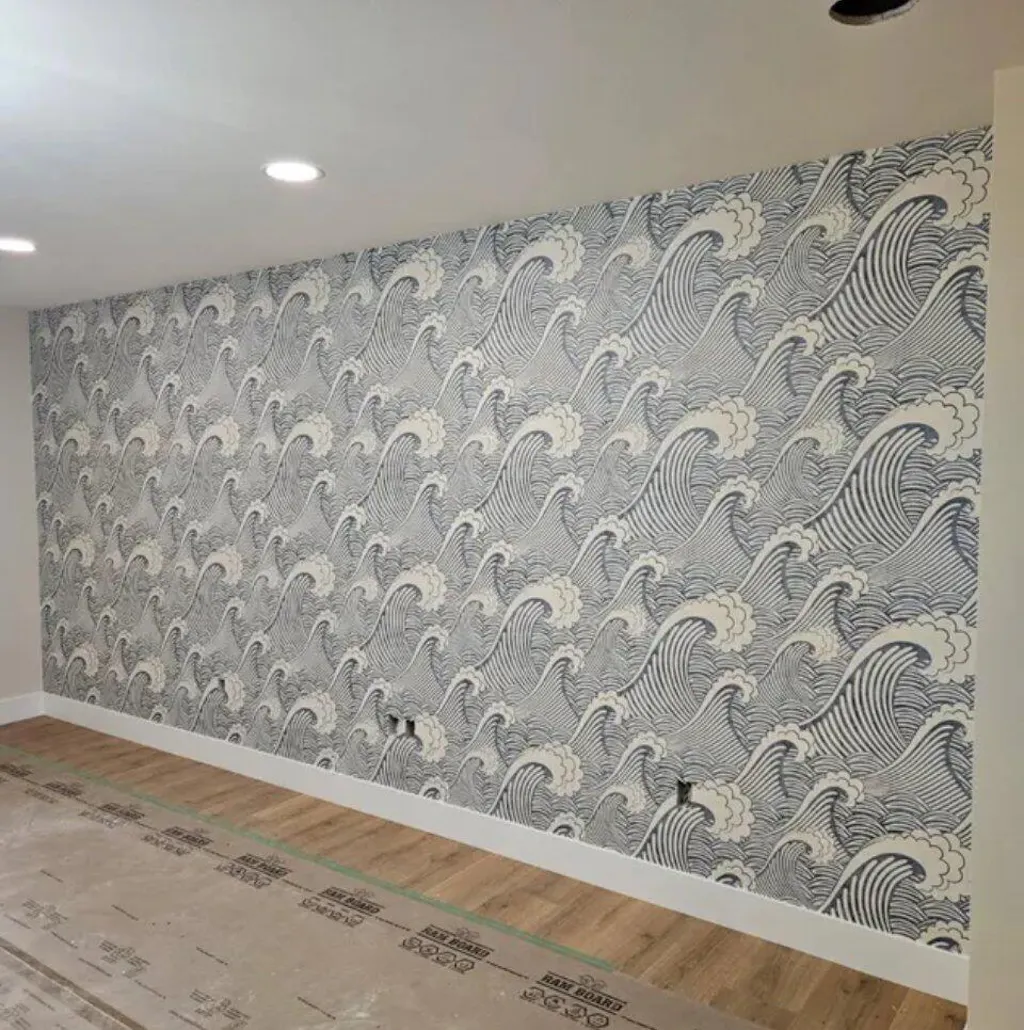
- Look for samples that include the full pattern scale (not just a cropped portion).
- Make sure they’re from reputable brands with high customer ratings for adhesion and print quality.
СostaCover offer made-to-order samples, so you can receive exactly what you need without delay.
Preparing Your Wall for Testing
Proper wall preparation is key to a successful peel-and-stick wallpaper sample test. A dusty or greasy wall can cause the adhesive to fail or lead to peeling over time. Wall requirements.
1. Clean the wall surface using a lint-free dry cloth.
2. For greasy areas (especially kitchens), use a mild soap-and-water solution, then let the surface dry fully.
3. Ensure the wall is smooth and fully cured if freshly painted (wait at least 3–4 weeks after painting).
💡 Pro tip: Avoid testing on textured walls unless the wallpaper specifically states it’s suitable for such surfaces.
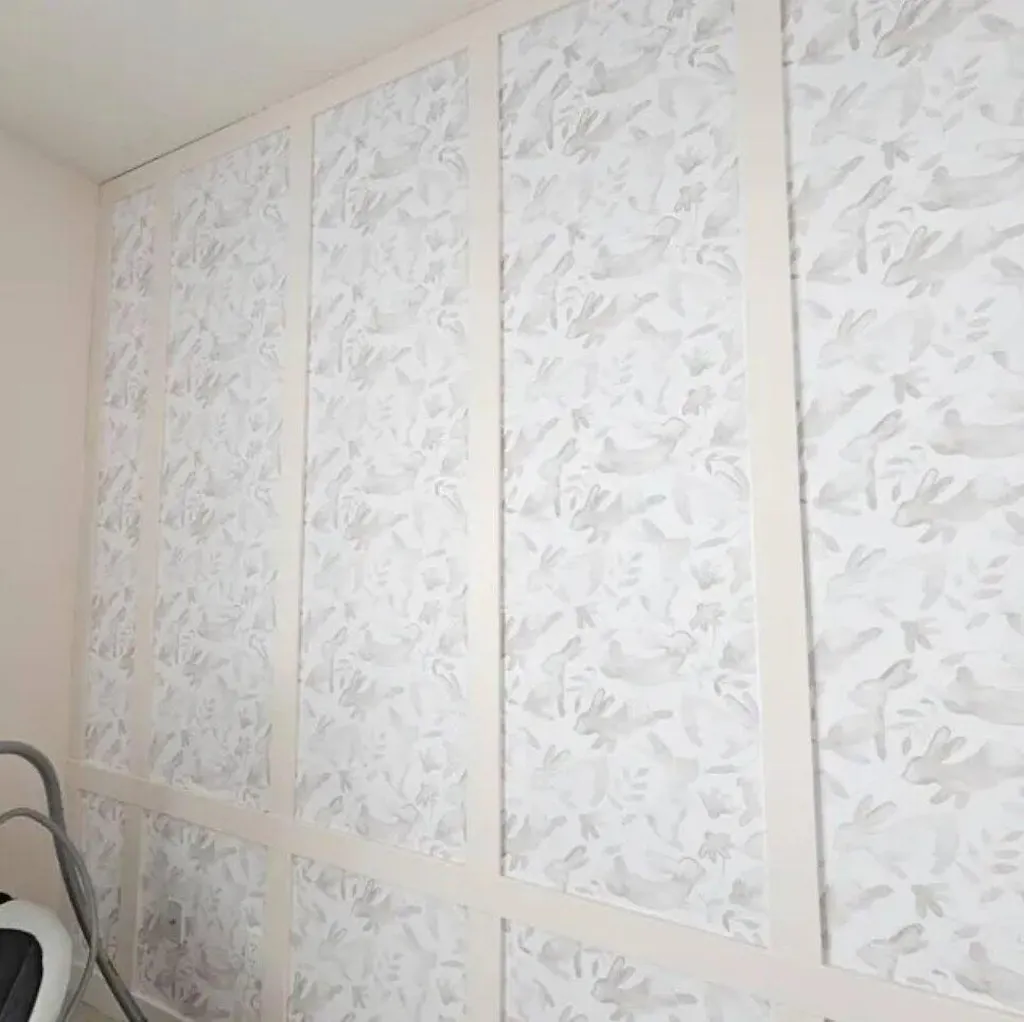
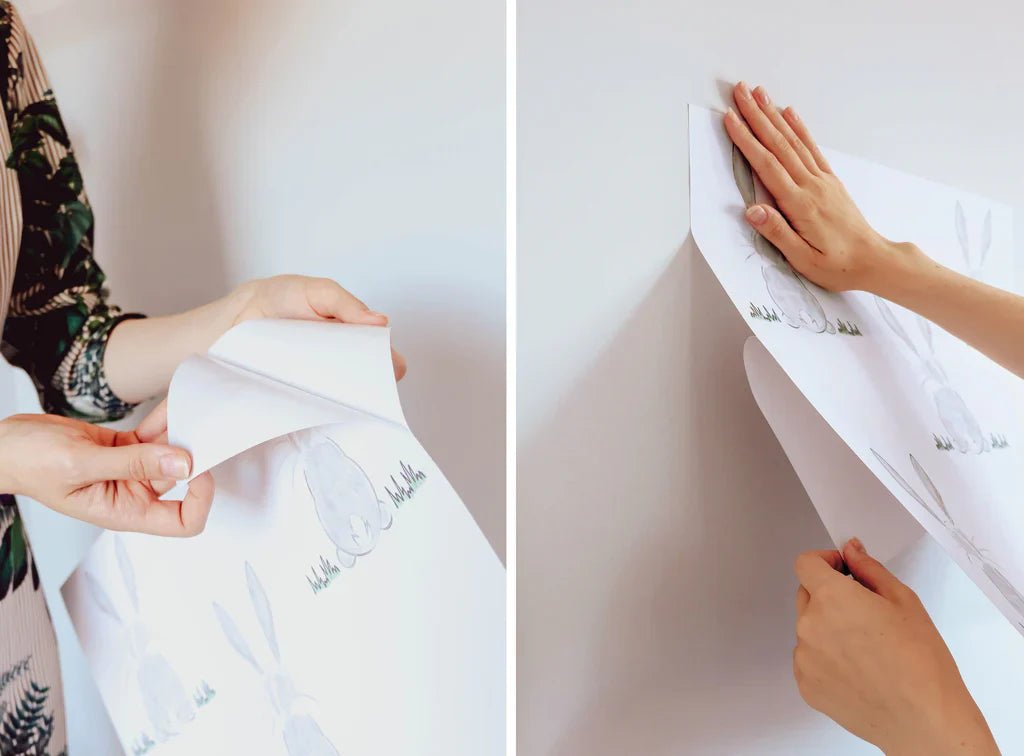
How to Apply a Wallpaper Sample
1. Peel the backing off the sample carefully, starting at one corner.
2. Position the sample on the wall where you’re considering the full application.
3. Press it firmly from the center outward, using your hand or a smoothing tool to remove air bubbles.
4. Make sure the edges are fully adhered — this is where peeling often starts.
💡 Pro tip: and this is key — leave the sample up for at least 48 hours. This gives you time to evaluate its performance under real-life conditions.
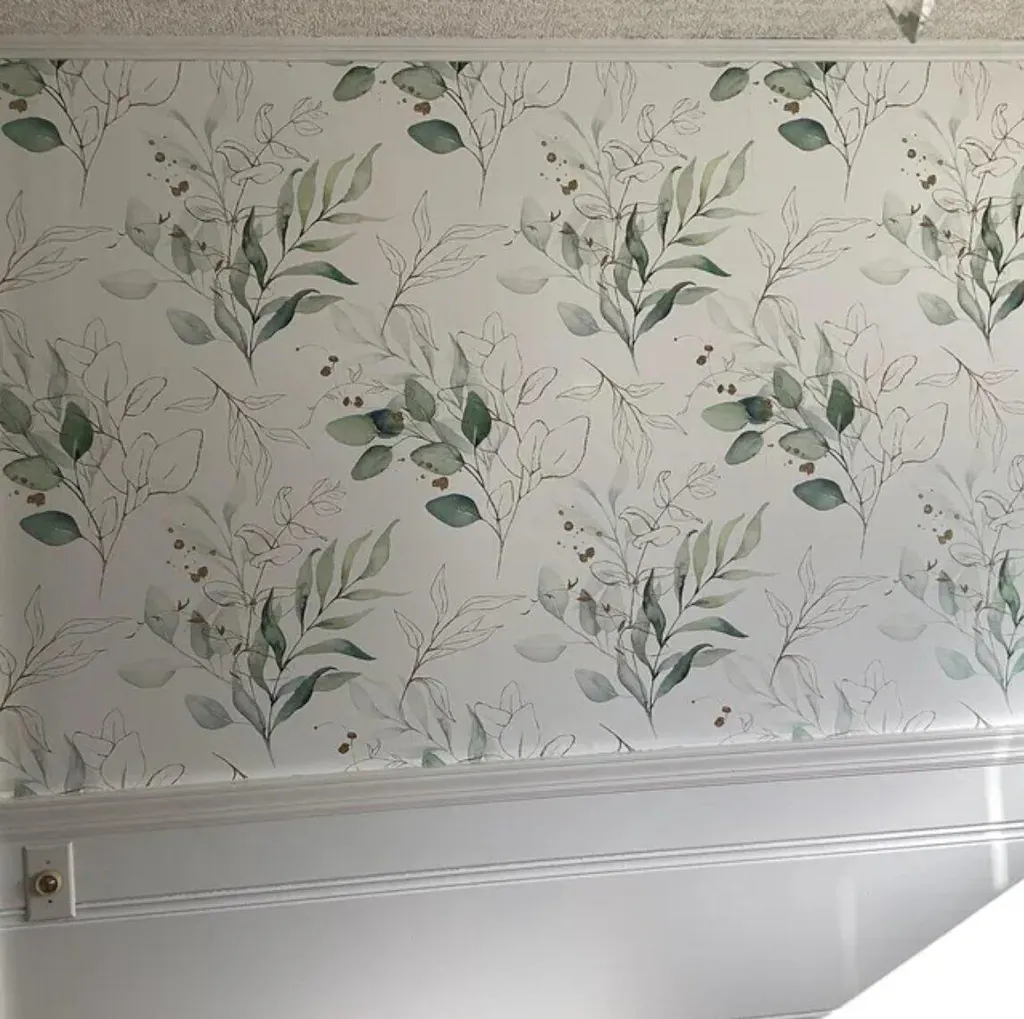
What to Observe During the Test
Over the next two days, monitor how the sample behaves:
- Are there any bubbles forming under the surface?
- Do the edges curl or peel?
- Is the color what you expected in natural and artificial light?
- Does it stick evenly, or are there areas where adhesion is weak?
These are all signs of how the full wallpaper will perform. If everything looks good, you're probably in the clear. If not, you may need to consider an alternative product — or improve your wall prep.
Removing the Sample — What to Look For
After your two-day trial, gently remove the sample. Ideally:
- It should come off with some resistance (not too easily).
- It should not leave any sticky residue or damage to the wall.
- If it peels off too quickly or won’t stick well at all, your wall may require extra priming or a wallpaper adhesive.
Paint type can also be a factor. Wallpapers tend to struggle with:
- Flat or matte paint (less grip for adhesives)
- VOC-heavy surfaces (like recently painted walls)
- Dusty or porous finishes
Testing a peel-and-stick wallpaper sample is a smart way to ensure the right choice for your space. It helps you avoid costly mistakes and gives you confidence before a full application.
Not sure which design or surface prep is best for your walls? Contact our experts — we're here to guide you every step of the way!