Peel-and-stick wallpaper can completely transform a bathroom — no paste, no professional installer, no weekend-long project. But bathrooms are the harshest environment in any home: steam, temperature swings, and constant moisture will expose every shortcut. Get one thing wrong and you're pulling bubbled panels off the wall within weeks. Get it right and your wallpaper looks just as sharp years later.
Quick Answer
The most common bathroom wallpaper failures come down to seven things: damp or dirty walls, wrong material, textured surfaces, applying in cold temperatures, ignoring high-moisture zones, skipping ventilation, and not sealing edges. Fix these before you unroll a single panel and your wallpaper will last.
In this guide
1. Applying Wallpaper on Damp or Dirty Walls
This is the single biggest reason peel-and-stick wallpaper fails — and it happens before a panel even goes up. Soap residue, dust, grease, or any lingering moisture breaks the bond between adhesive and wall. The wallpaper might look fine on day one. By day ten, the corners are lifting.

How to prep your bathroom wall properly
- Wipe the wall with a mild detergent solution and a lint-free cloth. No bleach — it can leave a residue that undermines adhesion.
- Let the wall dry for a full 24–48 hours after cleaning. In bathrooms, that means no showers during that window.
- Do a moisture check: press a strip of plastic wrap against the wall with tape on all four sides. Leave it for 24 hours. Condensation on the inside means the wall is still too damp.
- If the wall has been painted with a flat or matte finish, lightly sand it and wipe clean — flat paint is porous and won't hold adhesive well. Semi-gloss, satin, and eggshell are ideal surfaces.
Designer Tip
Run your exhaust fan for an hour before you start prep. It pulls residual moisture out of the air and off the wall surface — especially helpful in windowless bathrooms where humidity lingers long after a shower.


2. Choosing the Wrong Type of Wallpaper
Not every peel-and-stick wallpaper is built for a bathroom. Paper-based and thin fabric-backed options absorb moisture over time — they warp, lose adhesion, and become a breeding ground for mold behind the wall. The material you choose matters as much as the pattern.

What to look for in bathroom-safe wallpaper
- 100% vinyl or vinyl-coated: Non-breathable by design — steam and humidity can't work their way behind the adhesive layer.
- "Moisture-resistant" or "bathroom-safe" labeling: Look for this explicitly in the product description, not just "washable."
- Laminated surface: A protective laminate layer makes the face wipeable and resists soap splashes and cleaning products.
- Avoid paper-only or non-woven options in full bathrooms. They're fine for powder rooms, but daily shower steam will shorten their life dramatically.
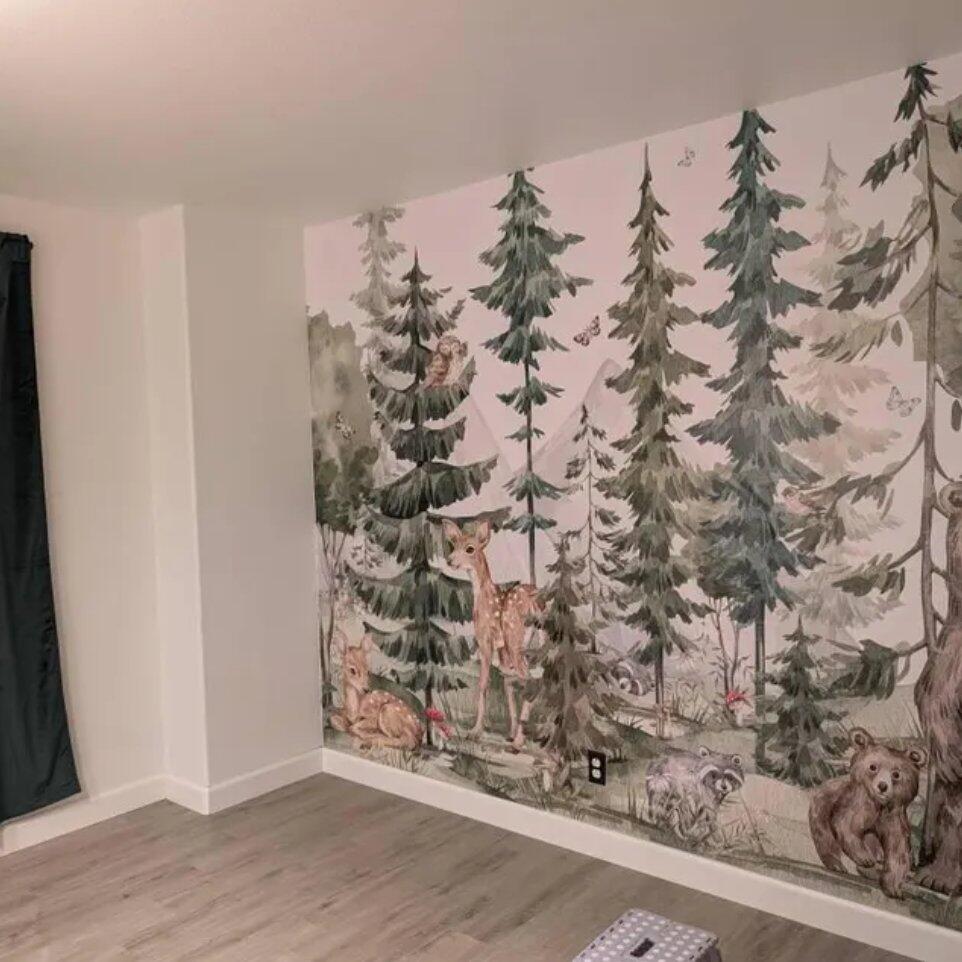
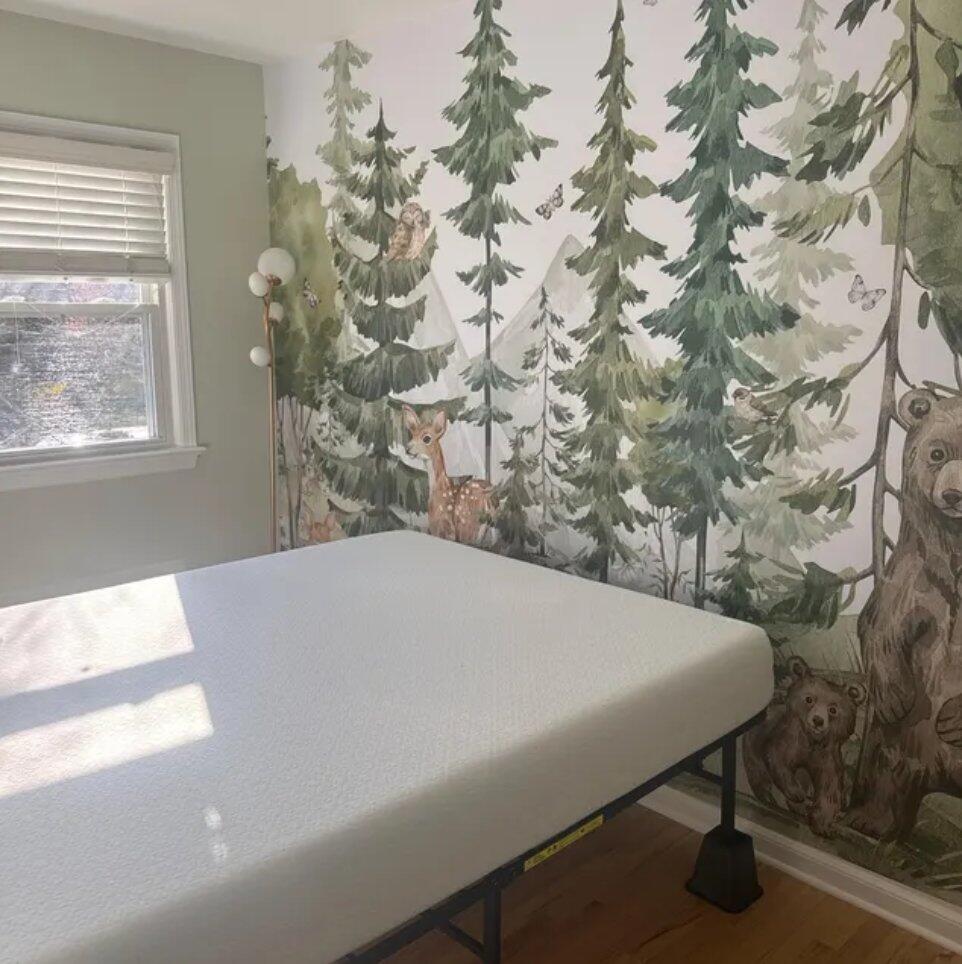
Best patterns for bathrooms in 2025–2026
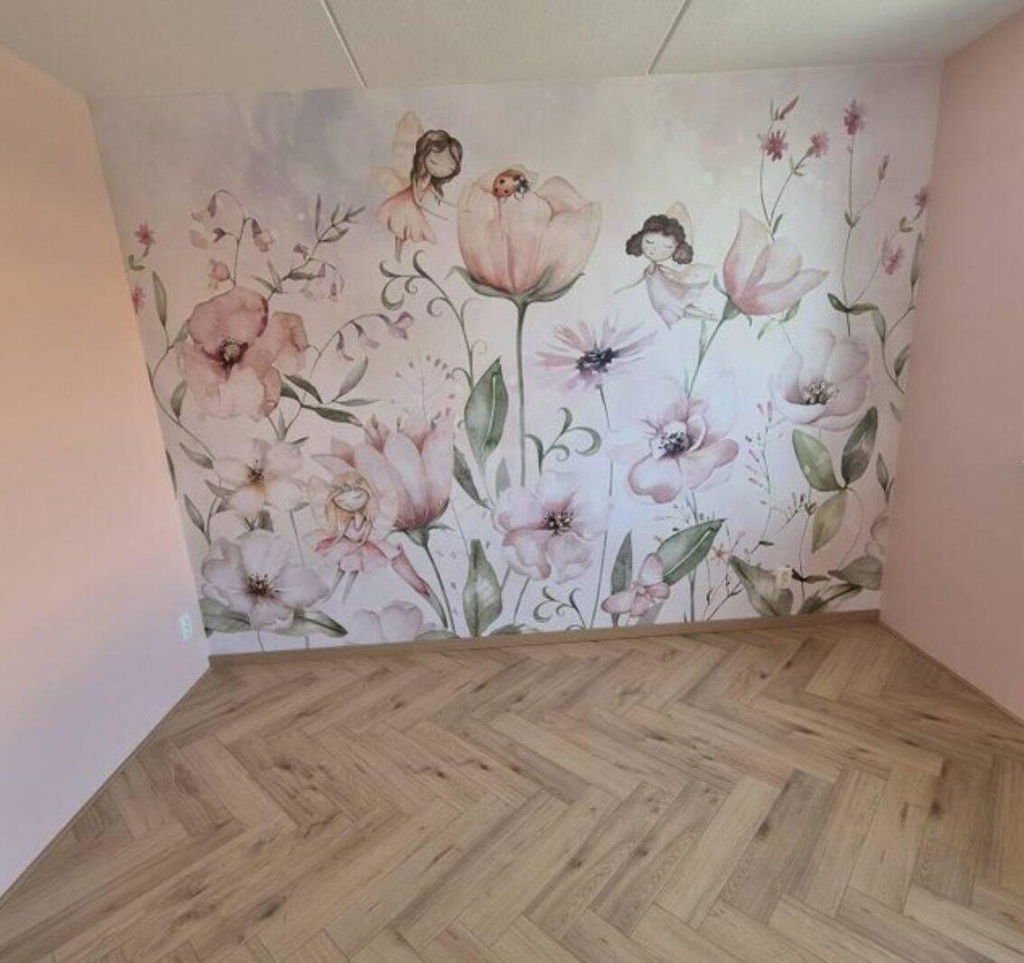
Geometric prints, subtle botanicals, and watercolor-effect tiles are the current sweet spots — visually interesting enough to anchor the room but not so bold that they overwhelm a small space. Marble and stone textures remain popular because they read as intentional upgrades rather than temporary fixes.
Designer Tip
Order a sample before committing to a full roll. Stick it in your actual bathroom for 3–5 days — run the shower normally, let steam build up — and check the corners. If the sample holds, the full install will too.


3. Applying Over Textured or Damaged Walls
Orange-peel texture, knockdown finish, or any surface that isn't flat — peel-and-stick adhesive needs full contact with the wall to hold. On a textured surface, it only touches the peaks. Over time, those small gaps let moisture in and the adhesive loses its grip patch by patch.

How to handle textured bathroom walls
- Light texture (orange peel): Test with a sample first. Thick vinyl wallpaper can sometimes bridge light texture well enough to hold for years. If the sample sticks cleanly after a week, you're likely fine.
- Heavy texture (knockdown, skip-trowel): Apply a skim coat of joint compound to the wall and sand smooth before installing. It's an extra step, but it's the only reliable solution.
- Damaged paint or peeling areas: The wallpaper will pull failing paint off the wall. Sand loose areas, prime, and let cure fully before applying.
- Avoid porous or unfinished surfaces — raw drywall and unprimed wood absorb adhesive and will never hold properly.
Designer Tip
If you're unsure about your texture level, press a straight edge (like a ruler) against the wall. If you can see daylight underneath at multiple points, the surface needs smoothing before you install. No amount of adhesive spray will compensate for a heavily uneven wall.


4. Installing in Cold or Humid Conditions
Temperature matters more than most people realize. Peel-and-stick adhesive is pressure-sensitive — it needs to be warm enough to activate and bond. Below 50°F (10°C), the adhesive stiffens and won't form a proper bond no matter how hard you press. Apply in a cold bathroom in winter and the panels will start lifting within days.

The right conditions for installation
- Room temperature: 65–77°F (18–25°C) is the sweet spot for most adhesive-backed wallpapers.
- Let the wallpaper acclimate: Bring the rolls into the bathroom and leave them for 24 hours before installing. This prevents the material from contracting or expanding after it's on the wall.
- Avoid installing directly after a shower: Wait at least 2–3 hours, and run the exhaust fan between your last shower and installation.
- In winter, turn on the bathroom heating well in advance. A cold wall in a warm room still won't bond correctly — both the wall surface and the air need to be warm.
Designer Tip
After the wallpaper is up, press every inch of it firmly with a flat plastic squeegee or credit card — not just your palm. The adhesive activates fully under sustained pressure. Spend an extra five minutes on this step and you'll add years to the adhesion.
5. Installing in High-Moisture Zones
Even the best moisture-resistant wallpaper has limits. Direct, repeated water contact — inside a shower, on a tub surround, or directly behind a sink where water splashes constantly — will eventually defeat any adhesive. Moisture-resistant means it tolerates humidity. It does not mean it survives soaking.

Where peel-and-stick wallpaper works in a bathroom
- Accent wall behind a toilet: Low moisture, high visual impact — the ideal spot.
- Wall above a vanity: Great placement, as long as it's above backsplash height and away from direct sink splash.
- Powder rooms: No shower steam makes these the easiest bathroom environment for any peel-and-stick product.
- Feature wall in a larger bathroom: The wall farthest from the shower gets the least moisture exposure.
What to use instead in wet zones
For shower walls and tub surrounds, use ceramic or porcelain tile, waterproof panels, or grout-free shower wall systems. These are purpose-built for constant water contact in a way that peel-and-stick simply isn't designed to be.
Designer Tip
If you want wallpaper near a wet zone, create a clear buffer: stop the wallpaper 6–8 inches from any sink or shower edge, then finish with a thin trim tile or wood molding. It looks intentional and keeps the wallpaper's edges dry.


6. Ignoring Ventilation After Installation
You got the prep right. You chose the right material. Then three months later, edges start lifting — and the culprit is poor airflow. Steam from daily showers slowly works its way behind poorly ventilated wallpaper, softening the adhesive from behind. It's a slow failure, but it's preventable.

How to keep humidity under control
- Run the exhaust fan every shower: And keep it running for at least 15–20 minutes after you finish — not just while you're in there. Most bathroom fans are undersized; if yours takes more than 20 minutes to clear steam, it's worth upgrading.
- Leave the door cracked: Even a few inches allows moisture-laden air to escape instead of settling on every surface.
- Consider a small dehumidifier: In naturally humid climates or bathrooms without windows, a compact dehumidifier makes a meaningful difference in long-term wallpaper performance.
- Avoid closing the bathroom tightly for hours after a shower — trapped steam is the fastest way to compromise adhesion over time.
Designer Tip
A simple $15 hygrometer (humidity meter) on the bathroom shelf tells you exactly what your wallpaper is dealing with. Aim to keep bathroom humidity below 60% between uses. Above that, adhesion starts to degrade over months — not years.
7. Not Sealing the Edges
The edges and seams are where moisture gets in first. Even high-quality vinyl wallpaper is technically moisture-resistant, not waterproof — and that distinction matters at the edges, where the adhesive meets the air. Without sealing, steam and cleaning products gradually work their way under the edge and start loosening the bond.

How to seal peel-and-stick wallpaper in a bathroom
- Clear acrylic sealant or caulk: Run a thin bead along all edges where the wallpaper meets trim, tile, or a different wall surface. Smooth it with a wet finger and let it cure fully before exposing to moisture.
- Transparent wallpaper sealer: Available at hardware stores, this adds a thin protective coating over the entire face of the wallpaper — particularly useful in high-steam areas like the wall adjacent to a shower.
- Matte polyurethane: A very light coat (one pass, not two) over the surface gives moisture protection without changing the look of the print. Always test on a sample piece first — some finishes alter sheen noticeably.
- If water does splash onto the wallpaper, blot dry immediately rather than wiping. Wiping pushes moisture into seams; blotting removes it.
Designer Tip
Pay extra attention to corners. Seams at inside corners are under constant tension as the wall flexes slightly with temperature changes. A thin bead of clear flexible caulk at every corner seam adds insurance — and it's invisible once dry.


Quick Pre-Install Checklist
Before you open a roll, run through this list:
- Wall is clean, dry, and paint is in good condition
- Surface is smooth — textured walls have been skim-coated or tested with a sample
- Room temperature is between 65–77°F (18–25°C)
- Wallpaper has acclimated to room temperature for 24 hours
- Material is 100% vinyl or moisture-resistant vinyl-coated
- Sample has been tested in the space for 3–5 days
- Install location is not in a direct water splash zone
- Exhaust fan is working and will be used after every shower
- Edges will be sealed with clear caulk after installation
Ready to Transform Your Bathroom?
Browse peel-and-stick designs made for high-humidity spaces.
Shop Bathroom WallpaperFrequently Asked Questions
Can you use peel-and-stick wallpaper in a full bathroom with a shower?
Yes — but placement matters. Keep it away from direct water contact. Walls above a toilet, across from a shower, or above vanity height work well. Avoid installing inside the shower enclosure or anywhere that gets regular splashing. Choose a 100% vinyl formula and seal all edges with clear caulk for the best longevity.
How long does peel-and-stick wallpaper last in a bathroom?
With proper prep, a moisture-resistant vinyl wallpaper can last 3–7 years in a bathroom. The main variables are surface quality, ventilation habits, and whether edges are sealed. Powder rooms with no shower steam often see wallpaper last even longer.
Why is my bathroom wallpaper bubbling after a few days?
Bubbling almost always means one of three things: the wall was damp at install time, the surface had residue that prevented adhesion, or the temperature was too low for the adhesive to bond properly. In some cases, bubbles form because the material wasn't pressed firmly enough during installation — use a flat squeegee, not just your hand.
What is the difference between moisture-resistant and waterproof wallpaper?
Moisture-resistant wallpaper tolerates humidity and occasional light splashes — it won't absorb moisture through its face. Waterproof means it can handle direct, sustained water contact without damage. Most peel-and-stick bathroom wallpapers are moisture-resistant. None should be used as a substitute for tile or waterproof panels in shower enclosures.
Does peel-and-stick wallpaper damage bathroom walls when removed?
On a well-primed wall with intact paint, most vinyl peel-and-stick wallpaper removes cleanly — peel slowly at a low angle and work in sections. Walls with flat or unprimed paint are more vulnerable. Warming the adhesive with a hair dryer during removal makes it easier and reduces the risk of pulling paint.
How do you fix peel-and-stick wallpaper that is already peeling at the corners?
Lift the peeling edge, wipe the back of the wallpaper and the wall surface clean and dry, and press firmly back into place. For stubborn corners, a thin layer of wallpaper adhesive or seam repair glue applied under the edge — then pressed and held for 60 seconds — will re-bond it. Finish with a thin bead of clear caulk along the edge to prevent it happening again.
What is the best peel-and-stick wallpaper for a small bathroom?
In small bathrooms, medium-scale patterns work better than very large repeats — they don't overwhelm the space. Light geometric designs, subtle botanicals, and watercolor-effect prints all read well at close range. Avoid very dark, all-over patterns on every wall in a small bathroom; use a bold design on one accent wall and keep the rest light.