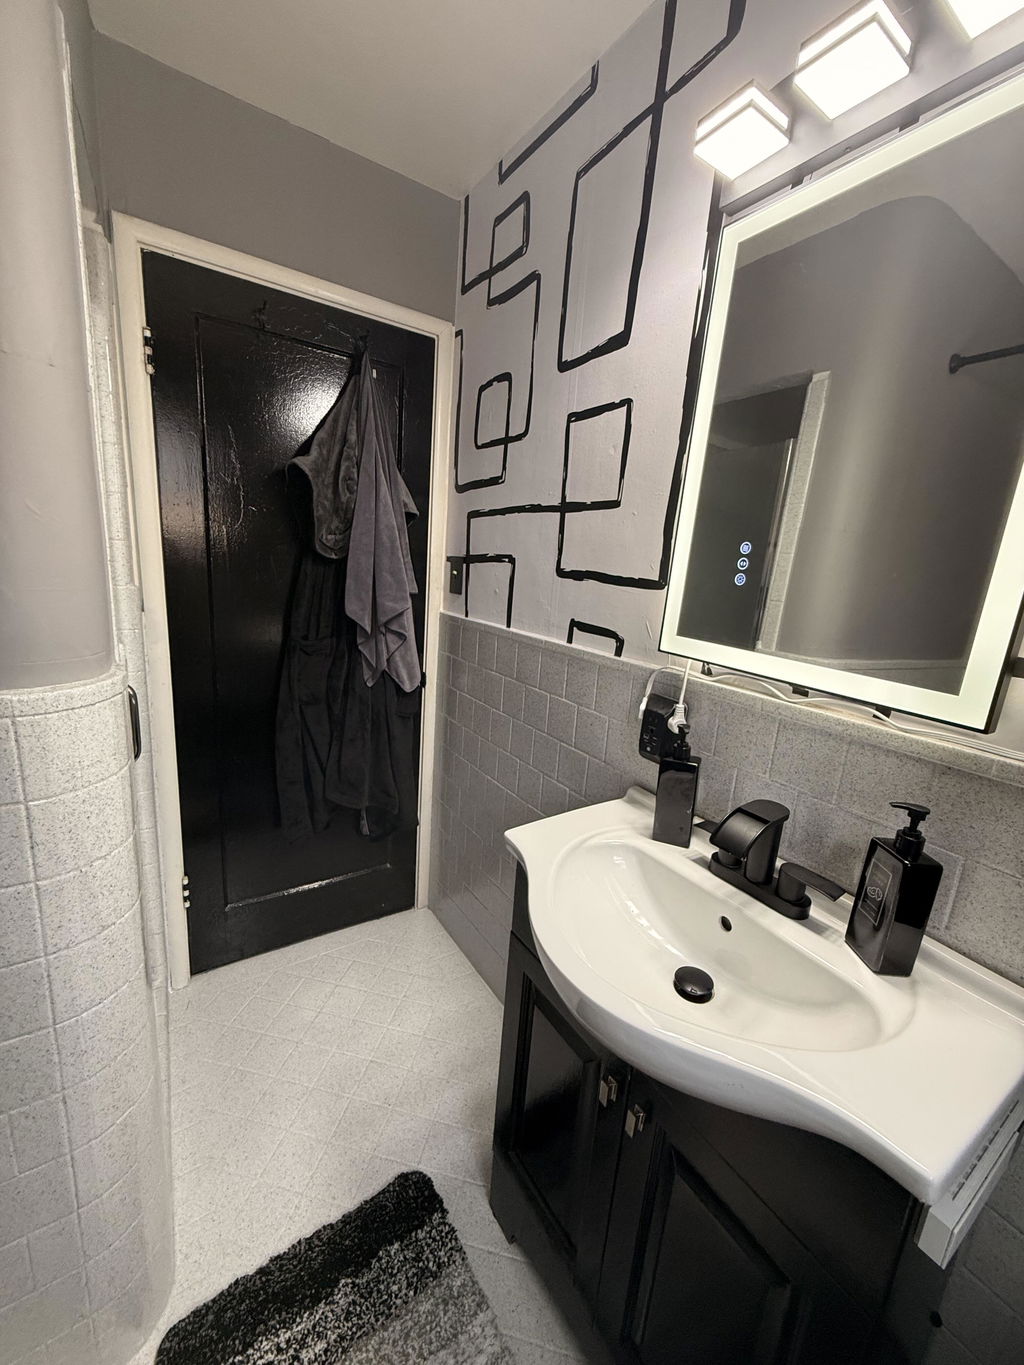
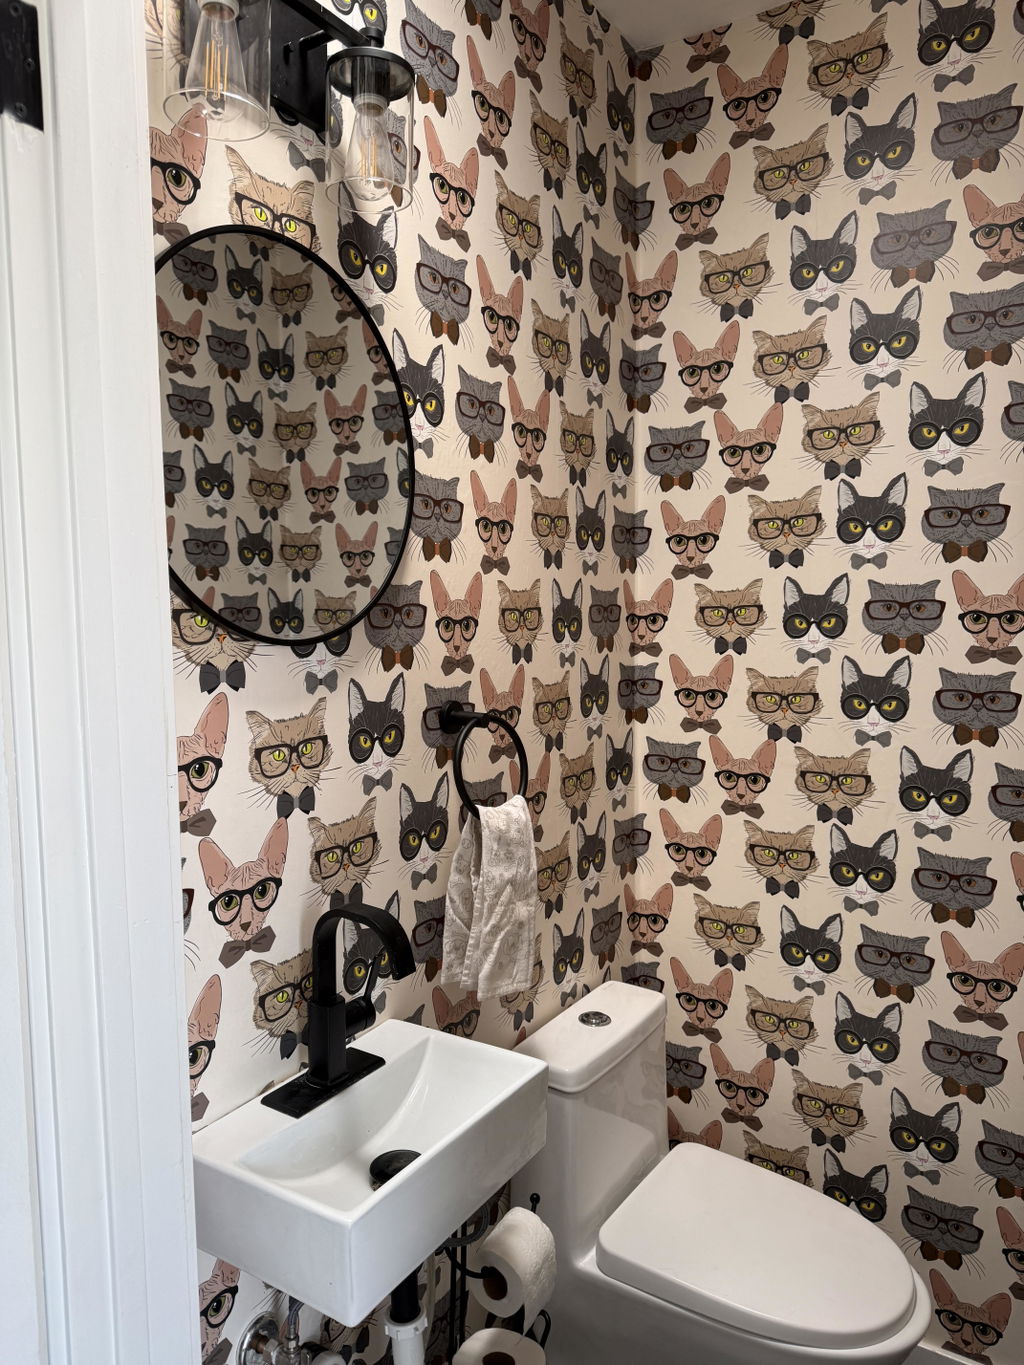
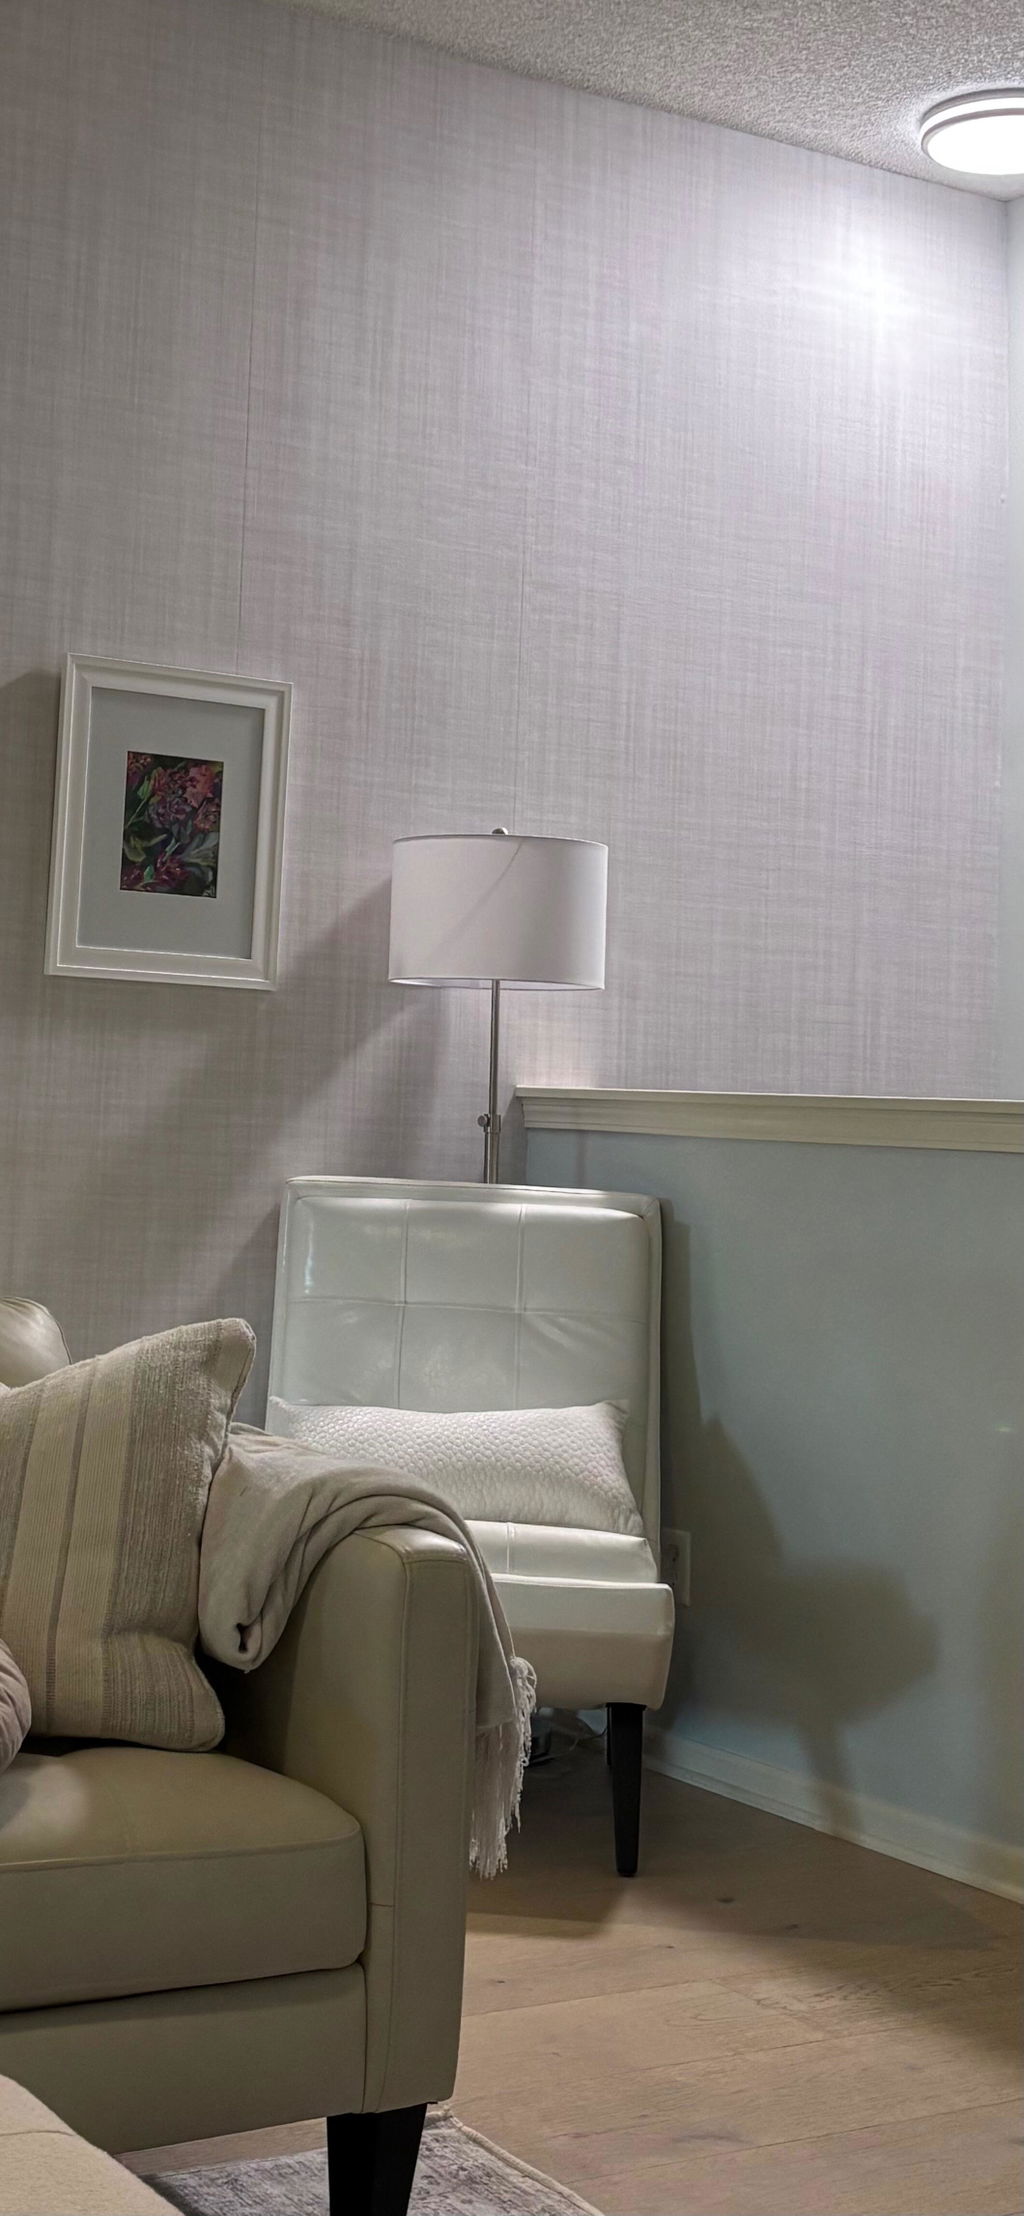
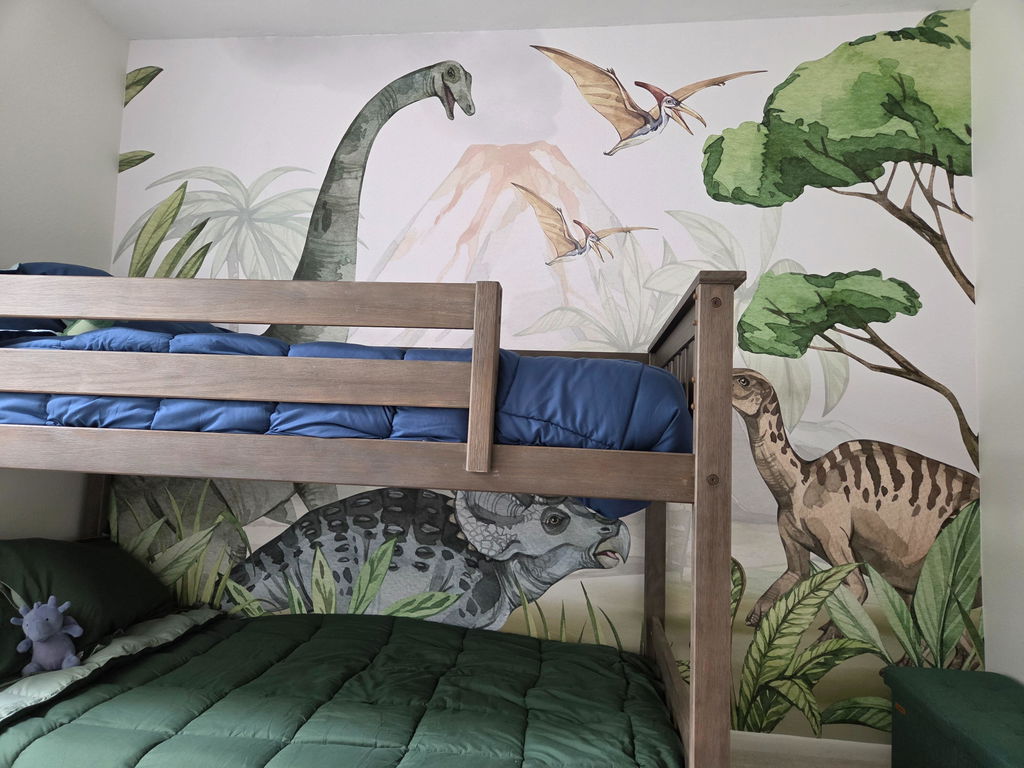
The most common peel and stick wallpaper mistakes are skipping wall prep, applying it to the wrong surface, rushing the installation, ignoring pattern alignment, and not planning ahead for removal. Each one is easy to avoid once you know what to look for — and that's exactly what this guide walks you through.
Peel and stick wallpaper from CostaCover is one of the fastest ways to transform a room without a contractor, a mess, or a long-term commitment. But "easy" doesn't mean "foolproof." A few small missteps are behind almost every failed install: peeling edges, visible bubbles, patterns that don't line up, or a wall that looks worse after removal than it did before. Here's what to watch for.
Quick answer, before you start:
- Clean and dry the wall — no dust, grease, or fresh paint smell.
- Don't install on textured, glossy, or freshly painted (under 3–4 weeks) walls.
- Work slowly, in small sections, smoothing from the center out.
- Match pattern repeats before you cut, not after.
- Do a 24–48 hour test patch in a hidden corner before covering a full wall.
1. Skipping Wall Prep
This is the single biggest reason installs fail. Peel and stick adhesive bonds to the surface, so any dust, grease, or residue sits between the wallpaper and the wall — and that's where peeling starts, sometimes weeks after installation, not immediately.
Wash the wall with a mild detergent solution, let it dry completely, and check for cracks, holes, or flaking paint. Fill and sand any imperfections so the surface is smooth and even. If the wall was recently painted, wait at least three to four weeks — fresh paint keeps curing and off-gassing, which weakens adhesion underneath the wallpaper.
2. Using It on the Wrong Type of Wall
Not every wall is a good candidate, and this mistake often only shows up after the material is already up. Peel and stick wallpaper generally struggles on:
- Heavily textured surfaces (popcorn ceilings, stucco, brick) — the adhesive can't make full contact.
- Glossy or semi-gloss paint — the surface is too slick for a lasting bond.
- Unsealed drywall or raw plaster — porous surfaces pull adhesive away unevenly.
- High-moisture zones without ventilation — a shower wall with no exhaust fan is a bad match; a well-ventilated bathroom or kitchen backsplash is usually fine.
If you're not sure, apply a 6-inch test square in an inconspicuous spot and leave it for 24–48 hours before deciding.
3. Rushing the Installation
Peel and stick wallpaper rewards patience. Rushing is how misalignment, wrinkles, and trapped air bubbles happen — and once the adhesive grabs, corrections get harder, not easier.
Plan your layout before you peel anything: measure the wall, dry-fit the first strip, and mark a level vertical guideline with a pencil and a level (not by eye). Work in small sections, peeling back a few inches of backing at a time and smoothing as you go, rather than pulling the whole sheet off at once.
4. Ignoring Pattern Alignment
If your wallpaper has a repeating pattern, alignment isn't optional — it's the difference between a professional-looking wall and one with obvious, distracting seams. Before cutting each strip, dry-fit it against the previous one and confirm the pattern lines up at the seam, not just at eye level from a few feet back.
Buy slightly more material than your wall measurements suggest to account for pattern matching and repeat waste — this is the single most common reason people run short mid-project.
5. Applying Too Much Pressure
The adhesive does the work, not brute force. Pressing too hard — especially with a squeegee or credit card — can stretch or tear the vinyl, and on textured or delicate paint finishes it can leave visible indentations that don't go away.
Use light, even pressure and smooth outward from the center of each strip toward the edges to push out air as you go, rather than pressing down hard in one spot.
6. Skipping the Trim
Once a strip is up, trim the excess along baseboards, corners, and outlets with a sharp utility knife and a straightedge — not scissors, which tend to leave uneven or frayed edges. Untrimmed overhang is the fastest way to make an otherwise clean install look unfinished. Swap in a fresh blade every strip or two; a dull blade drags and tears instead of cutting cleanly.
7. Not Testing the Removal First
Adhesive strength varies significantly between brands and even between product lines from the same brand, and it also reacts differently depending on your specific paint and wall material. Skipping a removal test means you find out too late — after the wallpaper has been up for months — whether it comes off cleanly or takes the paint with it.
Before committing to a full wall, apply a sample piece somewhere discreet, leave it for a reasonable period (a few days, not a few minutes), and peel it back slowly at a low angle to see how the wall underneath holds up.
8. Underestimating How Much You'll Need
Buying exactly the square footage of your wall is a common and costly mistake. Between pattern repeats, trimming waste, cutting errors, and future touch-ups, you'll typically need 10–15% more material than your raw measurements — more if the pattern has a large repeat. Order it all at once, too: dye lots can vary slightly between batches, which is noticeable on a single wall.
9. Installing in the Wrong Temperature or Humidity
Adhesive performance is sensitive to temperature. Installing in a cold room, right after a hot shower, or near an open window on a humid day can weaken the bond before it's had a chance to set. Aim for a room temperature between 65–75°F (18–24°C) with normal humidity, and avoid installing directly after painting, cleaning with strong chemicals, or running a humidifier nearby.
How Long Does Peel and Stick Wallpaper Last?
Installed correctly, peel and stick wallpaper typically lasts 3–5 years on a permanent wall, and can be removed cleanly at any point without damaging paint or drywall — provided the surface was properly prepped and the material was matched to the wall type in the first place. Most failures that seem like "the product didn't last" trace back to one of the mistakes above, not the material itself.
FAQ
Does peel and stick wallpaper damage walls? Not if it's applied to a properly prepped, paint-cured, low-texture wall and removed by pulling back slowly at a low angle. Damage almost always comes from skipping wall prep, using it on an incompatible surface, or removing it too quickly.
Can you put peel and stick wallpaper over paint? Yes, as long as the paint is fully cured (typically 3–4 weeks after painting) and not high-gloss. Matte or eggshell finishes generally hold peel and stick wallpaper better than semi-gloss or gloss.
Do you need primer for peel and stick wallpaper? Usually no, if the wall is painted and in good condition. Primer becomes useful on bare or very porous drywall to create a smoother, more consistent surface for the adhesive to grip.
Can peel and stick wallpaper be reused after removal? Some products are repositionable within the first install, but once fully removed and re-applied elsewhere, adhesion is noticeably weaker. Treat it as reusable for repositioning during installation, not for a full second application later.
Is peel and stick wallpaper safe for bathrooms and kitchens? Yes, in well-ventilated areas away from direct water exposure — like a backsplash or an accent wall outside the shower stall. Direct, sustained moisture (inside a shower enclosure) will shorten its lifespan regardless of brand.
What's the biggest reason peel and stick wallpaper fails? Skipping wall prep. It's responsible for more failed installs than any other single factor, including product quality.
Peel and stick wallpaper is genuinely one of the easiest ways to change a room in an afternoon — the mistakes above are what stand between "looks like a DIY project" and "looks professionally done." Prep the wall, test before you commit, work in small sections, and give yourself a little extra material. From there, it's mostly about patience.
Browse CostaCover's full wallpaper collection for your next project, or check our wall prep guide and step-by-step installation guide before you start.